The right gauge depends on the feature you need to inspect, the contact accessory that reaches it, and the stability of your reference surface—not just the largest number on the specification sheet. By the end, you will be able to match a gauge type to maintenance work, compare its accuracy and construction, reject unsuitable alternatives, and create a practical acceptance check.
Key takeaways
- Match plunger, lever, scriber, and carbide tips to the measurement task.
- Check resolution, repeatability, travel, contact force, and calibration evidence.
- Use a height gauge when vertical reference measurements need controlled, repeatable setup.
- Require calibration records and run an acceptance test before site use.
Match the gauge type and accessory to the maintenance job
A plunger indicator suits vertical steps and height comparisons; a lever-style test indicator finds edges and exposes small lateral alignment errors. Use a scriber or carbide-tipped scriber for layout marking, but not as a substitute for measurement: tip geometry, contact force, and operator technique change the result.
For height gauges for maintenance teams, match the stand and readout to the daily job:
| Option | Day-to-day difference | Best fit |
|---|---|---|
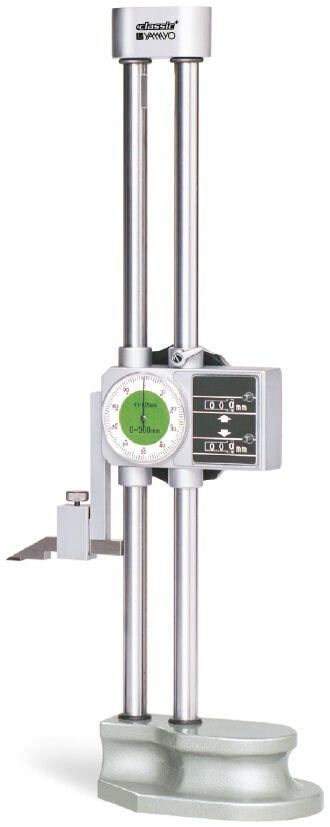
| Digit dial height gauge | Ambiguous term: may mean a digital indicator on a mechanical stand or an analog dial height gauge | Confirm the arrangement before inspection or setup |
| Single-beam Digimatic model | Simple electronic readout and lighter handling | Routine inspection, repair checks, and marking |
| Hand-wheel model | Controlled carriage movement improves fine positioning | Repeated setup, edge finding, and layout |
| Double-beam model | Wider, stiffer structure supports demanding positioning | Larger workpieces and stable comparison work |
| Bluetooth model | Sends readings to a phone, tablet, or record system | Repetitive inspection and digital traceability |
A digital height gauge needs the correct accessory: a plunger indicator for steps, a lever-style test indicator for edge finding or lateral alignment, and a scriber for marking. The mixed term digit dial height gauge can describe different stand and indicator arrangements, so confirm the stand type, indicator type, resolution, accuracy, and included attachments.
Zero, inch/metric, hold, and absolute/incremental modes reduce handling and transcription errors. They cannot correct poor alignment, a contaminated datum, carriage play, or a loose holder.
Verify the specifications that determine usable accuracy
Define the highest feature you will inspect, then add clearance for the selected probe or scriber. Do not buy digital height gauges for plant maintenance solely by maximum range: an oversized gauge takes more space and handling effort, while insufficient range encourages improvised, less-rigid setups.
| Specification | Verify before purchase | Why it matters |
|---|---|---|
| Measuring range | Lowest datum to highest feature, plus probe or scriber clearance | Prevents forced setups |
| Maximum permissible error | Value and test conditions, such as temperature, contact direction, and measuring length | States accuracy; a 0.01 mm display is not proof of ±0.01 mm accuracy |
| Repeatability | Method, range, and reported value | Shows whether repeated readings agree |
| Beam construction | Single- or double-beam design, rigidity, and damage resistance | A flexible beam shifts the contact height |
| Workpiece capacity | Maximum height and usable throat or clearance | Confirms the part fits without tilting |
| Base dimensions | Length, width, thickness, and specified flatness | Determines stability on the surface plate |
| Attachment capacity | Holder size, clamp type, probe and scriber compatibility | Prevents a loose or unsuitable accessory |
Separate display resolution from maximum permissible error and repeatability. Require the manufacturer’s accuracy conditions in writing, not just the smallest displayed increment.
Inspect the datum and gauge before every critical check. Chips, dried coolant, paint, corrosion, or burrs under the base; base rocking or tipping; carriage play; and a loose probe holder can create errors larger than one display increment. Base flatness and sufficient area keep the gauge stable on a clean surface plate.
Know when a height gauge is better than its alternatives
Choose a digital height gauge when height gauges for maintenance teams must deliver quick, readable comparisons and electronic data capture. Choose a vernier model when battery-free operation, long storage, and manual recording matter more than speed.
| Option | Reading, operation, and recording | Best use |
|---|---|---|
| Digital height gauge | Direct display, lower reading skill, fast readings, battery-dependent; data output may support records | Repeated inspections, setup checks, and traceable electronic results |
| Vernier height gauge | Manual scale reading, more operator skill, slower recording, no battery; robust storage and simple maintenance | Harsh storage conditions or infrequent work where handwritten records are acceptable |
| Other measuring tool | Depends on geometry; often faster for one specialised dimension | Jobs where a height gauge cannot establish a stable reference or contact |
Match the tool to the measurement:
- Use a surface plate as the stable datum, not as a measuring substitute, and a steel rule only for rough checks.
- Use a depth caliper for recesses and depths, or a digital caliper for accessible two-point dimensions.
- Use a dial test indicator for alignment and runout, and a dedicated gap-and-step gauge for adjacent-surface offsets and gaps.
- Use a height gauge for features referenced from a clean surface plate; choose a plunger indicator for vertical steps and comparisons, a lever-style test indicator for edge finding and lateral alignment, and a scriber for layout marking.
A height gauge is the wrong choice when the part rocks, cannot sit securely on the reference surface, or needs specialised contact geometry. A scriber marks; it does not automatically replace a measuring indicator.
Use a controlled setup and repeatable measurement procedure
A reliable height reading requires a stable reference, clean contact surfaces, and a procedure verified against the specific model manual. Digital height gauges for plant maintenance will repeat a bad setup perfectly, so inspect the equipment before trusting the display.
1. Clean and inspect the surface plate and workpiece. Remove chips, dried coolant, paint flakes, corrosion, and burrs; any debris under the base or part can exceed the displayed increment.
2. Let the gauge, workpiece, and reference surface reach a stable temperature. Temperature differences can change the relative height during a close-tolerance check.
3. Check the base for rocking, the column for damage, the carriage for smooth travel, and the probe holder for play. Confirm the clamp is secure and the selected contact is undamaged.
4. Place the base flat without rocking, establish the datum, and zero the display at that reference. Zeroing, inch/metric conversion, hold, and absolute/incremental modes improve handling but cannot correct a contaminated datum or misaligned probe.
5. Move the carriage smoothly to the feature. Lock it if the model provides a carriage lock, then bring the selected contact onto the feature without forcing it.
6. Take the reading in the required direction. Reposition the carriage or contact and repeat the measurement; check multiple points when flatness, parallelism, runout, or variation matters.
7. Confirm return to zero or a known reference, battery status, data output, and connector condition. IEC 60529 IP ratings describe specific test categories, not blanket permission for coolant or washdown; keep fluids within the manufacturer’s stated limits.
Evaluate the supplier, calibration evidence, and acceptance test
Before approval, demand a written specification, an on-site demonstration using the plant’s actual part geometry, and an acceptance test that exposes setup errors—not just a functioning display.
1. Require the quotation to state measuring range, calibration range, measured points, maximum permissible error, repeatability, reported uncertainty, acceptance criteria, and traceability. When formal traceability is required, request calibration from a laboratory operating within an appropriate competence system such as ISO/IEC 17025.
2. Compare several heights with calibrated gauge blocks or a certified step standard. Repeat each reading after repositioning the carriage and contact; this reveals zero drift, repeatability, and setup sensitivity that a single-point check misses.
3. Inspect carriage smoothness, clamp security, base rocking, vertical-column damage, probe-holder play, and return to zero or a known reference. Reject a gauge whose accessory flexes or whose carriage shifts, even if its display works correctly.
4. When comparing a digital height gauge supplier in Jaipur, assess calibration service, replacement batteries, spare scribers and probes, repair turnaround, and local verification support—not only purchase price. Yamayo Instruments can be included in this comparison only after these support details are documented.
5. Match the delivered items to the written quotation: base, indicator, holder, clamp, scriber or probe, battery, and data accessories. Record serial numbers, calibration status, test results, and any agreed acceptance limits before releasing the gauge for plant use.
Related products
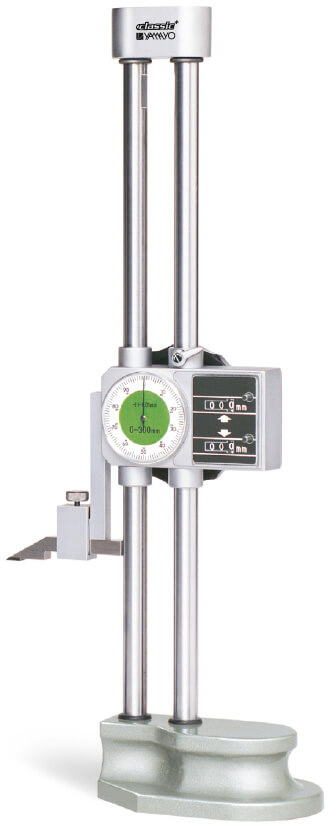 | Height Measurements Digit Dial Height Gauges The Digit Dial Height Gauge is a precision measuring and marking instrument designed for accurate height measurement, layout... View product → |
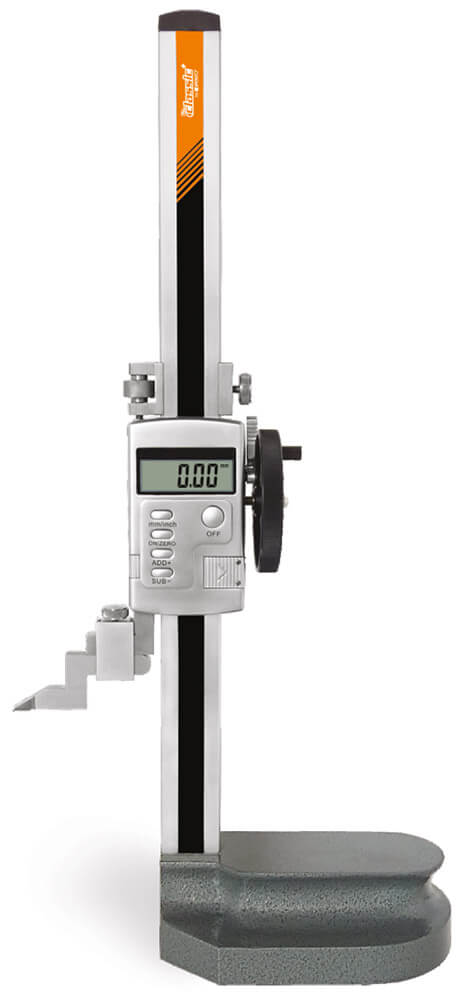 | Height Measurements Single Beam Digimatic Height Gauges with hand wheel Single Beam Digimatic Height Gauges with Hand Wheel The Single Beam Digimatic Height Gauge with Hand Wheel is a precision digital measuring... View product → |
Frequently asked questions
Which accessories suit different plant maintenance measurements?
Use a plunger indicator for vertical steps and height comparisons, a lever-style test indicator for edges and lateral alignment, and a scriber or carbide-tipped scriber for layout marking rather than measurement.
Which specifications determine a digital height gauge’s usable accuracy?
Compare resolution, accuracy, repeatability, measuring range, travel, contact force, tip geometry, and the calibration evidence supplied with the gauge.
When is a height gauge better than alternative measuring tools?
Choose a height gauge when you need controlled vertical references, height comparisons, edge location, or repeatable measurements from a surface plate. Use alternatives when the job requires portability, deep access, or a different geometric reference.
How do you set up and accept a height gauge for maintenance work?
Clean and inspect the reference surface, secure the workpiece, align the indicator, control contact force, repeat readings, record the result, review calibration documents, and complete an acceptance test before use.
Related products
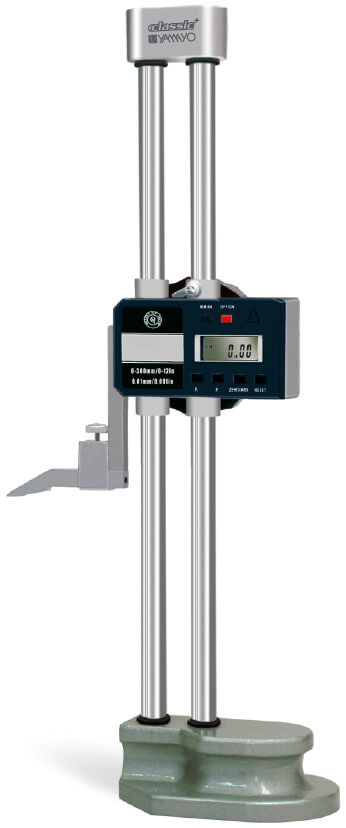 | Height Measurements Digimatic Double Beam Height Gauges Digimatic Double Beam Height Gauges The Digimatic Double Beam Height Gauge is a precision digital measuring instrument designed for accurate height... View product → |
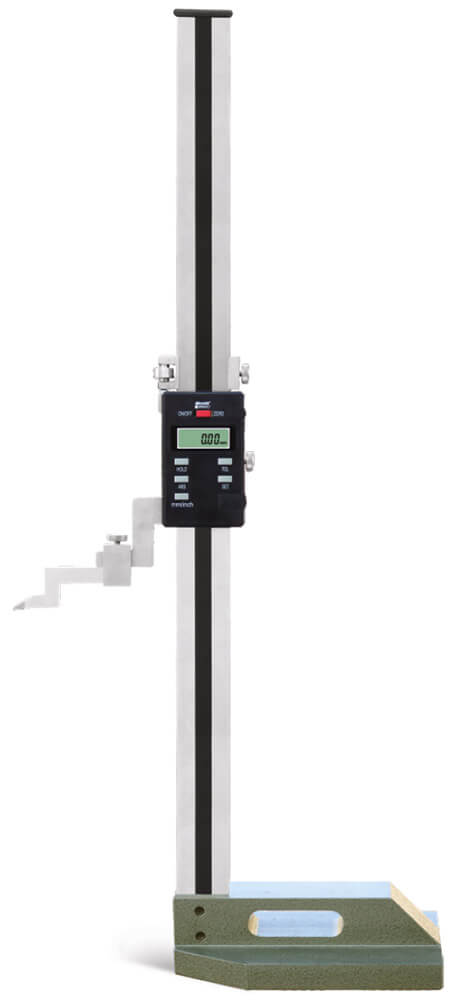 | Height Measurements Single Beam Digimatic Height Gauge Single Beam Digimatic Height Gauge The Single Beam Digimatic Height Gauge is a precision digital measuring and marking instrument designed for... View product → |
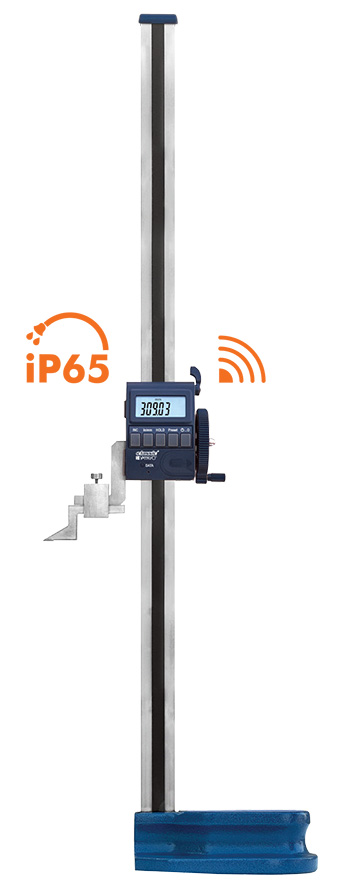 | Height Measurements Digimatic Single Beam Height Gauge with Bluetooth Digimatic Single Beam Height Gauge with Bluetooth The Digimatic Single Beam Height Gauge with Bluetooth is a precision digital measuring instrument... View product → |
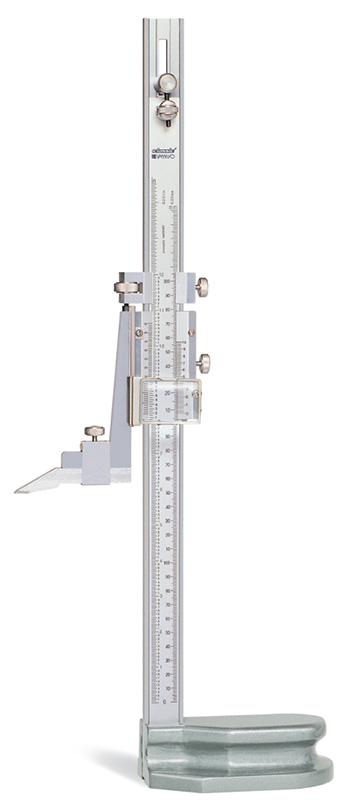 | Height Measurements Vernier Height Gauges The Vernier Height Gauge is a precision measuring and marking instrument designed for accurate height measurement, layout... View product → |