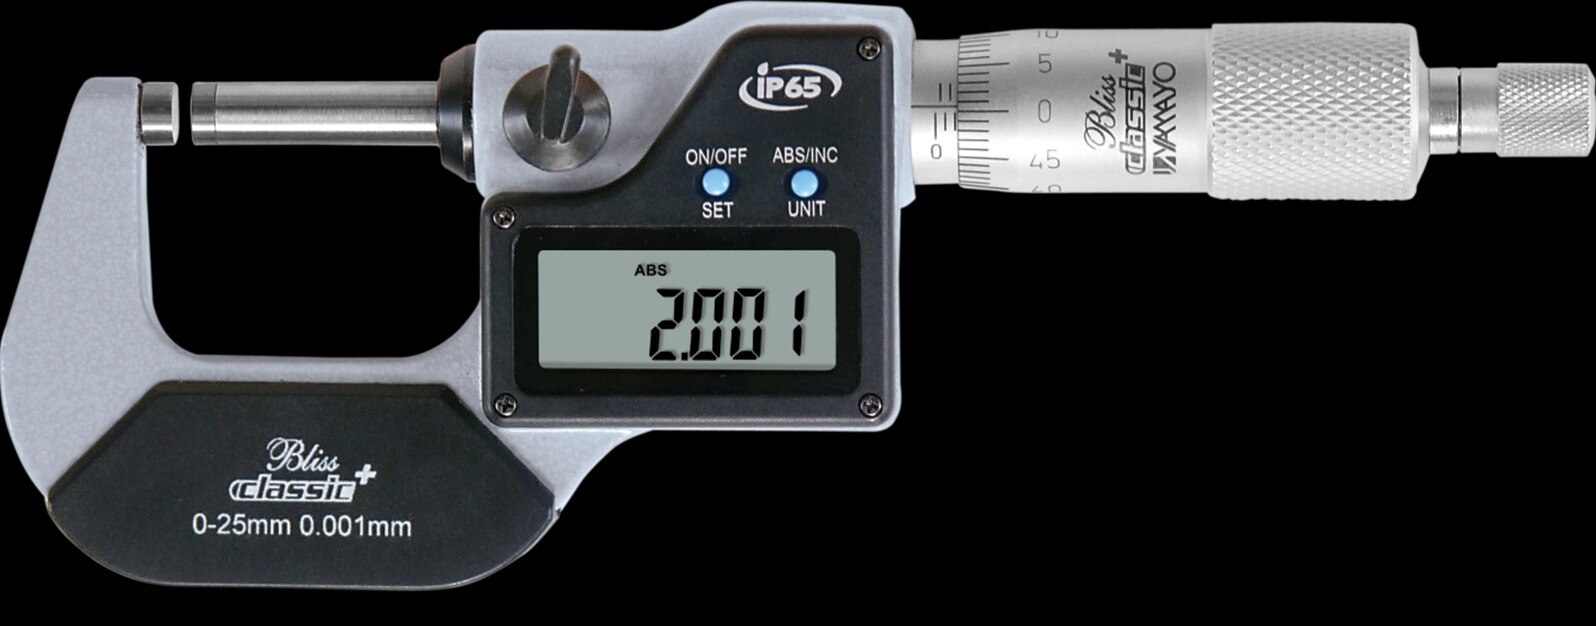
A digital micrometer becomes easier to use consistently when the stand holds the frame without blocking the thimble, ratchet, display, or measuring faces. By the end, you will know how to mount the instrument, interpret the 100 mm claim, compare stand specifications, select the right support for your workpiece, and verify the complete setup before relying on its readings.
Key takeaways
- Clamp the micrometer frame, never the thimble or ratchet.
- Treat 100 mm capacity as range information, not proof of compatibility.
- Check zero, alignment, contact pressure, and repeatability before recording results.
- Choose a stand when repeatable hand-free readings matter more than fixture flexibility.
How to Mount a Digital Micrometer Without Losing Alignment
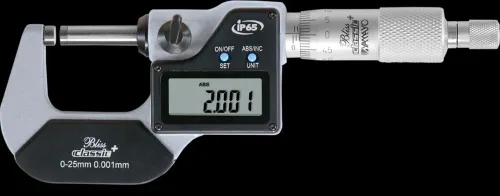
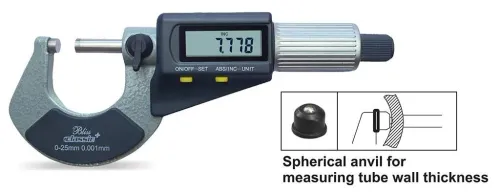
Place the micrometer frame in the stand’s shaped clamp, not against the thimble or ratchet. Match the clamp opening, frame thickness, throat depth, and measuring range to the instrument; a stand for a 0–25 mm micrometer may not hold a 25–50 mm model safely. A “100 mm capacity” label alone does not confirm compatibility.
- Secure the stand on a broad, heavy base or bolt it to the bench. Check that the base does not rock and that the mounting-hole pattern suits your bench.
- Position the frame so the anvil and spindle face the workpiece squarely. Set the contact-point height and use the stand’s adjustment range to bring the measuring axis onto the part centreline.
- Tighten the clamp gradually on the frame’s rigid section. Leave clear access around the thimble, ratchet, data-output connector, and Bluetooth hardware; none should touch the stand or workpiece.
- Clean the anvil and spindle faces, close the micrometer gently, then verify zero using the manufacturer’s procedure. Check several calibrated standards across the range, not zero alone.
- Measure a known setting repeatedly at the intended force before and after final clamp tightening. A changed reading means the clamp has distorted the frame or shifted alignment.
This digital micrometer setup must pass that comparison before production use. A 0.001 mm display resolution does not establish ±0.001 mm accuracy. Stable micrometer measurement depends on the instrument’s accuracy specification, stand rigidity, alignment, force, and temperature during the actual check.
What the 100 mm Capacity Claim Actually Tells You
A 100 mm capacity label does not automatically mean a 0–100 mm micrometer range. It usually describes the clearance available in the stand, but sellers use the term inconsistently. Confirm what the number measures before comparing micrometer stands in Hyderabad.
| Meaning of “100 mm capacity” | What it describes | Specification that confirms it |
|---|---|---|
| Micrometer range | The measuring span of the instrument | Micrometer range, such as 0–25 mm or 75–100 mm |
| Frame clearance | The largest micrometer body or frame the holder accepts | Maximum frame thickness, clamp opening, and throat depth |
| Workpiece clearance | Space between the contact point and base or support | Contact-point height, stand height, and adjustment travel |
| Stand capacity | A seller’s general size label | Dimensioned drawing stating exactly what the 100 mm refers to |
Request these micrometer stand specifications before ordering: compatible outside-micrometer range, maximum frame thickness, clamp or V-block dimensions, base length and width, stand height, adjustment travel, mass, contact material, locking method, and mounting-hole pattern. “Heavy duty” does not confirm fit.
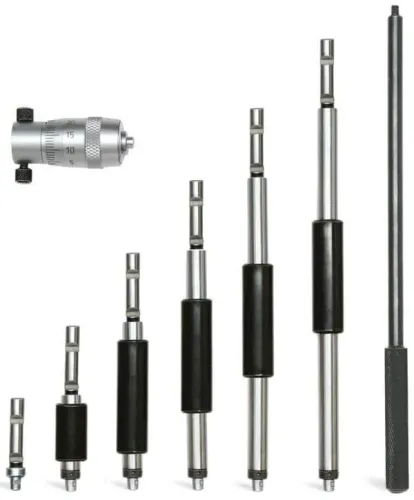
A 0–25 mm holder may not accept a 25–50 mm micrometer because the frame, throat, clamp opening, and measuring-face position change. Do not substitute a bench micrometer, comparator stand, or internal-micrometer fixture; each uses a different support arrangement.
Check the instrument’s accuracy separately from its 0.001 mm display resolution, then repeat a known gauge measurement after tightening the clamp. If the reading shifts, the holder is distorting or misaligning the micrometer.
How to Build a Stable Digital Micrometer Measurement Routine
A 0.001 mm display does not make a complete system accurate to ±0.001 mm. For a stable micrometer measurement, obtain the micrometer’s accuracy specification and check repeatability with the stand, workpiece, and intended force.
Use this sequence for a digital micrometer setup:
- Let the micrometer, stand, gauge, and workpiece reach the same temperature; use 20°C as the reference for precision inspection.
- Clean the anvil, spindle, gauge, and contact area. Remove chips, oil films, and burrs.
- Zero or verify the micrometer against a suitable gauge before the measuring run.
- Support the workpiece close to the measuring zone and present it squarely.
- Close with the ratchet or force-control device, not by pushing the thimble.
- Record repeated readings without loosening the stand, then repeat after tightening its clamp.
Keep the setup away from direct sunlight, machining heat, cooling-air streams, and vibration. Warm hands can shift a small reading, so handle the frame rather than the measuring faces.
A broad base or secure bench fixing matters. A narrow base, high centre of gravity, or flexible clamp lets the assembly rock. Tighten the clamp gradually and compare a known setting before and after tightening; frame distortion can change alignment.
| Error | Will the stand correct it? | Control |
|---|---|---|
| Cosine error | No | Align the spindle and anvil with the measurement axis |
| Part flexure | No | Reduce contact force and support the part nearby |
| Burrs or dirt | No | Clean and deburr the contact area |
| Out-of-round geometry | No | Rotate the part and record the maximum or minimum |
| Micrometer calibration or pitch error | No | Verify against traceable gauges |
| Hand-induced movement | Yes, partly | Use the stand and repeat the reading |
When a Stand Is Better Than a Fixture, V-Block, or Height Gauge
A micrometer stand suits repeatable outside measurements when the workpiece must rest on a stable surface and the spindle needs free, straight access.
It is strongest for shafts and round pins, provided the anvil and spindle meet the axis squarely; a V-block is better when the shaft must be supported along its length or rotated between readings.
| Support method | Best match | Limitation |
|---|---|---|
| Micrometer stand | Shafts, pins, and repeated diameter checks | It cannot correct poor spindle alignment or uncontrolled measuring force |
| V-block | Long shafts, cylindrical parts, and parts needing rotation | It is awkward for very short pins and does not locate irregular profiles |
| Custom fixture | Irregular parts, keyed components, and parts with a defined datum | It takes design time and can hide contact or seating errors |
| Height gauge on granite | Heights, steps, hole locations, and dimensions from a granite datum | It is not a substitute for an outside micrometer for direct thickness or diameter measurement |
| Handheld micrometer | Thin wire and one-off checks where access is limited | Hand pressure and wire deflection reduce repeatability |
For thin wire, use the micrometer’s ratchet or friction thimble and support the wire without crushing it. A stand helps, but it does not control excessive force.
Ask for micrometer stand specifications covering compatible range, base size, stand height, adjustment travel, contact material, clamp design, mass, and frame clearance. Before acceptance, measure a known setting repeatedly with the clamp loose and tight; a changed reading indicates distortion or misalignment.
How to Compare Micrometer Stands in Hyderabad Before Ordering
Compare the complete setup, not the stand’s 100 mm label. Ask whether the quotation covers an outside-micrometer holder, bench micrometer, comparator stand, or internal-micrometer fixture; these devices are not interchangeable. For micrometer stands for digital measurement in Hyderabad, also state whether you need hand loading, repetitive production gauging, or laboratory inspection.
| Application | Suitable choice | Evidence to request |
|---|---|---|
| Hand loading | Accessible outside-micrometer holder | Clamp clearance, contact-point height, and adjustment range |
| Production gauging | Rigid stand with controlled part location | Base weight, mounting-hole pattern, repeatability readings, and loading method |
| Laboratory inspection | Fine-adjustment stand with documented verification | Alignment procedure, calibration records, and setting-standard results |
Ask the Hyderabad supplier to confirm compatibility with your micrometer’s frame shape, spindle travel, ratchet or friction drive, lock, display, and data-output hardware. A stand that touches the thimble or blocks the ratchet can change force and invalidate the reading.
Yamayo Instruments can help compare the holder, digital micrometer, and application rather than treating the 100 mm figure as a complete specification.
Verify the system before acceptance: let the stand, micrometer, workpiece, and setting standard reach 20 °C; support the part close to the measuring zone; present it squarely; and record repeated readings. Obtain the micrometer’s accuracy specification separately from its 0.001 mm resolution.
Keep the serial numbers, temperature, operator, part identification, setting result, and repeatability readings together. The stand reduces hand movement, but it cannot correct burrs, dirt, flexure, cosine error, or an out-of-round part.
Related product
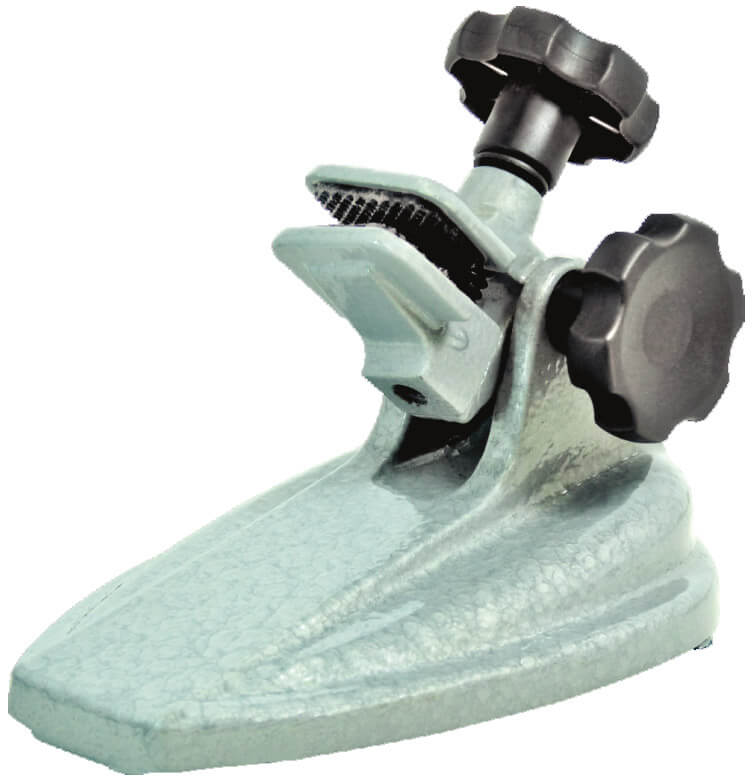 | Micrometers Micrometer Stands The Micrometer Stand is a precision measuring accessory designed to securely hold outside micrometers up to 100 mm capacity,... View product → |
Frequently asked questions
How should you mount a digital micrometer in a stand?
Place the micrometer frame in the stand’s shaped clamp. Match the clamp opening, frame thickness, throat depth, and measuring range, then align the anvils with the workpiece before tightening.
Does a 100 mm capacity label fit every digital micrometer?
No. The label describes the stated capacity, but it does not confirm the clamp opening, frame thickness, throat depth, or compatibility with a specific 0–25 mm or 25–50 mm micrometer.
How do you create a stable digital micrometer measurement routine?
Secure the stand on a rigid surface, clean the anvils and workpiece, check zero, apply consistent ratchet pressure, take repeated readings, and record temperature and instrument identification when traceability matters.
When is a micrometer stand better than a fixture, V-block, or height gauge?
Use a stand for quick, repeatable hand-free measurements of accessible features. Choose a fixture for dedicated part location, a V-block for cylindrical workpieces, and a height gauge for vertical measurement and layout.
What should you compare before ordering micrometer stands in Hyderabad?
Compare clamp dimensions, supported micrometer ranges, throat depth, base rigidity, adjustment features, workpiece clearance, finish, replacement parts, and the supplier’s ability to confirm fit for your instrument.