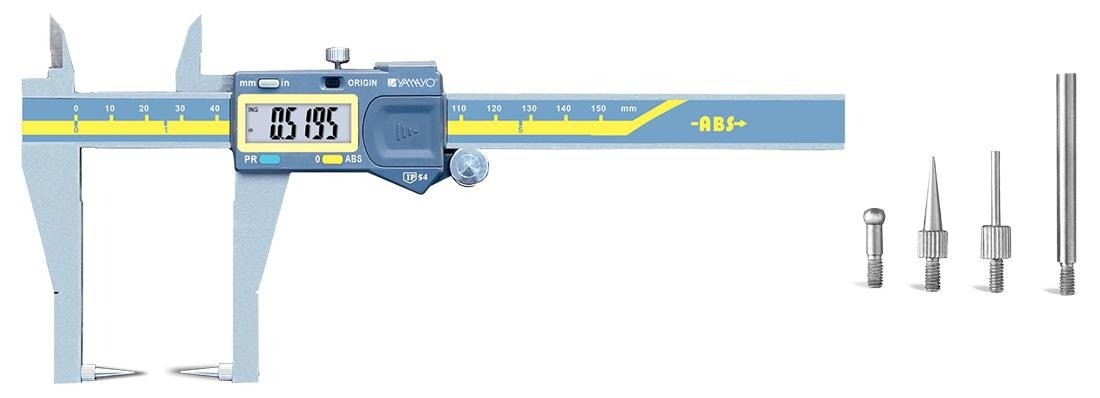
A “screw protected” caliper can mean a slider-lock screw or manufacturer wording rather than a recognised ingress-protection class, so the phrase alone does not tell you how the instrument will behave around coolant, chips, or dust. By the end, you will know how to interpret IP54 and IP67 claims, take repeatable measurements, verify the instrument, maintain it, and specify the right model for workshop inspection.
Key takeaways
- A slider-lock screw holds the reading; it does not prove water or dust protection.
- Clean the jaws, align them squarely, and use light, repeatable measuring force.
- Verify accuracy against certified gauge blocks before trusting critical measurements.
- Choose IP-rated protection only when the stated dust and water exposure matches your workshop.
What “Screw Protected” Means—and What the IP Code Proves
“Screw protected” is not an IP classification. On a digital caliper, the screw usually locks the slider in position so you can read or transfer a dimension. It does not seal the electronics, control measuring force, or make the instrument waterproof.
Treat manufacturer wording as a feature description, not proof of enclosure protection. Look for an IP code assigned under IEC 60529 and request the exact model’s test documentation.
| IP code | What it proves | What it does not prove |
|---|---|---|
| IP54 | Limited dust ingress is permitted; water splashes are resisted | Protection from coolant flooding, solvent washing, or immersion |
| IP67 | Dust-tight enclosure; temporary immersion under defined test conditions | Protection from continuous immersion, steam cleaning, or every coolant exposure |
Neither rating protects a caliper from abrasive chips lodged in the slider or guarantees accurate measurement while submerged. Chips can stop full jaw closure, while coolant residue can contaminate the measuring faces. Wipe the beam and contact faces, dry the instrument, and check zero after exposure.
The exact model number matters because two screw digital calipers in Hyderabad can use different seals, ranges, and stated limits. For dust water protected digital calipers, compare the model datasheet, IP test report, operating restrictions, calibration information, and service instructions—not the word “protected” alone. Availability does not establish ingress protection.
How to Take a Reliable Measurement on a Workshop Part
A reliable reading starts with clean contact, not the number on the display. Use this sequence:
- Remove swarf, coolant, oil, and burrs from the workpiece and measuring faces. Wipe the beam and jaws.
- Close the jaws gently and verify zero. Do not force a contaminated slider or rely on the screw lock to correct poor contact.
- For an outside dimension, seat the part against the measuring faces, not the jaw tips. Hold the caliper square to the feature and apply light, consistent force.
- For a bore, align the inside jaws with the bore axis, then rock them lightly to find the maximum reading.
- For depth or step measurements, seat the reference face fully and keep the depth rod or step faces square.
A skewed caliper introduces cosine error; rocking, burr contact, excessive force, and jaw misalignment also change the reading. Temperature differences between the part and caliper alter both dimensions, while worn jaws create persistent error. A digital display cannot correct any of them.
Check protection separately from accuracy:
| Protection check | What it answers | What it does not prove |
|---|---|---|
| Water resistance | Whether the stated IP rating covers defined dust or water exposure | Accuracy, coolant flooding, solvent washing, or submerged measurement |
| Measurement check | Whether clean, aligned contacts produce a repeatable result | Resistance to water or contamination |
Dry the tool after exposure. A screw-protected digital caliper remains dependent on technique, including when comparing digital calipers in Hyderabad.
How to Verify Accuracy and Decide Whether a Caliper Is Enough
Accept a caliper reading for production only after the instrument passes an identity, condition, and reference check. On receipt, inspect the jaws, beam, slider, depth rod, display, seals, and battery compartment; record the exact model and serial number, and confirm the calibration certificate, due date, method, and traceability.
Run this check before releasing the instrument:
- Close clean jaws gently and record the zero three times to assess zero stability.
- Measure a calibrated gauge block, setting ring, or certified master three times, using the same light force and alignment used on parts.
- Compare the results with the manufacturer’s maximum permissible error (MPE) for that range and configuration.
If zero, reference-size accuracy, or repeatability fails, stop using the caliper for acceptance decisions. Clean the contact faces and recheck it; if it still fails, send it for calibration or service.
A 0.01 mm display resolution means only that the increment shown is 0.01 mm. It does not prove 0.01 mm accuracy. Check ISO 13385-1, the stated MPE, calibration method, range-specific error, and measurement temperature and conditions before choosing dust water protected digital calipers.
| Option | Best use | Limitation |
|---|---|---|
| Caliper | Fast, versatile general dimensions | Not ideal for tight external tolerances |
| Micrometer | Controlled-force external measurement | Slower and less versatile |
| Bore gauge | Internal diameter comparison | Needs a reference setting |
| Height gauge | Layout and height work | Requires a surface plate |
| Plug or ring gauge | Repeatable go/no-go checks | Limited to defined sizes |
Carbide jaws resist wear on abrasive cast, forged, or rough surfaces. They do not correct burrs, skew, or excessive force.
How Workshop Contamination and Temperature Affect Service Life
After each shift, clean the caliper before oil, coolant, grinding dust, swarf, chips, or condensation can reach the sliding surfaces.
1. Wipe the measuring faces and beam with a clean, lint-free cloth. Remove particles before moving the slider; trapped grit can score the beam or stop the jaws closing fully.
2. Avoid abrasive cleaners. Do not expose the caliper to solvents unless the manufacturer permits that specific chemical. Never force a contaminated slider; stop, clean it, and check for damage.
3. Close the jaws only after they are clean, then confirm zero. Store the caliper dry in its case or another protected location where tools and chips cannot strike it.
4. Let the caliper, workpiece, and surroundings reach a stable temperature before close-tolerance checks. Moving it between a warm machine shop, a cold store, and a warmer or colder part changes both the instrument and the dimension being measured.
5. Inspect the slider, jaws, depth rod, display, seals, and battery compartment for grit, damage, corrosion, loose parts, or a fading display.
Replace the battery using the model’s procedure. Preserve every gasket, seal, cover, and retaining screw; a pinched seal can remove the protection you rely on.
Obtain the selected model’s operating and storage temperature, battery type and life, measuring range, resolution, accuracy, and repeatability. Do not transfer figures from another protected caliper.
How to Specify and Buy the Right Protected Caliper in Hyderabad
Choose the part before choosing the instrument. For digital calipers in Hyderabad, specify range, jaw length, depth capacity, display orientation, and the configuration needed for recessed, oversized, or difficult-to-reach features. The same checks apply when comparing screw digital calipers in Hyderabad.
- Request the exact IP rating, model number, manufacturer datasheet, ISO 13385-1-relevant performance information, stated maximum permissible error, calibration certificate, traceability details, and operating limits.
- Confirm whether the certificate identifies the instrument by serial number and states the calibration method, reference standards, date, and measurement conditions.
- For digimatic calipers in Hyderabad, remember that “Digimatic” is Mitutoyo’s data-output ecosystem, not a generic name for every electronic caliper.
- Before promising SPC records, confirm the connector type, output protocol, cable length, compatible input tool, and software. Do not assume direct USB connectivity.
- Check local inspection before purchase, lead time, replacement batteries and parts, calibration support, service response, and operator training.
Data transfer reduces transcription errors; it does not create traceability by itself. Your record still needs the instrument ID, calibration status, operator, part number, procedure, and measurement environment.
| Option | Confirm before purchase | Why it matters |
|---|---|---|
| IP54 | Splash and limited dust protection | Not coolant flooding or immersion |
| IP67 | Dust-tight and temporary immersion rating | Still requires cleaning and drying |
| Output | Cable, protocol, interface, software | Prevents unusable SPC data |
Yamayo Instruments can help compare models and support requirements, but availability must not replace documented conformity and verification.
Related products
 | Calipers IP54 Digimatic Calipers The IP54 Digimatic Caliper is a precision digital measuring instrument designed for accurate external, internal, depth, and... View product → |
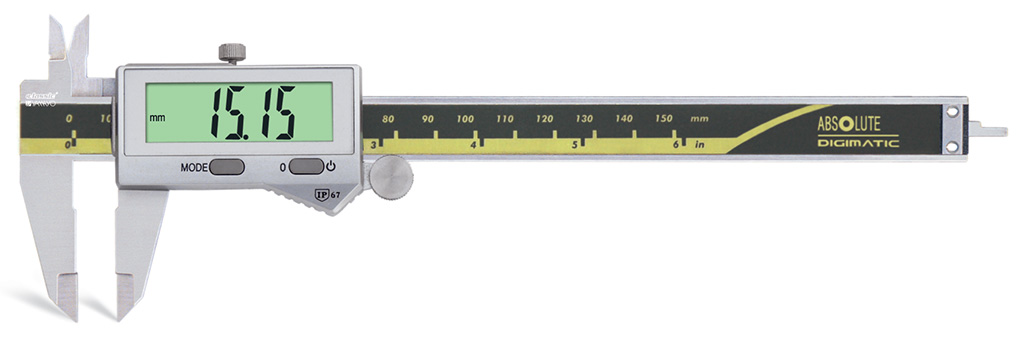 | Calipers Digimatic Calipers with Dust/Water Protection Confirming to IP67 Level Digimatic Calipers with Dust/Water Protection (IP67) The Digimatic Caliper with Dust and Water Protection is a high-performance digital measuring... View product → |
Frequently asked questions
What does the screw on a screw-protected digital caliper do?
The screw usually locks the slider so you can hold or transfer a measured dimension. It does not seal the electronics, regulate measuring force, or prove waterproofing.
How do you take a reliable measurement with a digital caliper?
Clean the part and jaws, close the jaws gently to zero the caliper, keep the jaws square to the feature, and apply consistent light pressure. Repeat the measurement to check the result.
How can you verify a digital caliper’s accuracy?
Check the caliper against suitable certified gauge blocks across its working range, record the readings, and compare the observed error with your drawing or inspection tolerance.
When is a digital caliper not enough for workshop inspection?
Use another instrument when the tolerance is too tight, the feature is difficult to access, the surface is irregular, or you need greater control of measuring force and traceability.