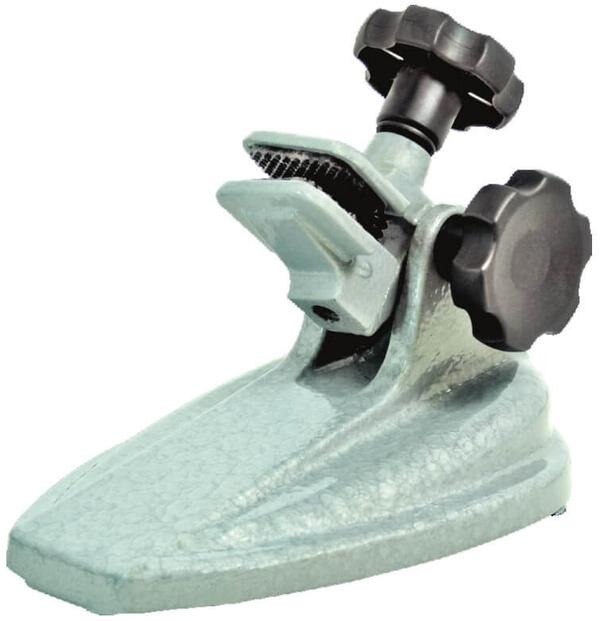
A pointed micrometer can reach a drill web, groove, keyway, or slot, but small changes in angle, seating, and hand position can change the result. By the end, you will know how to mount and align the instrument, establish a repeatable work position, check whether a stand fits, and recognise when hand-held measurement is the better choice.
Key takeaways
- Clean the micrometer, stand, and workpiece before taking a reading.
- Seat both points fully; do not measure on an edge or burr.
- Confirm the stand holds your micrometer without blocking its mechanism.
- Use a different setup when the part cannot sit repeatably against the stand.
What the stand fixes—and what it leaves to the operator
A micrometer stand point micrometer setup fixes the frame, spindle axis, and usual workpiece presentation; it does not fix the measurement itself. Holding the instrument in one orientation reduces changes in hand position and helps you bring each part to the same contact location.
- Orient the frame so the spindle axis approaches the feature at the intended angle. Place the clamp on a rigid frame surface, then tighten it against that surface to prevent twisting.
- Keep the clamp clear of the spindle, thimble, ratchet, and lock. Pressure on any of these parts can restrict travel, shift readings, or make operation unsafe.
- After tightening, open and close the spindle through its working range. Travel must remain smooth, with no binding caused by a distorted frame or misaligned holder.
- Present the workpiece against a stable stop or support, but keep the operator responsible for seating it squarely and consistently.
A micrometer stand for inspection does not control measuring force, improve calibration, or correct damaged points, dirt between contacts, excessive ratchet force, cosine error, or an out-of-square part. Use the ratchet or friction thimble consistently and inspect the contact points and workpiece before reading.
The stand improves repeatability, meaning repeated readings agree under the same conditions. It does not improve calibrated accuracy: the instrument’s traceable calibration, resolution, contact geometry, and condition still determine whether the reading is correct.
A point micrometer stand setup from cleaning to recorded reading
1. Inspect the pointed anvil and spindle for flats, burrs, corrosion, chipped tips, or other damage. A damaged point can produce a false reading or mark the part.
2. Clean both contacts and the measured feature with a lint-free cloth and suitable cleaner. Remove dirt and loose burrs, but do not file, polish, or otherwise remove material that defines the dimension.
3. Mount the frame in the same orientation used for inspection. Keep both pointed contacts visible, and confirm that the spindle and lock remain accessible. Tighten the support against a rigid frame surface, never against the spindle, thimble, ratchet, or lock; then check that spindle travel remains smooth and the frame does not twist.
4. Let the micrometer, stand, part, and reference standard reach the inspection temperature, normally 20 °C. Verify zero with the instrument mounted. A stand can change access and handling enough to make a free-hand zero check unrepresentative.
5. Secure the part so it cannot roll, tilt, or shift. Close the spindle with the ratchet or friction thimble, not the plain thimble, and stop at the same contact condition used for every measurement. Excess force can compress a soft feature or distort the reading.
6. Record the reading immediately with its units, part identity, feature location, and micrometer identification or serial number. Include the point micrometer stand setup orientation when another operator must reproduce the measurement.
How to seat the points on webs, grooves, keyways, and slots
Seat the points on the feature’s actual faces, not on the nearest edge. A micrometer stand for inspection fixes the instrument, but the workholding must also stop a shaft, plate, or small component from rolling or tilting.
- Support a shaft in a V-block, a plate on parallels, an angled face on an angle plate, or a small part in soft jaws. Tighten only enough to prevent movement.
- Set the micrometer so the spindle axis approaches the intended faces at the specified angle. An angled approach creates cosine error and can make a point ride an edge instead of reaching the true bottom or apex.
- Establish the same position with a stop, marked datum, or fixed fixture. Rock the part only as an intentional seating check, then return it to that reference.
- Clean and inspect the feature before closing the spindle. Exclude chamfers, burrs, drill flutes, radii, raised edges, and dirt; a point can mistake any of them for thickness or mark a soft surface.
| Feature | Support and reference | Seating check |
|---|---|---|
| Drill web | V-block with a fixed axial stop | Keep both points on the web flats, not in a flute or against its radius |
| Narrow groove | Parallels or soft jaws with a marked datum | Approach the groove walls squarely; reject chamfer contact |
| Keyway | V-block or angle plate with a shaft stop | Locate the keyway bottom or specified side faces, not the raised rim |
| Slot | Parallels or soft jaws to prevent tilting | Align both points with the specified slot faces and avoid burrs at the opening |
How to confirm that a stand actually fits your micrometer
A stated 100 mm capacity describes the micrometer’s nominal measuring range, not whether its body fits the stand. Compare the frame dimensions, frame thickness, throat depth, vertical clearance, clamp or holder geometry, spindle travel, and access to the thimble, ratchet, and lock.
Leave enough opening for the actual web, groove, shoulder, or slot; a rigid stand that blocks the feature is unusable.
Micrometer type affects fit:
| Instrument | Fit concern | Check before purchase |
|---|---|---|
| Standard outside micrometer | Conventional frame shape and anvil access | Confirm frame thickness and clamp seating |
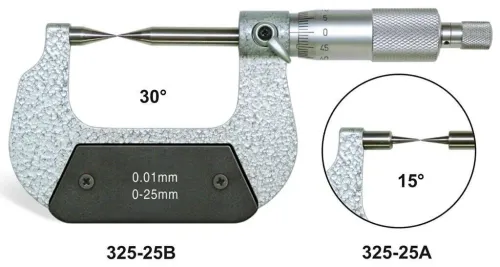
| Point outside micrometer | Pointed contacts need unobstructed throat and feature access | Confirm the stand does not block the web, groove, or shoulder |
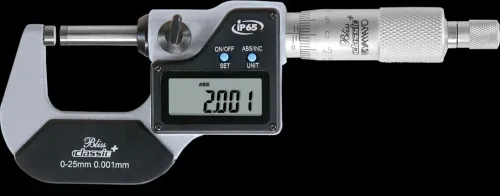
| Digital point micrometer | Display, battery cover, and electronic frame can change clearance | Confirm holder geometry and access to controls |
Different frame shapes and measuring ranges may not share a holder, even when both instruments fall within 100 mm.
For a micrometer stand for inspection, check:
- Rigid base and a clamp that supports the frame, not the spindle, thimble, ratchet, or lock
- Height and throat adjustment with sufficient spindle-travel clearance
- V-blocks, stops, parallels, soft jaws, or other workholding options
- Repeatable orientation and thermal behaviour during the inspection cycle
A micrometer stand point micrometer arrangement must preserve the same contact angle and feature view on every part. Yamayo Instruments can help identify the frame and holder dimensions to verify before ordering; treat “universal” as a claim to test, not proof of fit.
Related products
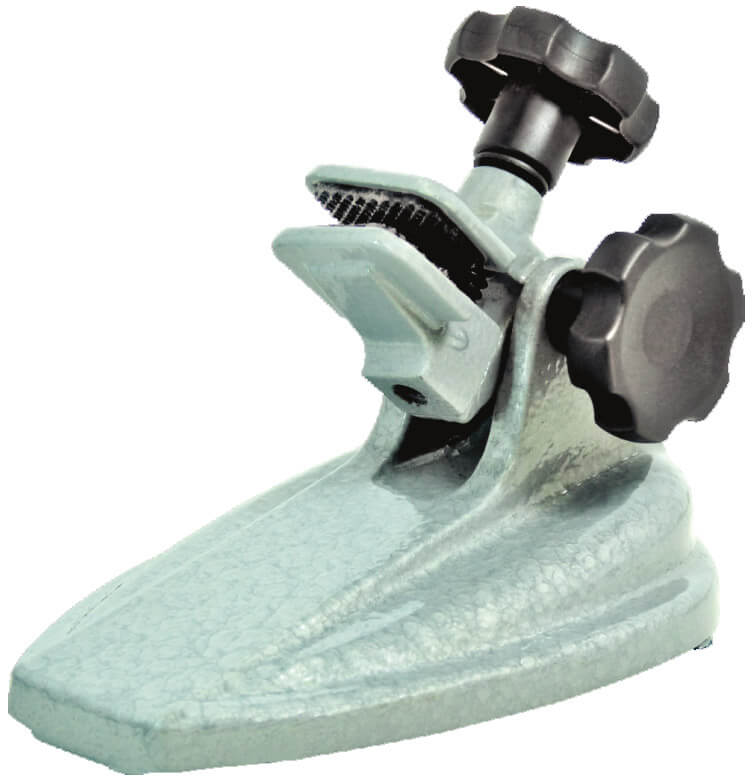 | Micrometers Micrometer Stands The Micrometer Stand is a precision measuring accessory designed to securely hold outside micrometers up to 100 mm capacity,... View product → |
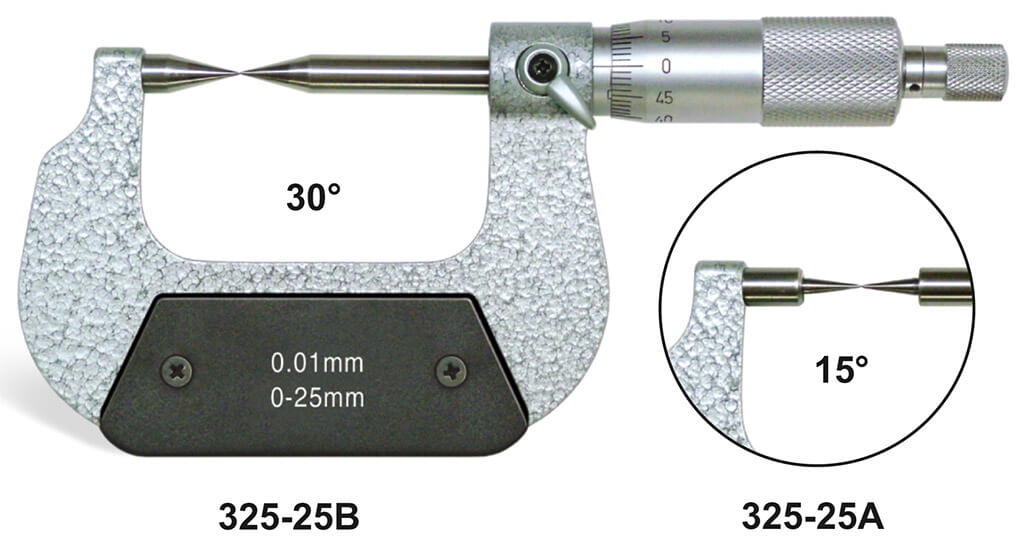 | Micrometers Point Outside Micrometers The Point Outside Micrometer is a specialized precision measuring instrument designed for measuring web thickness of... View product → |
When a stand is the wrong setup for the job
Use a hand-held point micrometer when the part is large, awkward, flexible, inaccessible, or must be inspected in several orientations. Moving it to a fixed stand can cause deflection, block access, or consume more setup time than the measurement warrants.
| Setup | Choose it when | Main risk |
|---|---|---|
| Hand-held | The part moves or needs several orientations | Inconsistent axis or contact angle |
| Stand | Repeated parts share one datum and fixed workholding helps | Obstruction, thermal drift, or false repeatability |
Choose a stand for repeated parts when a fixed axis and consistent workholding let you reproduce the same presentation. The stand improves repeatability; it does not create calibrated accuracy, control measuring force, or compensate for a damaged point or an out-of-square part.
Treat 20 °C as the dimensional reference. Stabilize the stand, fixture, micrometer, part, and reference before checking zero in the mounted inspection orientation. Moving a steel stand and micrometer between a warm shop, a cooler inspection room, or direct sunlight can produce drift, especially when their materials expand at different rates.
For a point micrometer for setup in Ludhiana, specify the same requirements used at the inspection site:
- Confirm frame fit, clamp access, spindle-travel clearance, and workholding.
- Control temperature and shield the assembly from direct sunlight.
- Record instrument identification and calibration traceability.
- Perform a mounted reference check after thermal stabilization.
If you cannot reproduce the feature location and contact angle, the stand has not solved the measurement problem.
Frequently asked questions
What does a micrometer stand fix during point micrometer measurements?
It fixes the micrometer frame, spindle axis, and usual workpiece presentation. You still control contact pressure, point seating, alignment, and reading technique.
How do you set up a point micrometer stand?
Clean the instrument, stand, and workpiece; secure the micrometer; check zero and contact condition; position the part; seat the points; and record the reading with the part presented consistently.
How should point micrometer tips contact webs, grooves, keyways, and slots?
Place both points fully on the intended measuring surfaces, keep the spindle aligned with the measurement direction, and avoid burrs, corners, radiused transitions, and partial contact.
When is a micrometer stand the wrong setup?
Choose another method when the workpiece cannot rest repeatably, the stand blocks access, the feature requires probing from several directions, or the part is too large, flexible, or irregular for stable presentation.
Related product
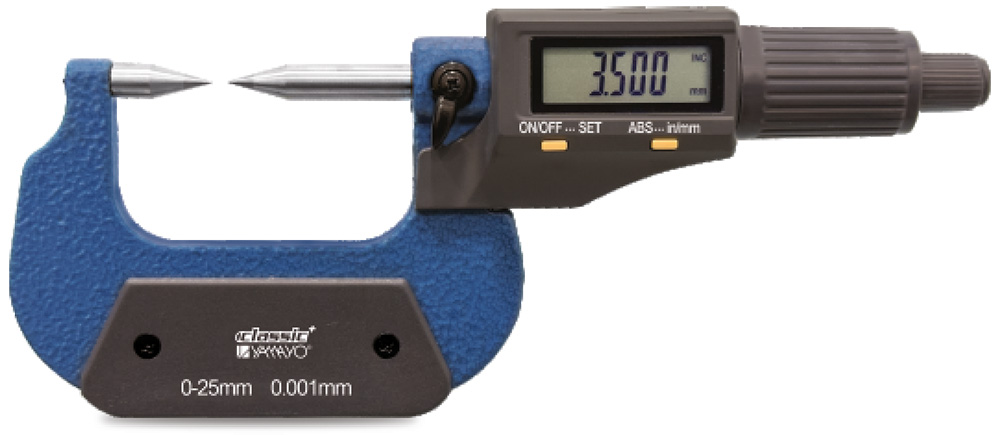 | Micrometers Digimatic Point Outside Micrometer Digimatic Point Outside Micrometer The Digimatic Point Outside Micrometer is a high-precision digital measuring instrument specifically designed for... View product → |