Coolant, chips, abrasive dust and fingerprints can change a close measurement before the spindle moves, while a thin blade can suffer permanent damage from an aggressive cleaning method. By following a controlled cleaning, inspection, verification and storage routine, you can protect the instrument and identify when it must leave production for service.
Key takeaways
- Wipe chips away with a lint-free cloth; never drag grit across the blade.
- Clean the groove and workpiece, then allow both to reach the same temperature.
- Check zero with clean, closed measuring faces before taking readings.
- Record accuracy checks at multiple points across the micrometer’s working range.
Clean Contamination Without Damaging the Blade
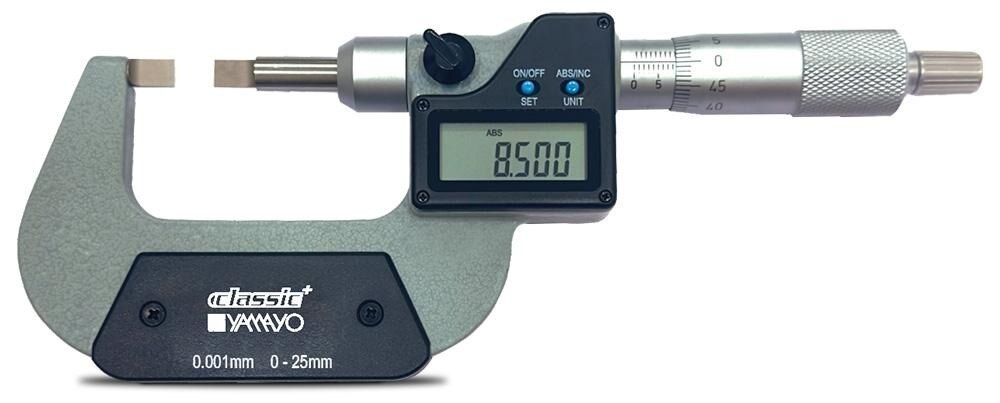
A chip trapped between a blade and the workpiece can produce a false reading and scratch or raise the measuring face. The core of how to care for blade micrometers is to remove contamination without pushing grit into the mechanism or bending the thin blade.
- Hold the micrometer over a clean bench and brush loose chips and abrasive dust away with a soft nylon brush. Do not use a steel pick, abrasive pad, or forceful compressed air.
- Wipe each blade face and the anvil with a clean, lint-free cloth. Wipe along the blade, not sideways across its edge, so the blade does not bend or round.
- Clean the spindle, sleeve, thimble, and ratchet with a separate lint-free cloth. For coolant or cutting oil, lightly dampen the cloth with the manufacturer-approved cleaner; never spray or soak the instrument.
- Use a soft nylon brush or wooden pick at the narrow groove when a chip remains. Lift the chip out rather than dragging it across a measuring face.
- Remove fingerprints with a clean, dry cloth, then dry every surface completely. Moisture left under oil promotes corrosion.
- Inspect both faces under good light. Repeat cleaning if you can see a film, chip, stain, or embedded grit.
Good blade outside micrometer care ends with only a barely visible corrosion-preventive film on exposed nonmeasuring steel. Keep oil off the blade faces and anvil; excess film changes a tight measurement. Never return a coolant-contaminated or struck micrometer to production until it has been checked.
Prepare the Groove, Workpiece and Temperature Before Measuring
A trapped chip can lift a blade, scratch the measuring face and make a narrow groove appear smaller than it is. Knowing how to care for blade micrometers starts with preparing the contact surfaces, seating the blade correctly and controlling temperature.
1. Remove chips from the groove, slot or keyway with a soft brush or clean air directed away from the measuring faces. Wipe the blade faces and the workpiece contact area with a clean, lint-free cloth. Do not measure over coolant film, cutting oil, abrasive dust or a fingerprint.
2. Check that the groove is deep and wide enough for the blade to reach its intended measuring surfaces. Seat the blade squarely in the recess, not against an edge or corner; poor seating creates a low or unstable reading.
3. Close the spindle with the ratchet or friction thimble, not the spindle lock. Rock the micrometer very slightly while approaching the minimum stable reading, then use the same seating direction and measuring force for every repeat measurement. The lock only retains the reading after contact.
4. Let the micrometer and workpiece reach the same stable room temperature before measuring. Keep the instrument away from a hot machined part, sunlight, heaters and cold compressed air, and hold it by the frame rather than warming the blades with your fingers.
A blade micrometer suits narrow recesses, not broad external surfaces. Use a standard outside micrometer when the blade cannot seat repeatably.
Inspect the Mechanism and Perform a Correct Zero Check
Before use, check the blade, frame and operating mechanism for damage that could corrupt a narrow-groove measurement. Inspect both blade tips under magnification for nicks, rolled edges, corrosion and loss of parallelism; a defect at the last millimetre can matter even when the rest looks sound.
- Confirm the frame is not bent or cracked, and that the anvil and blade meet squarely without rocking.
- Turn the thimble through its range. Reject stiff, gritty, uneven or loose movement, spindle backlash, a slipping ratchet, or a lock that fails to hold.
- Close the clean measuring faces gently with the ratchet, not by force. Check zero with the micrometer and reference at the same temperature, then repeat it after opening and closing.
- If the zero is offset, follow the manufacturer’s adjustment procedure and record the correction. Do not alter readings by mental compensation.
| Zero appearance | What it indicates | Required response |
|---|---|---|
| Zero repeats correctly | No obvious offset | Continue with range verification; zero alone does not prove accuracy |
| Small, stable offset | Adjustment or calibration error | Adjust only as specified, then recheck |
| Zero changes between closures | Dirt, wear or damaged mechanism | Remove from service for evaluation |
| Instrument was dropped, struck, over-tightened or used as a clamp | Hidden alignment damage | Do not return it because zero looks acceptable |
For micrometers for maintenance teams, send a failed or unstable instrument for verification and assess measurements taken since its last acceptable check.
Verify Accuracy Across the Working Range and Record the Result
A zero reading proves only that the faces meet at one point. Verify accuracy across the working range with clean, calibrated setting standards that match the micrometer’s range, and let both the standards and instrument reach the same stable room temperature.
- Clean and identify the micrometer and each standard before checking.
- Measure at the lower, middle and upper portions of the range, using the same spindle force and square seating each time.
- Take repeated readings and record the standard value, indication, error, temperature, instrument ID, standard ID and date.
- Compare each error with your drawing tolerance or the manufacturer’s stated accuracy; do not hide a failed point by entering a zero offset.
For micrometers for maintenance teams, set the verification interval from usage rate, required tolerance, coolant or abrasive-dust exposure, previous drift and damage history. A heavily used instrument in a dirty machining area needs tighter checks than a rarely used tool in a clean inspection room. Recheck after a drop, impact, over-tightening or suspected coolant entry.
Remove the instrument from service when a blade tip has a nick, rolled edge, corrosion, visible loss of parallelism or damage from misuse. A thin blade can fail only in its final contact area, so operator compensation is not a repair. If a check fails, assess measurements made since the last acceptable result.
When replacing or verifying equipment, give Yamayo Instruments the required range and tolerance so the comparison uses suitable standards.
Related products
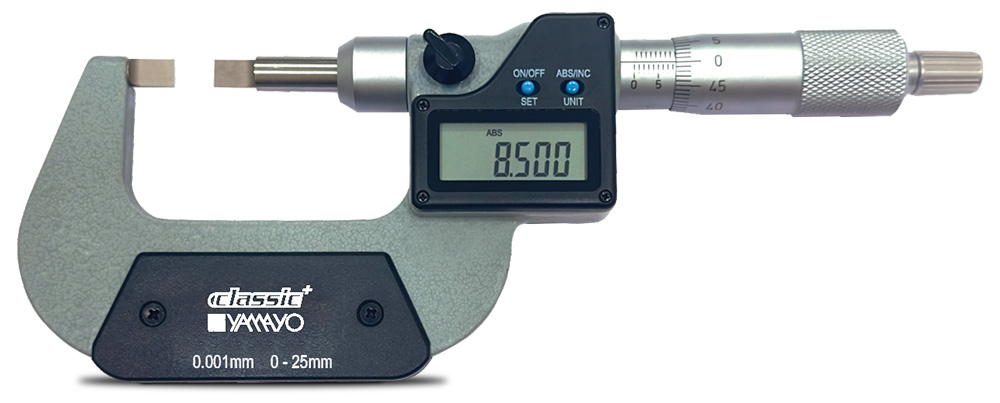 | Micrometers Digimatic Blade Micrometers The Digimatic Blade Micrometer is a precision digital measuring instrument specially designed for measuring groove... View product → |
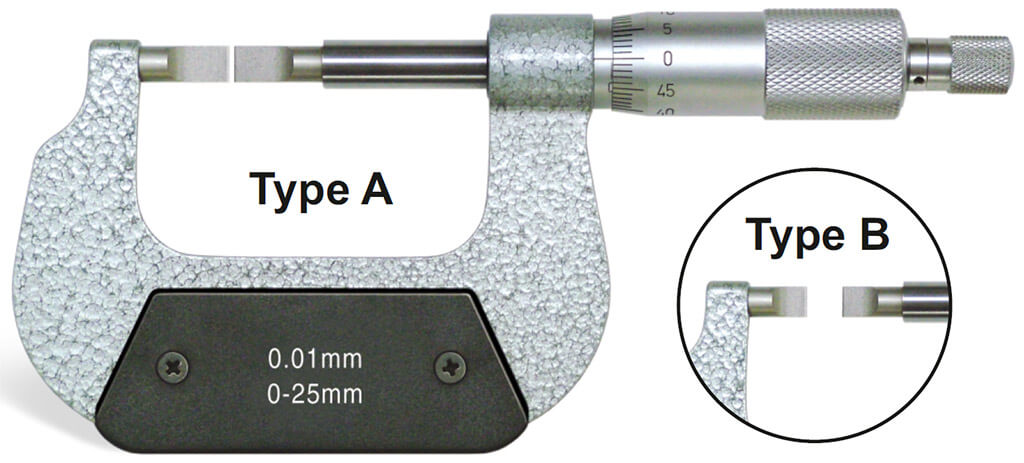 | Micrometers Blade Outside Micrometer The Blade Outside Micrometer is a specialized precision measuring instrument designed for measuring groove diameters, shaft... View product → |
Store the Micrometer Dry, Protected and Ready for the Next Job
A damp micrometer left in a toolbox can corrode overnight, while contact with a punch or file can bend a blade before the next job. Good blade outside micrometer care ends with a dry, protected instrument, not merely a closed thimble.
- Wipe the blade faces, anvil, spindle, frame and thimble with a clean, lint-free cloth. Remove fingerprints, coolant and chips, then dry every surface completely.
- Inspect both blade tips under magnification. Reject the instrument for service if you find a nick, rolled edge, corrosion spot or loss of parallelism; damage at the tip can corrupt narrow-groove readings.
- Leave the spindle slightly open rather than tightly closed. Keep the gap small, so dirt and accidental contact cannot reach the measuring faces easily.
- Put a very light corrosion-preventive film on exposed, nonmeasuring steel surfaces. Keep oil off the blade faces, anvil and spindle contact surfaces because excess film changes a tight measurement.
- Place the micrometer in its padded case in a dry area with stable temperature. Do not leave it against coolant-soaked rags or in a wet toolbox.
Keep this blade micrometer storage routine separate from loose gauges, cutters, files and punches. A drawer divider alone does not stop a thin blade from being struck or scratched. Before returning the case to the maintenance crib, confirm the instrument is dry, the faces are clean, and any defect is clearly tagged for service.
Frequently asked questions
How do you clean a blade micrometer without damaging it?
Remove loose chips first, then wipe the blade and measuring faces with a clean, lint-free cloth. Do not force grit into the spindle or drag hard particles across the blade.
What should you prepare before using a blade outside micrometer?
Clean and deburr the groove and workpiece, remove oil or chips, and let the micrometer and workpiece reach a stable, similar temperature before measuring.
How do you perform a zero check on a blade micrometer?
Clean the measuring faces, close the micrometer using its normal closing force, and confirm that the indicator or scale reads zero. Investigate any offset before measuring.
How do you verify a blade micrometer’s accuracy?
Check the micrometer against suitable certified standards at several points across its working range, compare each result with the stated tolerance, and record the readings.
How should you store a blade micrometer after maintenance work?
Wipe it dry, leave the measuring faces slightly separated, protect the blade from impact, and store it in its case in a clean, low-humidity location.