Choose the micrometer from the feature geometry, tolerance, production rate, and shop conditions—not from the nominal dimension alone. By the end, you will be able to match each feature to a suitable micrometer, specify the range and display, and set up a repeatable inspection method for Kolkata manufacturing conditions.
Key takeaways
- Match flat, ball, blade, and point anvils to the measured feature.
- Choose the smallest 25 mm range that contains the target dimension.
- Standardise contact pressure, alignment, cleaning, and reading technique at every station.
- Control coolant, humidity, and temperature before accepting close-tolerance readings.
Match the Micrometer to the Feature Geometry
A flat-anvil outside micrometer suits an accessible cylindrical diameter, shaft, external width, or plate thickness. Choose the smallest 25 mm range that contains the dimension, such as 0–25 mm or 25–50 mm, rather than using one oversized frame for every part.
The practical answer to which micrometers for suit production measurement in Kolkata is geometry first, nominal size second. Match the contact faces to the feature:
| Option | Feature geometry | When to choose it |
|---|---|---|
| Outside micrometer | Plain outside diameter, thickness, or external width | Use for accessible, regular surfaces with enough contact area. |
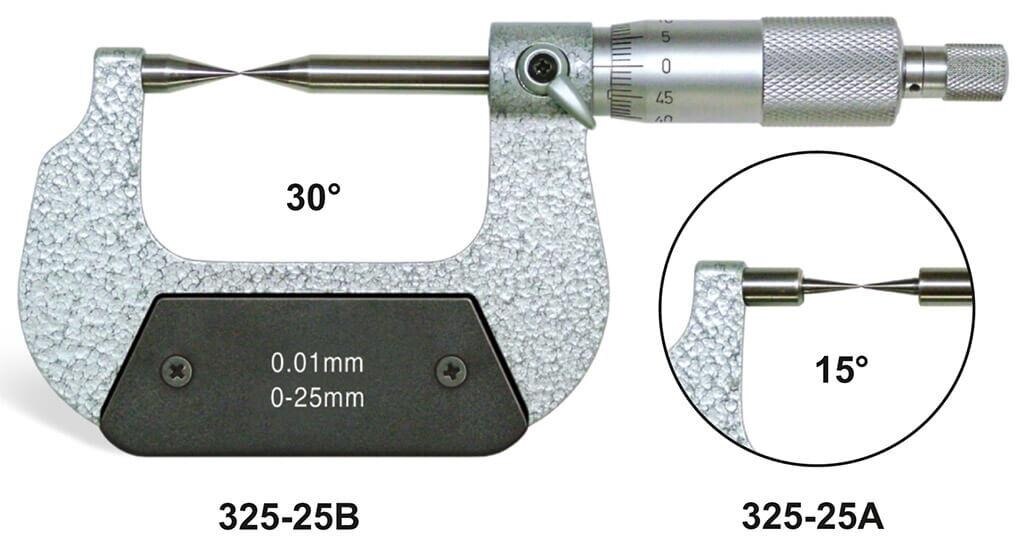
| Point outside micrometer | Thin wall, narrow land, small shoulder, or awkward external step | Use pointed contacts to reach a restricted surface that flat anvils would bridge. |
| Groove micrometer | Internal or external narrow groove | Use when disc-shaped or blade contacts must reach the groove bottom or side faces. |
| Depth micrometer | Recessed shoulder, slot, hole, counterbore, or step depth | Use a narrow rod or interchangeable base when the reference surface is not accessible to an outside frame. |
| V-anvil micrometer | Splined, fluted, or polygonal outside form | Use when the V geometry matches the drawing and flute or lobe count; do not assume the reading equals across-flats or major diameter. |
| Thread micrometer | External screw-thread pitch diameter | Use flank-shaped contacts; an outside micrometer measures over crests and is not a substitute for three-wire or GO/NO-GO inspection. |
For outside micrometers in Kolkata, specify coolant resistance, corrosion protection, and a controlled storage case. Humidity, fingerprints, abrasive dust, and residue can impair spindle travel and contact faces.
Specify Range, Contact Design, and Display Before You Buy
Buy the smallest 25 mm range that contains the target dimension: 0–25 mm, 25–50 mm, or 50–75 mm. A smaller frame reduces unused travel and simplifies handling. Compare the stated error limits, repeatability, measuring-face flatness and parallelism with the drawing tolerance; 0.001 mm resolution does not mean 0.001 mm accuracy.
| Choice | Compare | Production consequence |
|---|---|---|
| Range | Smallest suitable 25 mm span versus one large-range tool | Separate tools simplify setting and reduce handling errors |
| Contact design | Flat anvils for plain diameters; narrow, pointed, or blade contacts for restricted features | Match the contact to the surface or the spindle will touch an edge instead of measuring the intended dimension |
| Force control | Ratchet or friction thimble versus plain thimble | Repeatable force helps operators; it cannot correct misalignment, burrs, dirt, heat, or worn faces |
| Display | Mechanical, counter-type, digital, or digimatic | Mechanical avoids batteries; digital speeds reading; digimatic adds data output for inspection records but needs coolant protection and battery control |
Check frame clearance around shoulders, flanges, and fixtures before ordering. Specify storage and use conditions for coolant, abrasive dust, fingerprints, humidity, and corrosion protection; wipe the tool and keep it in a controlled case.
Request calibration over several points, not zero alone. The report should cover spindle travel, contact-face condition, parallelism, repeatability, and the setting standard. This disciplined micrometer selection for manufacturing prevents a readable display from disguising a measurement decision you cannot defend.
Use the Same Measurement Method at Every Workstation
Place the workpiece squarely between the anvil and spindle, use the same contact points, and close the micrometer with the same ratchet or friction-thimble action every time. A ratchet gives repeatable approximate force; it cannot correct misalignment, dirt, burrs, thermal growth, or worn faces.
1. Clean the anvil, spindle, and measuring surface with a lint-free cloth. Remove coolant film and inspect the edge for a burr; a burr can create a false high reading. Deburr the part before measurement, then wipe it again.
2. Check zero with the faces closed, or verify the reading against a certified setting standard for larger ranges. Stop using the instrument if the zero is outside its stated limit.
3. Keep the spindle axis square to the feature. For a diameter, rock the micrometer gently through the point of minimum reading, then repeat the movement consistently. Do not force a flat-anvil micrometer onto a shoulder or narrow recess.
4. Use the same ratchet count or friction-thimble technique at every station. Never tighten the frame by hand; excessive force compresses soft material and changes the result.
5. Let the tool and part reach the inspection area’s temperature before measuring. Hold the frame, not the part, and avoid measuring immediately after machining.
Record the dimension, unit, part number, feature location, instrument ID, and operator with each required reading. A Point outside micrometer suits a narrow groove or shoulder, but its concentrated contact is unsuitable for broad soft surfaces; use the correct tool rather than forcing one method everywhere.
Account for Kolkata’s Coolant, Humidity, and Temperature Changes
Keep the inspection area close to 20 °C when tolerances are tight. A 100 mm steel feature changes by roughly 5.5–6 µm over a 5 °C shift, enough to turn an acceptable part into a false rejection. Let the part and micrometer reach the same temperature before measuring; record the temperature when results are disputed.
For outside micrometers in Kolkata, state coolant resistance, contamination control, and corrosion protection in the purchasing specification. Wipe spindle, anvil, and frame after each shift with a clean lint-free cloth; remove coolant residue before it dries. Keep abrasive dust away from the measuring faces, and never grip those faces with bare, wet fingers.
Ask the supplier for evidence, not just a certificate:
- A calibration certificate covering the micrometer’s range, accuracy, and dimensional uncertainty.
- The laboratory’s accreditation scope, confirming micrometer or equivalent dimensional calibration; check the listing through NABL.
- The reference temperature and whether the certificate reports readings, errors, and measurement uncertainty.
- The recommended coolant exposure, cleaning agent, corrosion protection, and storage humidity.
- The zero-setting method and a replacement or recalibration process after a drop.
Yamayo Instruments can help you check whether the offered certificate scope matches the instrument and tolerance you intend to measure. Store the tool lightly closed or at the maker’s specified setting, in its controlled case with desiccant where needed; do not leave it on a coolant-soaked bench overnight.
Loose storage invites rust, grit, and spindle damage.
Related products
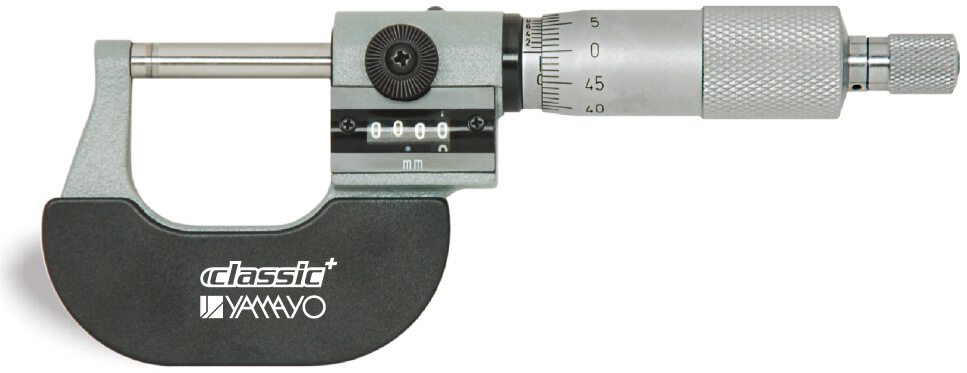 | Micrometers Digit Micrometers The Digit Micrometer is a precision mechanical measuring instrument designed for fast, accurate, and error-free external... View product → |
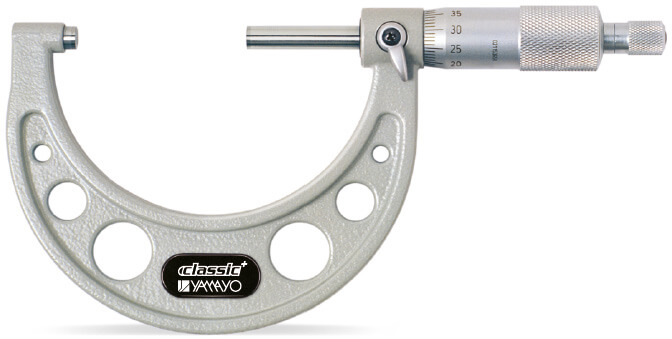 | Micrometers Outside Micrometers The Outside Micrometer is a precision measuring instrument designed for accurate external dimension measurement of components,... View product → |
Decide Where Micrometers Fit in the Production Inspection Plan
Use a micrometer for first-off approval, setup verification, periodic checks, and audits when you need an actual dimension rather than a pass/fail result. This is the practical core of micrometer selection for manufacturing: match the instrument’s information value to the inspection decision.
| Inspection point | Preferred method | Why it fits |
|---|---|---|
| First-off approval | Outside, point, groove, or depth micrometer | Confirms the recorded size and catches tool-setting errors before production continues. |
| Setup verification | Micrometer matched to the feature | Gives the setter a variable reading while offsets are corrected. |
| Periodic inspection | Micrometer for sampled dimensions; snap gauge for repeated external sizes | The micrometer shows drift; the snap gauge speeds consistent GO/NO-GO checks. |
| Audit inspection | Calibrated micrometer | Provides traceable dimensional evidence, not merely acceptance at the limit. |
| High-volume repetitive inspection | Snap gauge or plug gauge | Faster for operators, but gauge wear and calibration must be controlled. |
| External thread inspection | Thread micrometer or thread gauge | A standard outside micrometer measures over crests and cannot establish pitch diameter. |
Use a plug gauge for a bore when acceptance alone matters; use a thread gauge for functional fit. For critical external threads, measure pitch diameter with three-wire methods or thread measuring wires when the drawing or inspection plan demands a direct dimensional result.
A thread micrometer is quicker for sampling, but its reading still depends on correct anvils and thread form.
Do not select a micrometer because its display reads 0.001 mm. Compare error limits, repeatability, and calibration results with the drawing tolerance. A zero check alone will not expose scale error near the upper range.
Frequently asked questions
Which micrometer suits an accessible cylindrical diameter or shaft?
Use a flat-anvil outside micrometer when the cylindrical surface is accessible and the contact faces seat correctly.
When should you choose a point outside micrometer?
Choose a point outside micrometer for narrow shoulders, grooves, small wall sections, or other features that flat anvils cannot reach cleanly.
What should you specify before buying a production micrometer?
Specify the measurement range, resolution, display type, contact design, frame clearance, and the feature geometry the instrument must reach.
How should production workstations use micrometers consistently?
Use the same cleaning, alignment, contact-pressure, zero-check, temperature-conditioning, and reading procedure at every workstation.
Related products
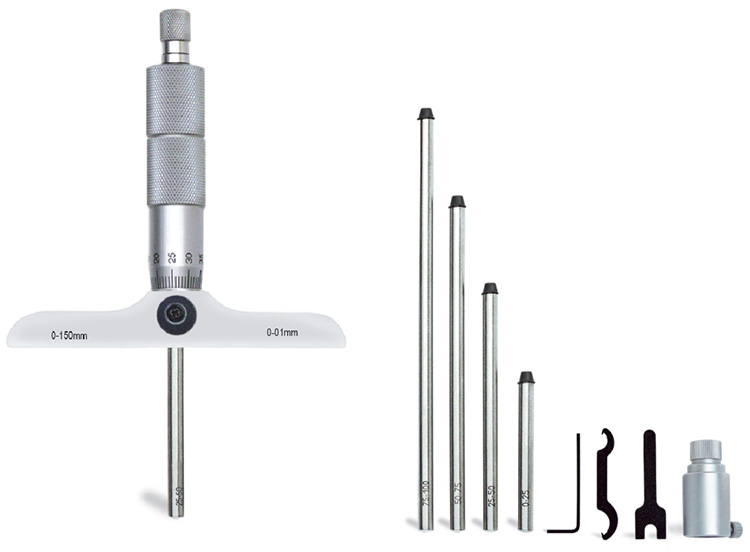 | Depth Measurements Depth Micrometers The Depth Micrometer is a precision mechanical measuring instrument designed for accurate measurement of depths, grooves, slots,... View product → |
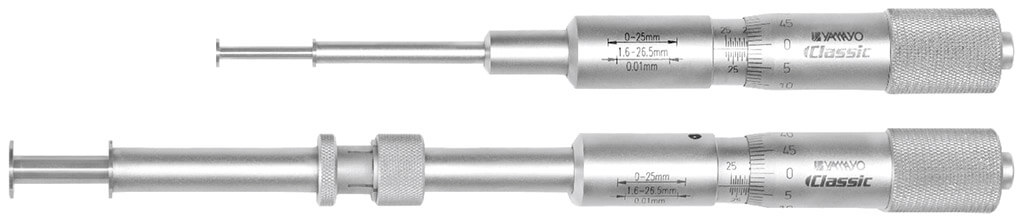 | Micrometers Groove Micrometers The Groove Micrometer is a specialized precision measuring instrument designed for accurate measurement of groove widths, groove... View product → |
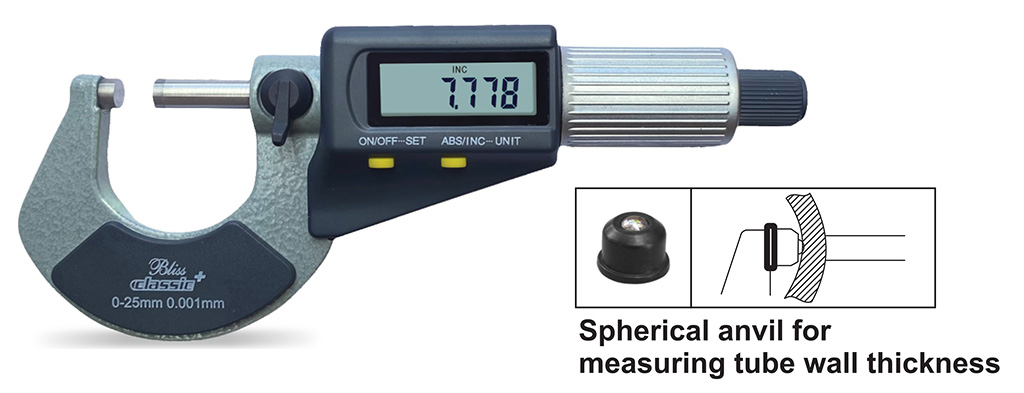 | Micrometers Digimatic Micrometers The Digimatic Micrometer is a high-precision digital measuring instrument designed for accurate external dimension measurement... View product → |
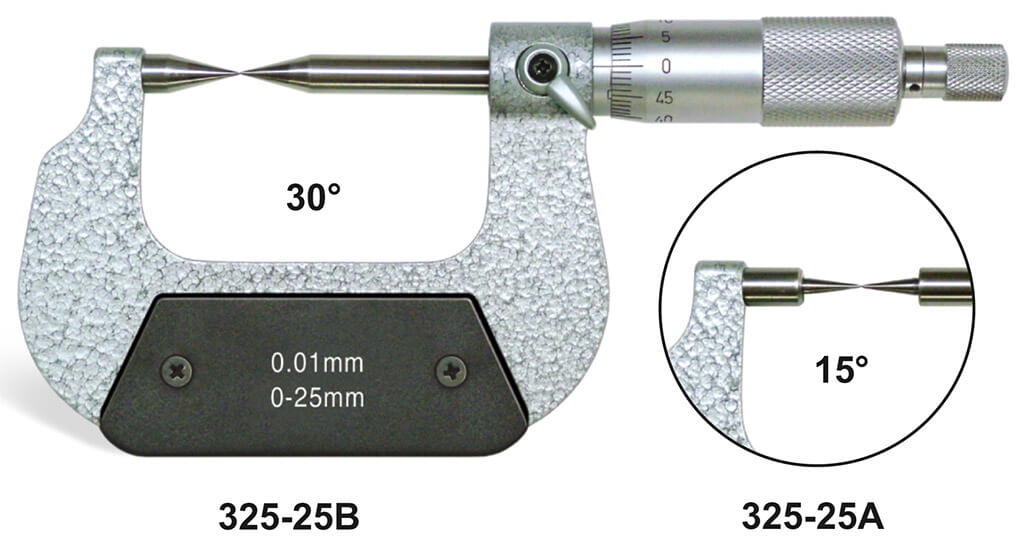 | Micrometers Point Outside Micrometers The Point Outside Micrometer is a specialized precision measuring instrument designed for measuring web thickness of... View product → |