The value of this tool depends less on its digital display than on whether its jaws can reach the intended groove surfaces, hold alignment, and deliver repeatable results within your tolerance. By the end, you can compare it with slower gauges, specify the right geometry, set a dependable measurement method, and decide whether the inspection savings justify the purchase.
Key takeaways
- Buy one when repetitive groove checks cost more time with gauges and micrometers.
- Match jaw thickness, reach, range, resolution, and accuracy to the groove drawing.
- Measure the specified groove feature, not the nearby bore, shoulder, or chamfer.
- Control zero checks, calibration intervals, batteries, cleaning, and measurement records.
When does a digimatic inside groove caliper earn its cost?
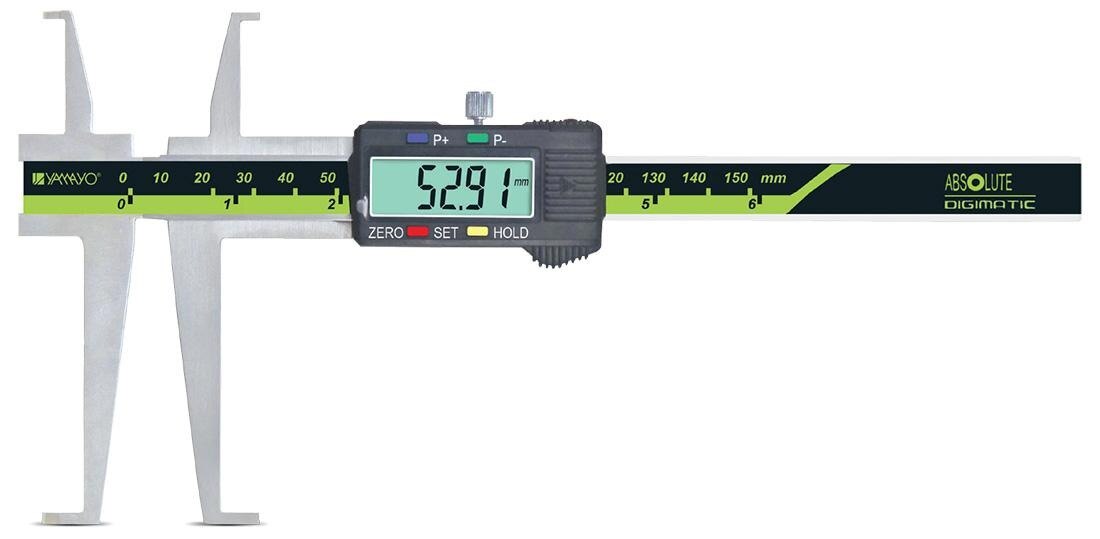
A Digimatic inside groove caliper earns its cost when inspectors make frequent, repetitive numeric checks during first-off, in-process, or final inspection. It gives faster readings than a vernier inside caliper or a telescoping gauge with a micrometer, but compare total effort: setup, cleaning, reading, recording, battery management, calibration, and operator training.
A telescoping gauge also adds transfer error and greater opportunity for inconsistent contact force.
| Option | What it does better | When it applies |
|---|---|---|
| Standard digital caliper | Quick general measurements | When its jaws reach the feature without touching the bore instead |
| Dedicated groove gauge | Fast go/no-go decisions | High-volume checks where dimensional values are unnecessary |
| Bore gauge | Controls internal diameter and alignment | Bore tolerances or roundness matter |
| Depth micrometer | Measures axial depth from a reference face | The requirement is depth, not groove diameter |
| CMM, optical comparator, or air gauge | Defensible control of tight tolerances or complex profiles | Profile, traceability, or low uncertainty governs acceptance |
Choose inside groove calipers for quality control by inspection task, not the largest nominal size. Buy when access is adequate, the groove tolerance is comfortably wider than combined measurement uncertainty, and repeated volume pays back the faster method. A dedicated gauge may cost less time; a bore gauge may control the feature better.
Do not approve final acceptance solely because the Digimatic inside groove caliper displays 0.01 mm. Resolution is not accuracy, and contact alignment still determines the result.
How do you measure a groove without measuring the wrong feature?
Clean the bore and groove before inside groove measurement: remove chips, oil, plating buildup, burrs, and rolled edges. Deburr only when the drawing or process instruction permits it; otherwise you could change the feature you must inspect.
1. Read the drawing and name the dimension. Groove width is the distance between opposing flanks. Groove diameter is measured across the specified contact points, often at the groove bottom or flank junction. Groove depth runs from a reference face to the groove surface. Axial distance runs from that face to the groove location.
2. Choose contacts that match the geometry. Flat points suit accessible flat-bottom grooves or parallel flanks. Knife edges enter narrow retaining-ring grooves, but can ride on a chamfer or damage a sharp edge. Pointed contacts reach obstructed recesses and radiused features, but can bridge a radius or touch an edge instead of the datum surface.
3. Check that the digital inside groove caliper tips pass the entry lip without forcing past a retaining ring or touching the bore wall. Insert lightly, keep the caliper square, and centre the jaws across the intended surfaces.
4. Rock or sweep through the measurement axis to find the repeatable maximum or minimum required by the drawing. Remove and reinsert the tool, then repeat at several angular positions around the part.
Do not measure the bore, tilt the caliper, squeeze until the jaws deflect, zero over debris, or accept one reading without rotating the workpiece. Stabilise the part and instrument near 20 °C; a 100 mm steel feature changes about 1.2 µm per 1 °C.
Which specifications prove the jaws will fit and the reading will be trustworthy?
Access comes before range for inside groove calipers for quality control. Request the minimum bore or groove diameter, groove width range, contact-tip thickness and radius, jaw reach, insertion depth, and a dimensional drawing.
Confirm that the jaws pass the entry chamfer and contact the true flanks or bottom, not the bore wall or a rolled edge.
- Compare the following with the part drawing and tolerance:
| Specification | Compare | Why it matters |
|---|---|---|
| Measuring range | Groove size and tolerance | A large range does not prove access |
| Resolution | Required recording increment | A 0.01 mm display shows increments, not accuracy |
| Accuracy and repeatability | Allowed measurement error | These determine whether acceptance is defensible |
| Display units | Drawing units | Prevents mm/inch recording errors |
| Jaw alignment and wall clearance | Groove axis and bore | Misalignment or rubbing changes readings |
Define acceptance using the manufacturer’s accuracy, repeatability, laboratory uncertainty, and any quality-system guard band. Verify the digital inside groove caliper with a certified setting ring, plug, ring gauge, or purpose-made master reproducing the groove contact geometry; ordinary gauge blocks alone are a poor sole check.
Check more than one size across a broad range, removing and reinserting the master for repeated trials. This exposes operator variation, jaw rocking, force sensitivity, and burr contact. Inspect for damaged tips, looseness, contamination, zero drift, accidental zeroing, battery failure, and a normal-looking display masking mechanical damage.
How should the tool be controlled in everyday quality inspection?
1. Define the method on the drawing: identify the datum face, groove flanks or bottom, insertion direction, and the required dimension. State which contact surfaces must touch, where the bore wall must not be touched, and whether rocking finds a maximum or minimum.
2. Clean oil, chips and burrs from the part and contacts; never zero over trapped debris. Insert squarely, centre across the groove, and use light, consistent contact force. Rock through the measurement axis without squeezing until the jaws deflect.
3. During first-off approval, remove and reinsert a master part at least ten times, measuring at 0°, 90°, 180° and 270°. Compare the results with the master’s known value, retrain the operator if variation is excessive, and document the accepted reading rule.
4. For production, measure the first part after setup or tool change, then one part per hour and the final part of the run; increase frequency when process variation approaches the tolerance. Take two insertions per part at the specified angular positions and resolve disagreement by repeating both readings, not by choosing the favourable result.
5. Record nominal, tolerance, actual reading, accept/reject, instrument ID and serial number, calibration status, operator, date, temperature, and burr or surface condition. For SPC, verify the output protocol, cable or receiver, software, units, sign, and automatic transfer; an LCD port is not automatically USB.
Assign battery replacement and cleaning, protect jaws from impacts, and verify zero before every use. Reject the method after retraining if results remain inconsistent, the tolerance nears stated accuracy, contact surfaces are ambiguous, or traceable full-profile measurement is required. Use a calibrated bore gauge, air gauge, CMM, optical comparator, depth micrometer, or functional gauge instead.
This makes inside groove calipers for quality control a controlled inside groove measurement method.
How do you specify and vet an inside groove calipers supplier in Kolkata?
Specify the inspection, not a generic digital inside groove caliper. Send the supplier the component drawing, groove diameter or width, depth and reference face, tolerance, material, surface condition, quantity, production stage, access sketch, minimum entry diameter, required resolution, acceptance decision, calibration expectations, and delivery or service deadline.
Ask an inside groove calipers supplier in Kolkata for:
- The exact model and jaw configuration, plus the manufacturer’s current dimensional drawing.
- Confirmed tip thickness, tip radius, reach, measuring range, accuracy, repeatability, and access to the specified groove.
- A calibration certificate stating the model, serial number, measured points, stated accuracy, calibration date, and traceability statement.
- Recalibration capability, warranty terms, spare batteries, replacement jaws, repair turnaround, and local response time.
| Evidence | What it proves | What it does not prove |
|---|---|---|
| Exact model drawing | The jaws may enter and contact the intended feature | That your tolerance is achievable |
| Traceable certificate | The supplied serialised tool was calibrated | That operators will use it correctly |
| Local stock | Availability and delivery speed | Calibration or suitability for the groove |
Yamayo Instruments can help a Kolkata buyer when it supplies the instrument with this specification review, calibration documentation, and after-sales support rather than treating availability as proof of suitability.
Purchase when the access drawing, verification method, operator procedure, and inspection economics support the required decision. Choose a dedicated gauge or higher-control system when the tolerance, profile, or decision risk does not.
Related products
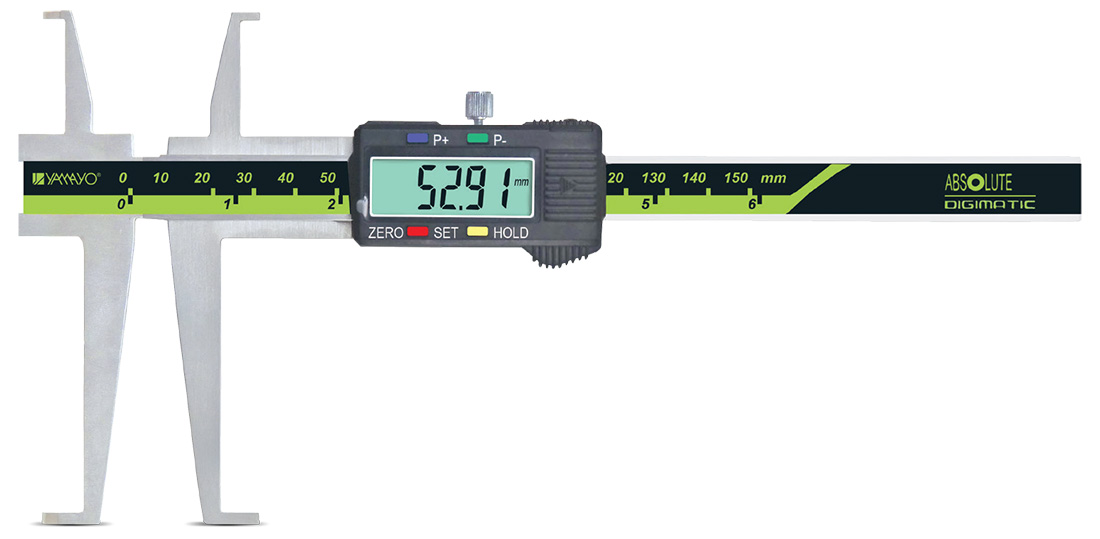 | Calipers Digimatic inside Groove Caliper Digimatic Inside Groove Calipers The Digimatic Inside Groove Caliper is a specialized digital measuring instrument designed for accurate measurement... View product → |
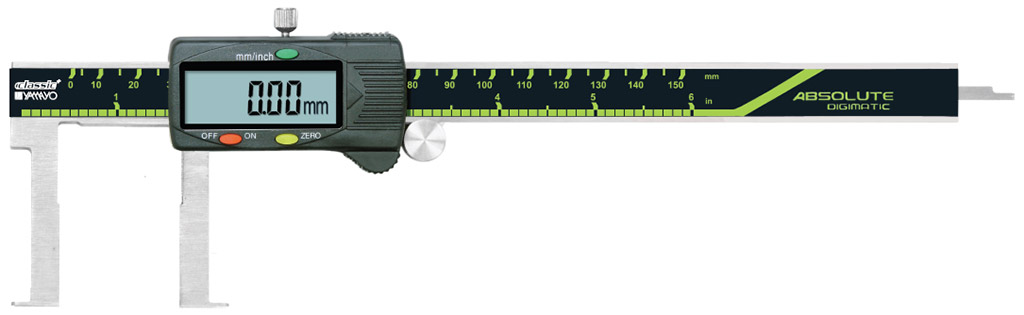 | Calipers Digimatic Inside Flat Point Type Calipers Digimatic Inside Flat Point Type Calipers The Digimatic Inside Flat Point Type Caliper is a precision digital measuring instrument specially designed... View product → |
Frequently asked questions
When does a Digimatic inside groove caliper earn its cost?
It earns its cost when inspectors make frequent, repetitive numeric checks during first-off, in-process, or final inspection. Compare total effort, including setup, cleaning, recording, battery management, calibration, and training.
How do you measure a groove without measuring the wrong feature?
Read the engineering drawing first, identify the groove diameter or width and its datum, then seat both jaws on the groove surfaces. Avoid measuring the adjacent bore, shoulder, chamfer, or burr.
Which specifications prove the jaws will fit and the reading will be trustworthy?
Check the measuring range, jaw thickness, jaw length, reach, resolution, stated accuracy, display units, depth or offset geometry, and the manufacturer’s calibration documentation.
How should you control a digital inside groove caliper in everyday inspection?
Clean the jaws and workpiece, check zero before use, verify operation against a known standard, record the instrument identity, protect it from impact and coolant, and follow a defined calibration interval.
How do you vet an inside groove calipers supplier in Kolkata?
Ask for the exact model, manufacturer accuracy specification, calibration certificate, warranty terms, delivery details, spare battery information, and support for calibration or repair.
Related products
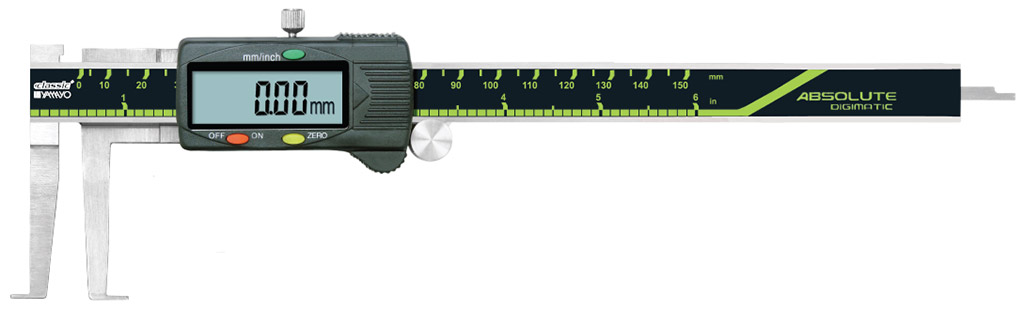 | Calipers Digimatic Inside Knife Edge Point Type Calipers Digimatic Inside Knife Edge Point Type Calipers The Digimatic Inside Knife Edge Point Type Caliper is a precision digital measuring instrument... View product → |
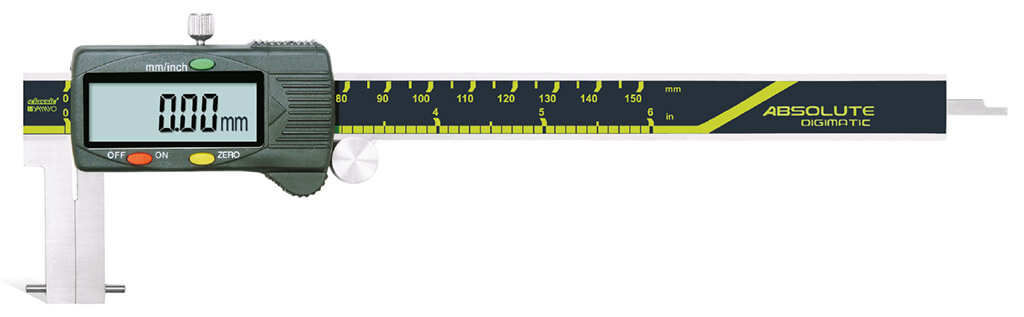 | Calipers Digimatic Inside Point Type Calipers Digimatic Inside Point Type Calipers The Digimatic Inside Point Type Caliper is a precision digital measuring instrument specially designed for... View product → |