A height gauge can show a stable number and still produce a wrong result because of a chip under the base, a false zero, a tilted stylus, temperature change, or an electronic fault. Follow a controlled setup, contact, reading, and fault-finding sequence to separate display problems from measurement errors and decide when the instrument or calibration needs attention.
Key takeaways
- Clean and zero the gauge on a stable, burr-free reference surface.
- Choose one datum and keep the part, probe, and travel line aligned.
- Take repeated readings after gentle contact, not while forcing the contact.
- Check temperature, specifications, battery, encoder, and calibration records before replacement.
How do you prepare a digital height gauge before taking a measurement?
For digital height for gauge reading problems in Kolkata, poor setup is the first fault to eliminate. A clean, stable reference prevents height gauge measurement errors before the display ever shows a value.
1. Wipe the granite surface plate, gauge base, workpiece datum, slider ways, and scriber or probe with a clean, lint-free cloth. Remove chips, coolant, oil, and burrs; a particle under the base or part transfers almost directly into the result.
2. Inspect the plate for dents, scratches, corrosion, and local damage. Set the base down and apply light pressure at each corner to test for rocking. Do not measure with a rocking base until you identify contamination or mechanical damage.
3. Check that the contact tip is secure, unworn, and free from a rounded or damaged edge. Move the carriage through its full range; roughness or sticking indicates contamination, corrosion, or mechanical trouble. Keep the digital height gauge setup dry and away from wash-down splash.
4. Establish zero with the base fully seated and the carriage free to move. Bring the contact lightly and consistently onto the actual reference surface, then zero without deflecting the probe. Re-zeroing on a dirty plate or with the slider clamped creates a repeatable offset.
5. Confirm millimetres or inches before measuring. For close-tolerance work, record the instrument ID, date, reference surface, and zero condition. Test the carriage lock after zeroing, because clamp movement can shift the reading.
How should you choose the datum and align the part and contact?
Choose the datum that matches the drawing requirement, not the surface that is easiest to touch. A height gauge reports separation between its reference plane and contact point; it does not correct a tilted part, a non-flat plate, or a datum unrelated to the functional requirement.
| Option | What zeroing measures | When it applies |
|---|---|---|
| Granite plate | Contact height above the plate | The drawing locates the feature from the plate-supported surface |
| Gauge block | Block height plus contact height | The reference must be transferred, or the contact cannot reach the plate |
| Part feature | Height from one feature to another | The feature is the drawing datum and is clean, stable, and repeatable |
Seat the workpiece so it cannot rock, then align the shoulder, hole, or surface squarely with the probe. Keep the probe axis as close as practical to normal; a tilted contact creates cosine error and makes the reading sensitive to force and roughness.
For a hole, chamfer, step, or curved surface, traverse deliberately to find the specified maximum or minimum. Repeat from both directions when backlash or geometry can affect the result.
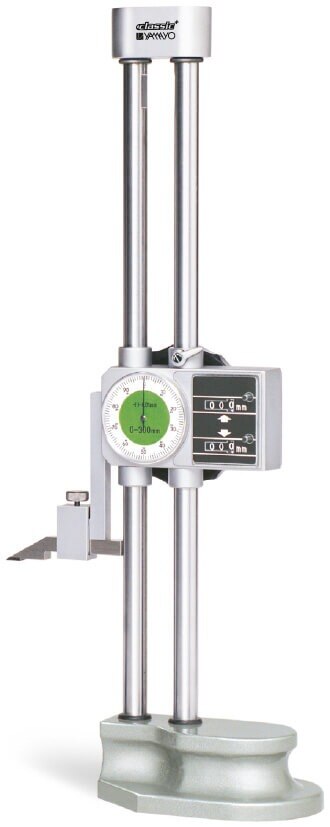
A digital height gauge setup must control these height gauge measurement errors; a digit dial height gauge in Kolkata should be specified by its actual readout, contact system, and probing method, not by the search phrase alone.
What procedure produces a reliable final height reading?
A reliable final height reading comes from controlling movement, contact force, and feature finding—not from the display alone. In your digital height gauge setup, approach the feature from the same direction used to establish reference zero, keeping the base fixed on the surface plate.
- Use the fine-adjustment mechanism instead of forcing the carriage. Do not lift, slide, or twist the base while the contact is engaged.
- Apply light, repeatable force. Do not push a flexible scriber or deflect an indicator tip.
- If the design requires a carriage lock, lock it after reaching the feature and check the display. A shift during clamping identifies clamp movement or mechanical play; do not record that shifted value.
- Traverse curved, rough, stepped, or holed features deliberately to find the intended high or low point, rather than accepting a burr, chamfer, or local waviness. If permitted, approach from both directions and compare.
- Record only after the contact is stable, the unit is confirmed as millimetres or inches, and the carriage is locked where required. Withdraw, re-approach, and take at least one repeat measurement.
| Observation | Meaning | Action |
|---|---|---|
| Tight, matching readings | Repeatable result | Check zero, datum cleanliness, contact wear, and calibration bias |
| Different readings by operator | Poor reproducibility | Review force, traversing, clamping, and approach direction |
| Same offset against a known artefact | Accuracy problem | Investigate setup bias or calibration |
How do you diagnose a frozen, intermittent, or implausible digital reading?
Separate a display fault from a measurement fault. This is the first decision in digital height for gauge reading problems in Kolkata: determine whether the number is wrong, or whether the instrument is reporting a real setup error.
| Fault pattern | Checks | Likely cause |
|---|---|---|
| Frozen reading | Unlock the instrument, inspect the scale and encoder path for chips or oil, and confirm that the carriage actually travels | Locking, contamination, or encoder failure |
| Intermittent reading | Clean the scale, battery contacts, connector, and cable; check for corrosion, loose plugs, crushed insulation, and humidity contamination | Poor electrical contact or contaminated sensing path |
| Implausible reading | Check millimetre/inch selection, zero position, probe deflection, base seating, datum height, and contact with a burr or chamfer | Unit error, setup bias, or incorrect contact |
Replace the battery when the low-battery symbol appears, the display fades, startup resets, or readings become unstable. Re-zero afterward because battery replacement can erase the reference or create an offset. Confirm the unit again if the display switches between millimetres and inches.
A stable value does not prove accuracy. Compare the gauge with a clean, known gauge block or certified artefact at several heights. If one operator gets a tight cluster and another does not, investigate contact technique, feature finding, clamping, and datum handling; if both repeat the same offset, suspect setup bias, encoder damage, or calibration.
Store the instrument dry, away from wash-down and coolant splash. Condensation and corrosion can produce rough motion and progressive loss of repeatability.
When do temperature, specifications, and supplier checks affect the result?
At 300 mm, a 5 °C difference produces about 17 µm of steel expansion using 11.5 µm/m·°C. Let the gauge, granite plate, workpiece, and reference artefact reach the same temperature before close-tolerance work.
ISO 1 uses 20 °C as the reference temperature, but a Kolkata shop-floor check remains valid only when its temperature range and compensation practice suit the tolerance.
Include thermal expansion in the uncertainty budget when the tolerance is small. Recheck the digital height gauge setup if an air-conditioned inspection room and a hot shop floor produce different results.
| Factor | Compare it with | Why it matters |
|---|---|---|
| Required tolerance and decision risk | Maximum permissible error and repeatability | A passing-looking result can be wrong near the acceptance limit |
| Calibration error | Reference-standard uncertainty and measured error | A stable offset remains an error |
| Granite plate flatness | Workpiece form error | Local height can change with the contact position |
| Contact technique | Probe arrangement and operator repeatability | Force, alignment, and traversing affect the final reading |
| Display resolution | Complete uncertainty budget | A 0.01 mm display does not guarantee 0.01 mm accuracy |
When buying or servicing a gauge, request:
- Calibration points, measured error, uncertainty, and environmental conditions
- Reference-standard identification and traceability
- Specification matching your datum method, tolerance, temperature range, and verification artefacts
ISO/IEC 17025 describes calibration-laboratory competence; it does not correct poor setup or an unsuitable instrument. Yamayo Instruments can help compare a digital or digit dial height gauge in Kolkata by probe arrangement and calibration documentation, not catalogue resolution alone. These checks prevent height gauge measurement errors from becoming accepted parts.
Related products
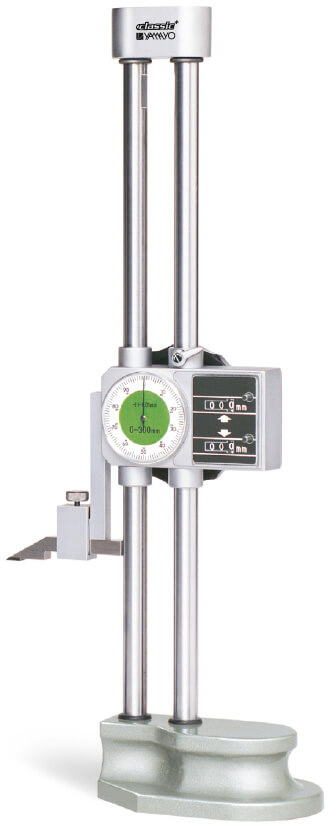 | Height Measurements Digit Dial Height Gauges The Digit Dial Height Gauge is a precision measuring and marking instrument designed for accurate height measurement, layout... View product → |
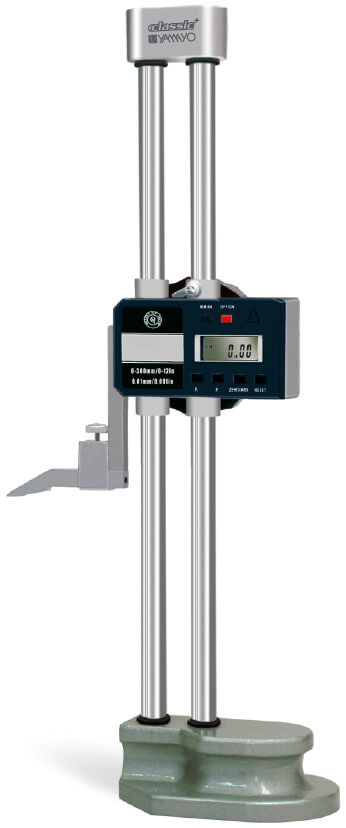 | Height Measurements Digimatic Double Beam Height Gauges Digimatic Double Beam Height Gauges The Digimatic Double Beam Height Gauge is a precision digital measuring instrument designed for accurate height... View product → |
Frequently asked questions
How do you prepare a digital height gauge before taking a measurement?
Clean the base, surface plate, scriber or probe, and workpiece. Inspect for burrs, secure the gauge, allow temperature equalisation, check battery status, move the carriage smoothly, and zero the display at the chosen reference.
How should you choose the datum and align the part and contact?
Use a defined datum such as a certified surface plate or a specified feature. Seat the part consistently, remove rocking, and align the contact so its movement is normal to the measured surface rather than along an edge or angled face.
What procedure produces a reliable final height reading?
Approach the feature slowly, apply light repeatable contact, avoid flexing the probe or part, and record the reading only after the display stabilises. Repeat the measurement and compare the results before accepting the value.
How do you diagnose a frozen, intermittent, or implausible digital reading?
Check the battery, display connections, encoder scale, carriage lock, contamination, cable strain, and zero reference. Compare repeated movements with a known reference and inspect whether the fault follows the probe, travel direction, or gauge.
When do temperature, specifications, and supplier checks affect the result?
Control temperature when tight tolerances make thermal expansion significant. Confirm resolution, accuracy, measuring range, probe compatibility, and calibration requirements in the specification, then request traceable calibration records and service support from the supplier.
Related products
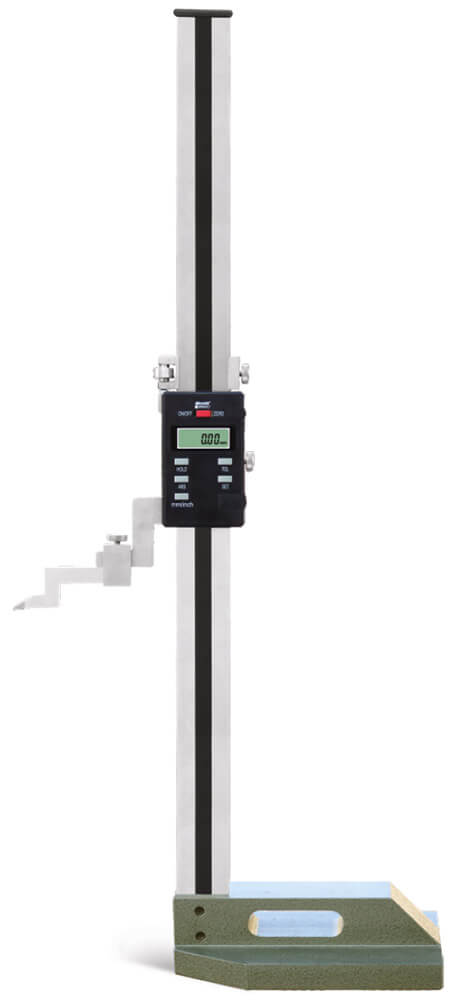 | Height Measurements Single Beam Digimatic Height Gauge Single Beam Digimatic Height Gauge The Single Beam Digimatic Height Gauge is a precision digital measuring and marking instrument designed for... View product → |
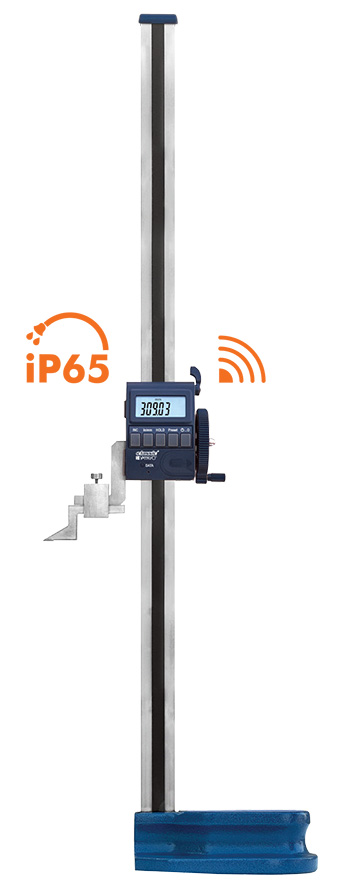 | Height Measurements Digimatic Single Beam Height Gauge with Bluetooth Digimatic Single Beam Height Gauge with Bluetooth The Digimatic Single Beam Height Gauge with Bluetooth is a precision digital measuring instrument... View product → |
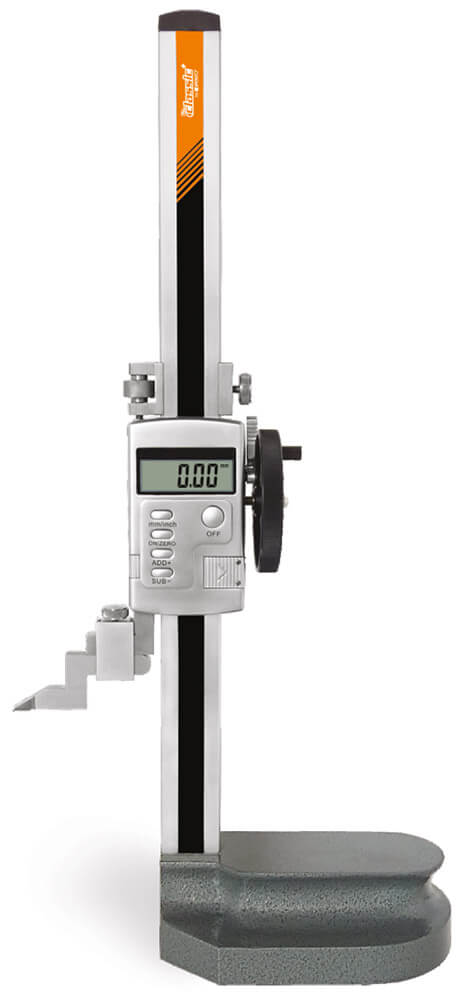 | Height Measurements Single Beam Digimatic Height Gauges with hand wheel Single Beam Digimatic Height Gauges with Hand Wheel The Single Beam Digimatic Height Gauge with Hand Wheel is a precision digital measuring... View product → |
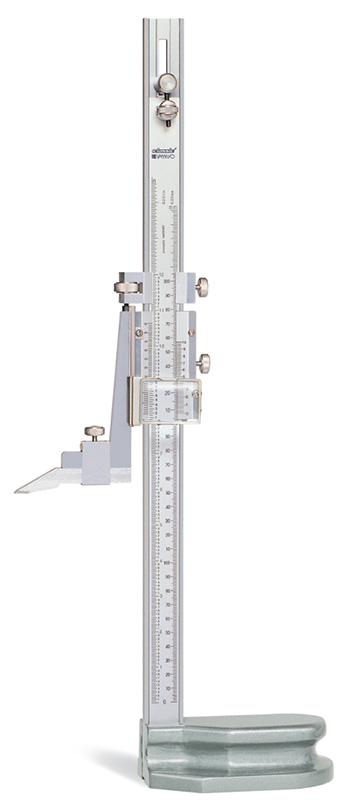 | Height Measurements Vernier Height Gauges The Vernier Height Gauge is a precision measuring and marking instrument designed for accurate height measurement, layout... View product → |