A tube wall can produce a misleading reading when the measuring faces bridge the curve, the operator varies the force, or a burr sits under the contact point. By matching the contact geometry, measuring method, instrument specifications, and material condition to the job, you can decide when a digital tube outside micrometer improves inspection and when another method is safer.
Key takeaways
- Choose spherical or cylindrical contacts that match the tube’s curvature.
- Align the micrometer at the tube crown for repeatable wall readings.
- Match measuring range, force, accuracy, and contact material to the job.
- Use ultrasonic testing when access to both tube surfaces is limited.
Choose the Tube Micrometer for Its Contact Geometry
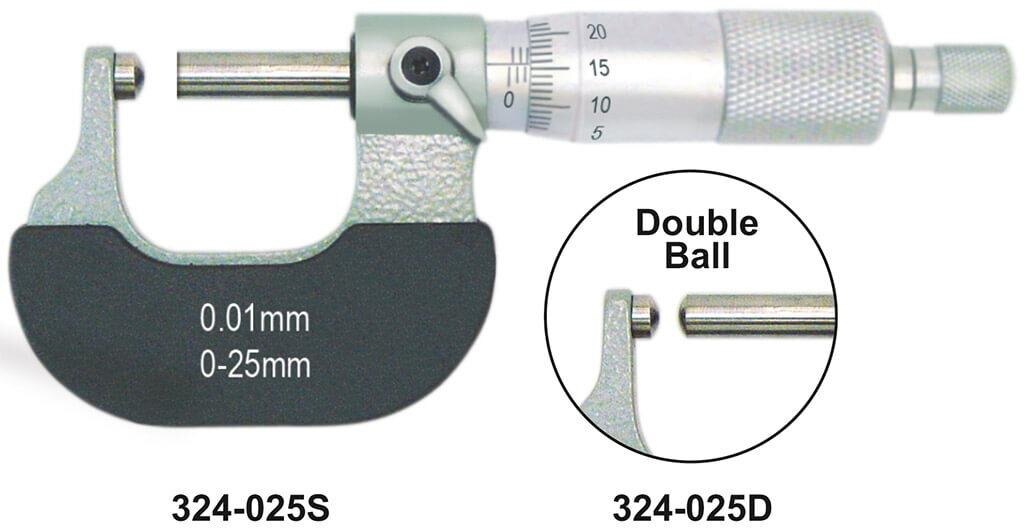
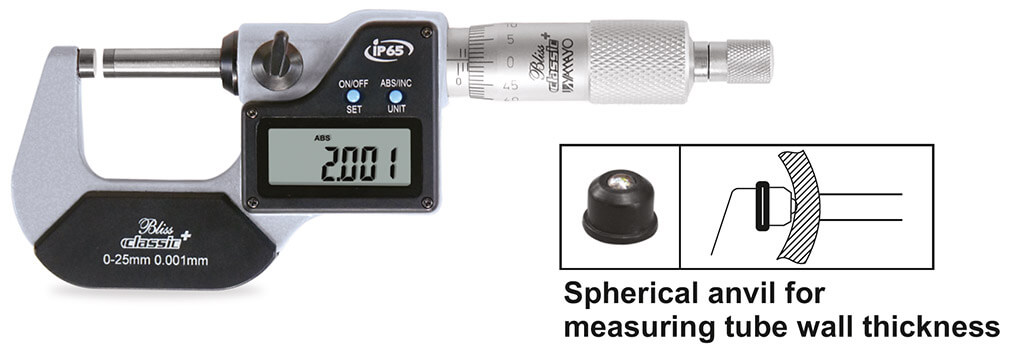
A tube micrometer produces a more useful wall-thickness reading because its spherical or cylindrical anvil follows the tube’s curvature. A flat anvil can bridge a curved surface, so a small change in position alters the reading, especially on thin-wall or small-diameter tubing.
| Instrument | Contact geometry | What the reading represents | Main limitation |
|---|---|---|---|
| Digital tube outside micrometer | Ball or narrow cylindrical anvil against the wall | A local wall-thickness condition | Sensitive to alignment, anvil radius, and contact point |
| Flat-anvil outside micrometer | Two broad, flat faces | Usually an outside dimension on rigid round stock | Can bridge the curve and give a position-sensitive result |
| Outside diameter and inside diameter micrometers | Separate external and internal contacts | Wall thickness calculated from diameter difference | Ovality and eccentricity can make the calculated value misleading |
Choose the tube design for contact geometry, not merely because it is digital. A conventional outside micrometer is easier to position for a tube’s outside diameter, while a digital tube outside micrometer is better suited to direct local wall contact.
The result still depends on the part. Ovality, eccentricity, weld beads, burrs, dents, and rough surfaces can dominate the reading. Check several clock positions and points along the length to separate real tube variation from instrument repeatability.
A ball contact measures a local condition, not an average wall map, so ultrasonic inspection is preferable when you need broad-area mapping or access without opening a sealed tube.
How to Take a Repeatable Tube-Wall Reading
A repeatable reading depends more on contact discipline than on the digital display. Use this sequence:
- Wipe the tube and both contact faces with a lint-free cloth. Remove oil, chips, loose coating, and burrs, but do not polish away a surface defect you need to inspect.
- Close the contacts gently with the ratchet or friction thimble and confirm the digital micrometers display zero. Check the reference standard if the instrument’s procedure requires one.
- Choose a sound location away from weld beads, dents, scratches, and obvious contamination. Mark the tube’s clock position so you can repeat the measurement.
- Support the tube without squeezing it. Bring the digital tube outside micrometer squarely onto the wall, with the ball anvil seated against the inside surface and the spindle contacting the outside surface. Keep the spindle aligned with the intended wall path.
- Turn only the ratchet or friction thimble until it reaches its defined slip or click condition. Hand-tightening the thimble can deform thin tubing and create a false low or high reading.
- Hold the frame still; do not rock, twist, or slide it while reading the display. Lift it clear before moving to another location.
- Repeat the seating at several clock positions and along the tube length. Record each local value, because ovality, eccentricity, dents, and welds can represent real wall variation rather than instrument error.
If readings change when you alter hand pressure or tilt, stop and correct the setup before averaging them. A ball-contact reading is local, not an automatic average of the tube wall.
Match Range, Accuracy, Force, and Material to the Job
Start with the wall tolerance and the weakest material, not the smallest number on the display. Choose a measuring range that places the tube near the middle of the spindle travel, then compare the manufacturer’s accuracy or maximum permissible error across that full range with your tolerance.
A 0.001 mm display on digital micrometers does not mean 0.001 mm accuracy.
| Tube condition | Selection | Main risk |
|---|---|---|
| Thin-wall metal | Small range, fine resolution, and a ratchet stop or friction thimble | Hand force can plastically deform the wall and increase the reading |
| Rigid plastic | Force control suited to the grade, with clean, smooth contact faces | Excess force can compress the tube; heat can also change its size |
| Soft tubing | A purpose-built low-force instrument or probe | A standard tube micrometer can leave an indentation instead of measuring the free wall |
| Coated or textured tube | Confirm that the contact geometry and face material suit the coating | The reading may include coating thickness or vary across surface texture |
Resolution helps you see small changes; accuracy determines whether the number is trustworthy. Set zero against a certified reference when appropriate, but zeroing will not correct spindle wear, nonlinearity, damaged faces, or an error elsewhere in the range.
Use the ratchet or friction thimble for every reading and keep force consistent. For changing sizes, adjustable micrometers can reduce tool changes, but verify accuracy after each adjustment or range change.
If the coating is fragile, the tube flexes under light pressure, or the surface is heavily textured, select an instrument specifically rated for that condition rather than relying on a digital display.
Compare Tube Micrometers with Other Thickness Methods
A tube micrometer is better when the contact must follow a curved wall and you need a direct local wall-thickness reading. It is not automatically better for outside diameter; a conventional flat-anvil instrument is easier for rigid round stock.
| Option | Advantage | When it applies |
|---|---|---|
| Tube micrometer | Ball or cylindrical contact reaches the tube wall consistently | Thin-wall, small-diameter, oval, or curved tubing |
| Digital calipers | Fast, versatile, and covers inside, outside, and depth dimensions | General checks where jaw contact does not bridge the curve or damage the surface |
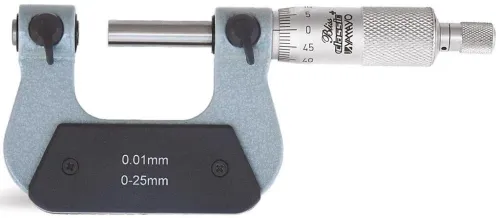
| Flat-anvil outside micrometer | Stable, precise contact for external dimensions | Measuring tube outside diameter or solid round stock, not wall thickness directly |
| Thickness gauges | Simple, inexpensive comparison of a gap or sheet thickness | Quick clearance checks; avoid relying on blades for a curved tube wall or tight tolerance |
| Ultrasonic thickness gauge | Measures from one accessible side without cutting or opening the tube | Sealed or inaccessible tubes and wall-thickness mapping; requires couplant, calibration, suitable material, and sound surfaces |
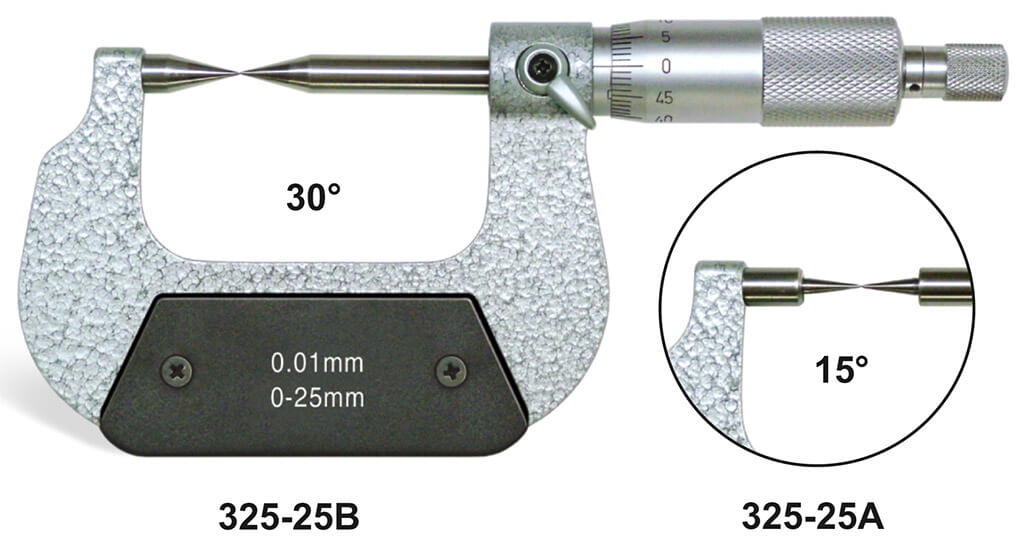
| Point micrometer | Narrow points enter grooves, shoulders, or restricted features | Local measurements where a ball anvil cannot reach; its point can mark or deform thin tubing |
Digital micrometers make readings faster than vernier or mechanical micrometers, but a display resolution such as 0.001 mm does not prove equivalent accuracy. Compare maximum permissible error, repeatability, and calibration status across the measuring range.
For a tube wall, select the tube design for its contact geometry; for an inaccessible or sealed wall, accept the added ultrasonic setup instead.
Select a Practical Inspection Setup for Production
Choose the setup by the control plan, not by the smallest displayed increment. A digital tube outside micrometer that resolves 0.001 mm can still exceed tolerance if its maximum permissible error, repeatability, or calibration status is unsuitable.
1. Define the calibration method before purchase. Require calibration over the working range, not only a zero check at one point. Zeroing helps compare a reading with a known reference; it does not correct spindle error, wear, damaged faces, nonlinearity, or a calibration error elsewhere.
2. Specify how results will leave the instrument. Data output is valuable in a high-volume cell because it can reduce transcription errors and transfer readings to SPC or inspection software. Confirm the output protocol, cable or wireless interface, software compatibility, and whether transmitted values include units and sign information.
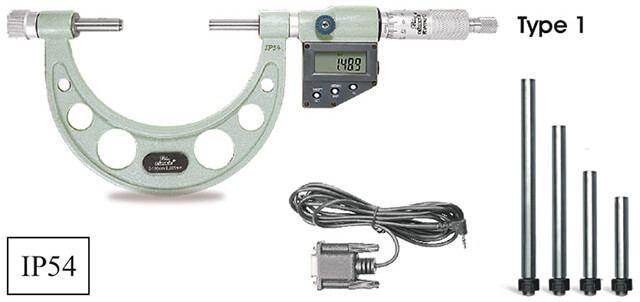
3. Match the contact hardware to the product mix. Interchangable micrometers with interchangeable anvils suit different tube diameters or wall-contact conditions only when the replacement anvils are identified, repeatable, and supported. Record the anvil type in the inspection instruction so operators do not create two methods for one characteristic.
4. Treat range changes as a process decision. Adjustable micrometers can be reset for zero or wear, but adjustment is not calibration across the range. Use separate ranges when frequent repositioning would slow checks or increase setup errors.
5. Ask Yamayo Instruments whether calibration service, replacement anvils, data accessories, and technical support match your chosen model. That answer can matter more than a faster display when production depends on uninterrupted, traceable measurements.
Related products
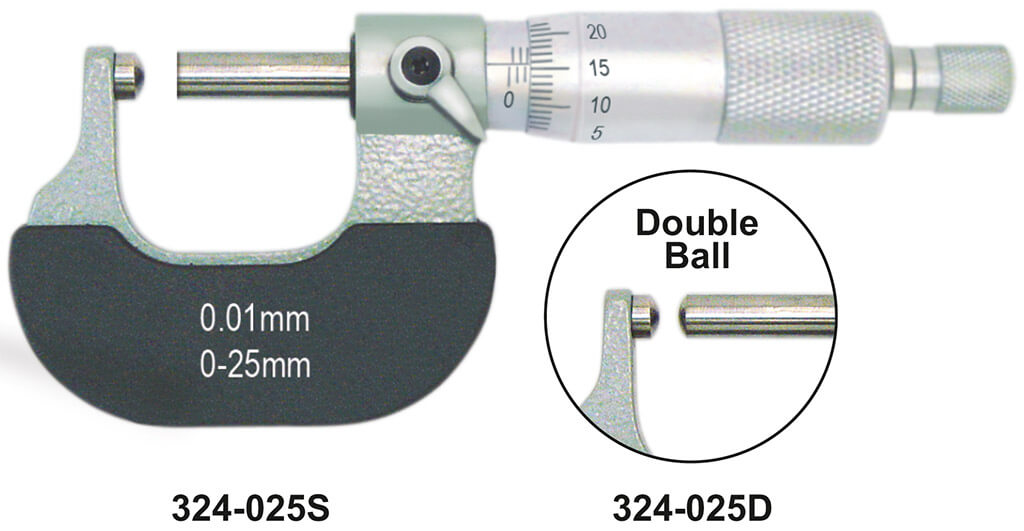 | Micrometers Tube Outside Micrometers The Tube Outside Micrometer is a precision measuring instrument specially designed for accurate measurement of tube wall... View product → |
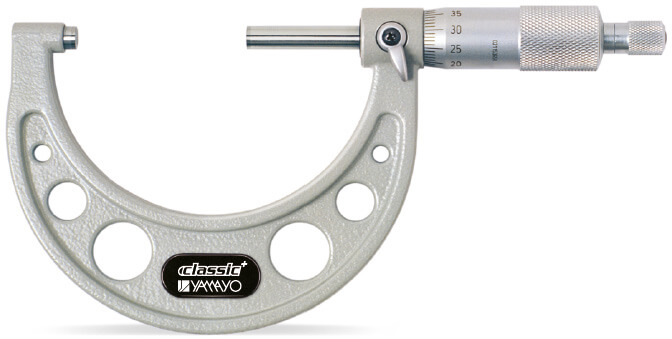 | Micrometers Outside Micrometers The Outside Micrometer is a precision measuring instrument designed for accurate external dimension measurement of components,... View product → |
Frequently asked questions
Why use a tube micrometer instead of a standard outside micrometer?
A tube micrometer uses spherical or cylindrical contact geometry that follows the tube’s curvature, reducing errors caused by a flat anvil bridging the surface.
How do you take a repeatable tube-wall measurement?
Clean the tube and contacts, position the micrometer at the crown of the tube, apply consistent force, and repeat readings at several positions.
How should you choose a digital tube micrometer?
Match its range and resolution to the tube, then check accuracy, measuring force, contact material, and the need for interchangeable or adjustable components.
When is a tube micrometer the wrong thickness method?
Use ultrasonic thickness testing when you cannot access both sides of the tube or need to inspect wall loss without cutting the part.
Related products
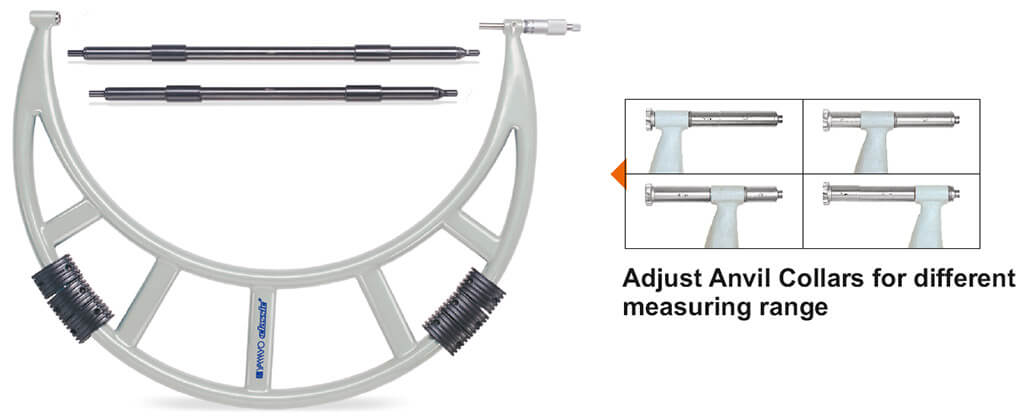 | Micrometers Adjustable Outside Micrometers Adjustable Outside Micrometers The Adjustable Outside Micrometer is a precision measuring instrument designed for accurate measurement of large... View product → |
 | Micrometers Digimatic Outside Micrometers The Digimatic Outside Micrometer is a high-precision digital measuring instrument designed for accurate external... View product → |
 | Micrometers Point Outside Micrometers The Point Outside Micrometer is a specialized precision measuring instrument designed for measuring web thickness of... View product → |
 | Micrometers Digimatic Interchangeable Outside Micrometers Digimatic Interchangeable Outside Micrometers The Digimatic Interchangeable Outside Micrometer is a high-precision digital measuring instrument... View product → |