A production caliper reading is only useful when the part, instrument, contact geometry, temperature, and recording method are controlled together. By following a repeatable process, checking the instrument against known standards, and matching its specification to the drawing tolerance, you can separate operator error from an actual nonconforming part.
Key takeaways
- Clean the part and caliper faces before every reading.
- Keep jaws square to the feature and use consistent, light force.
- Repeat measurements at multiple locations to separate operator error from part variation.
- Verify zero, jaw condition, reference standards, and calibration status before production use.
What is the correct digital caliper measurement process on the shop floor?
Clean the feature and caliper faces before every reading. Chips, coolant, oil, burrs, or dirt can create a false result, while a hot part can read oversize as it expands. Let the part reach the work instruction’s temperature before measuring tight-tolerance features.
1. Wipe the part and measuring faces with a lint-free cloth. Inspect the jaw faces, depth rod, slider, and display for damage or play.
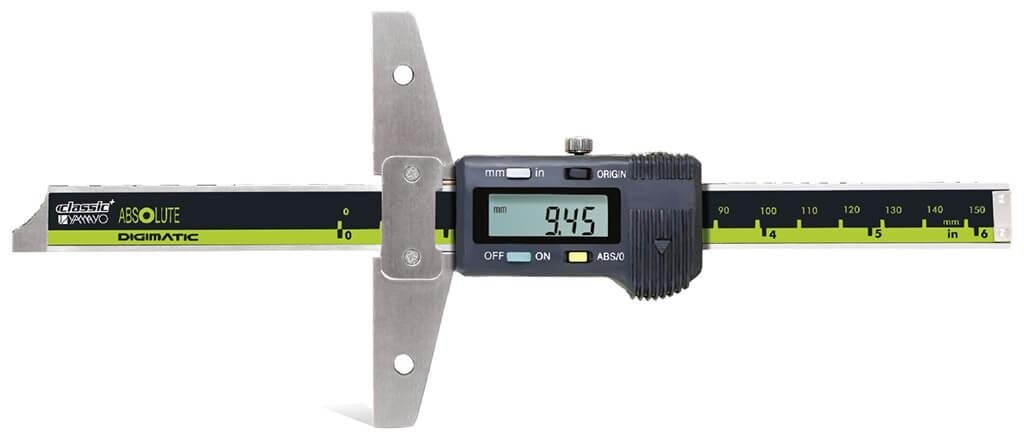
2. Close the jaws gently and confirm zero. Read the drawing, then select the contact surfaces: outside jaws for an outside diameter or thickness, inside jaws for an inside diameter or groove width, the depth rod for a hole or recess, and step faces for step height.
3. Seat the outside jaws across the diameter or thickness, inside jaws against opposite internal walls, the depth rod on the feature bottom, or step faces against both levels. Keep the caliper square to the feature; jaw skew causes cosine error.
4. Apply light, repeatable contact force, wait for the display to settle, and take repeated readings at the control-plan locations. Record the value with units during first-off, in-process, or final inspection. Lock the slider only after positioning it when the work instruction requires a fixed comparison.
This digital caliper measurement process gives digital calipers for production measurement in Indore a consistent method instead of relying on one operator’s touch.
How do jaw geometry, alignment, force, and temperature change the result?
Jaw choice and alignment determine whether the displayed value represents the feature or a chamfer, burr, or skewed contact. Read the drawing first: identify the datum, nominal size, plus-or-minus tolerance, radius, chamfer, and any position, parallelism, or other GD&T callout.
- Use broad flat jaws on flat edges, narrow points for slots and thin walls, internal points for grooves and recesses, and a shaped depth rod for the bottom of a narrow feature. Keep the jaws square to the feature; skew creates cosine error.
- Reject a chamfer, fillet, burr, worn steel or carbide contact, or uneven jaw seating as the measuring point. These surfaces can make a good part appear out of tolerance.
- Use only enough force to establish contact. Excess force spreads thin walls, compresses plastic, and distorts soft material; a loose touch produces unstable readings. Repeat the measurement with the same orientation and pressure.
- Let a machined part reach the work instruction’s temperature before measuring, especially when steel or aluminium is large or the tolerance is tight. The 20 °C reference in dimensional metrology matters: a hot part against a cooler caliper creates real thermal bias.
- For industrial digital calipers in Indore, control the workshop temperature and record it when thermal error could affect acceptance.
How can repeated readings distinguish operator error from a bad part?
One reading cannot prove that a feature is round, straight, or uniform. Measure a round part at several angular positions, rotate it, and compare values to identify ovality; measure along its length to identify taper. Repeat readings at the locations named in the control plan, keeping jaw orientation and contact force consistent.
| Result pattern | What to check | Decision |
|---|---|---|
| Changing readings | Jaw alignment, slide play, contact cleanliness, and contact force | Correct technique and repeat before rejecting |
| Stable readings within tolerance | Confirm the defined feature locations and records | Accept under the control plan |
| Stable readings outside tolerance | Verify the drawing revision and measurement method | Contain the part and follow nonconformance procedure |
Record the operator, part number, drawing revision, batch or heat number, feature, nominal size, tolerance, units, measured result, instrument serial number, and time. Define sample frequency for first-off, in-process, and final inspection; do not leave sampling to operator convenience.
For digital calipers for manufacturers in Indore, the control plan must state whether an out-of-tolerance result requires quarantine, expanded sampling, or review of parts measured since the last satisfactory check.
How should you verify and document a caliper before production use?
Before each shift, batch-check cycle, or critical first-off inspection, close the jaws gently and confirm zero. Compare the caliper at several points across its working range with certified gauge blocks, setting rings, or a calibrated reference part.
| Check | Record |
|---|---|
| Zero and multiple points | Positive or negative indication direction, units, and readings |
| Reference standard | Identification number, nominal values, and traceability |
| Environment | Temperature, humidity, coolant, dust, and other relevant conditions |
A usable record names the caliper serial number, range, resolution, stated accuracy or maximum permissible error, calibration date, laboratory or technician, reference standards, traceability, as-found results, and as-left results. ISO/IEC 17025 accreditation identifies calibration-laboratory competence; it does not prove that the caliper suits every drawing tolerance.
Set the calibration interval from usage frequency, transport, coolant and dust exposure, previous results, and the consequence of a wrong acceptance decision. Do not impose one universal interval on digital calipers for production measurement in Indore; use intermediate checks between formal calibrations.
If zero drifts, readings disagree with the reference, the display becomes unstable, or the caliper is dropped, stop using it and label it. Assess measurements taken since the last satisfactory check, then release the instrument only after documented verification or calibration. A battery change alone does not clear a measurement-system failure.
How should manufacturers in Indore choose and source an industrial digital caliper?
Choose the caliper for the feature, tolerance, and shop-floor conditions, not merely a 0–150 mm range or 0.01 mm display. Define whether you measure shafts, thin walls, grooves, recesses, steps, or hole depths, then specify dust, monsoon humidity, coolant, handling, and inspection frequency.
| Criterion | Compare | Decision |
|---|---|---|
| Working geometry | Range, resolution, manufacturer-stated accuracy or permissible error, jaw depth, step faces, and depth-rod shape | Reject models whose error cannot support the drawing tolerance and measurement-system requirement |
| Usability | Display readability, slider ergonomics, battery life and low-battery behaviour | Prefer stable readings and comfortable repeated operation |
| Shop-floor survival | Ingress protection, coolant exposure, spare parts, replacement batteries, and service response | Confirm suitability for the actual Indore workshop |
| Data control | Data port, interface compatibility, and transmission of units, sign, instrument identification, and error status | Test the complete record path before release |
A 0.01 mm resolution is not 0.01 mm accuracy. Ask a digimatic calipers supplier in Indore for the datasheet, accuracy specification, calibration certificate details, warranty, battery and service arrangements, interface compatibility, application support, and traceable calibration options. Ask about local response time and calibration points.
Yamayo Instruments can help compare industrial digital calipers in Indore against these documented requirements; keep the final choice tied to the feature, environment, tolerance, and verification plan.
Related products
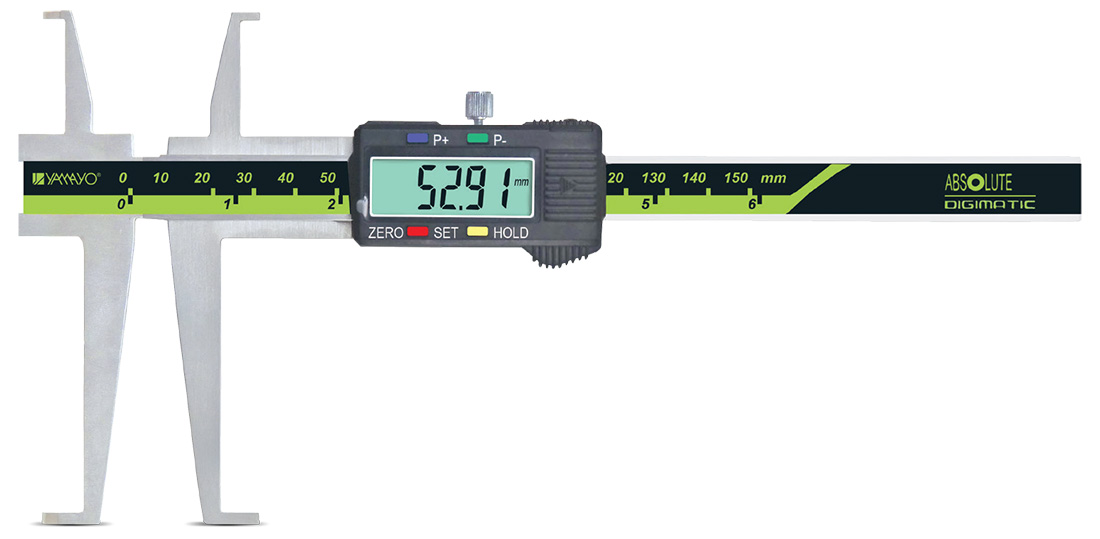 | Calipers Digimatic inside Groove Caliper Digimatic Inside Groove Calipers The Digimatic Inside Groove Caliper is a specialized digital measuring instrument designed for accurate measurement... View product → |
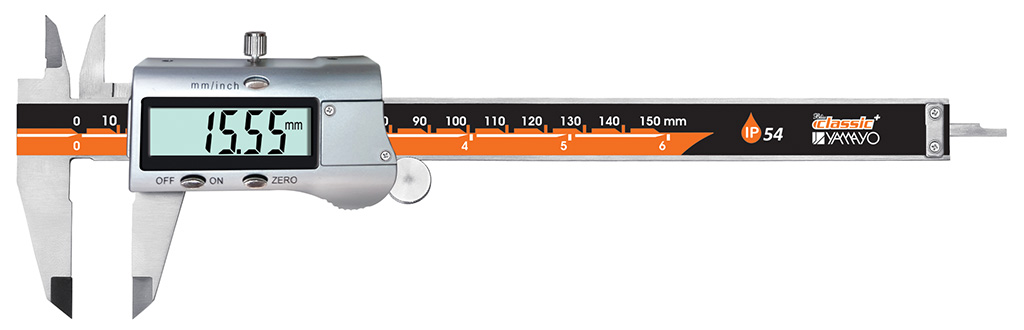 | Calipers Digimatic Calipers The Digimatic Caliper is a high-precision digital measuring instrument designed for accurate inside, outside, depth, and step... View product → |
When should production use another measuring method or automate the record?
Use a caliper for accessible features and moderate-tolerance checks only when its stated accuracy and repeatability support the acceptance decision. Digital calipers for manufacturers in Indore become the wrong choice when the feature, tolerance, or inspection consequence demands lower uncertainty.
| Option | Choose it for | Limitation |
|---|---|---|
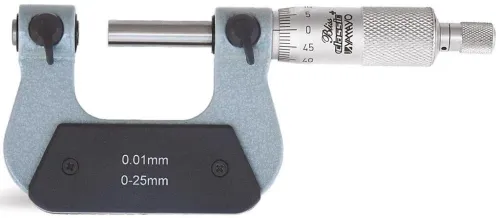
| Micrometer | Tighter outside-dimension tolerances | Measures a narrower feature range |
| Bore gauge or internal micrometer | Precise internal diameters | Needs correct setup and reference |
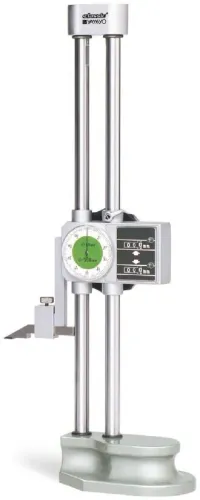
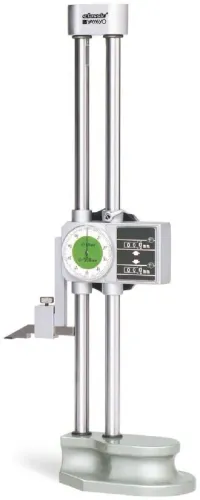
| Height gauge | Controlled layout and height measurement | Requires a stable surface and reference |
| CMM or optical system | Complex geometry, GD&T, form, location, or related datums | Requires programming, fixturing, and setup time |
| Ultrasonic, radiographic, magnetic-particle, or penetrant testing | Cracks, porosity, laminations, and other hidden discontinuities | Answers an NDT question, not a dimensional one |
Manual transcription starts quickly but invites misread digits, wrong units, and data-entry errors. Wired or wireless output, data logging, and SPC collection require interface work; automated systems add programming and fixturing, then reduce handling and operator variation.
Choose manual, connected, or automated measurement by inspection frequency, traceability, feature complexity, and the cost of holding production over a disputed result.
Frequently asked questions
What is the correct digital caliper measurement process on the shop floor?
Clean the part and caliper faces, close the jaws to confirm zero, position the jaws square to the feature, apply consistent light force, and record the reading with the part identification and temperature when required.
How do jaw geometry, alignment, force, and temperature change a digital caliper result?
Misaligned jaws can measure across a chord instead of the true diameter or span. Excessive force can deflect thin parts, while chips, burrs, and coolant hold the jaws open. A hot part also expands and can read oversize, so let it reach the work instruction’s reference temperature before measuring tight tolerances.
How can repeated readings distinguish operator error from a bad part?
Measure the same feature several times without changing the part, then repeat at different locations and with another trained operator. Scatter that follows the operator or jaw placement points to technique; consistent out-of-tolerance readings across locations indicate a part problem.
How should you verify and document a caliper before production use?
Check the display at a fully closed zero position, inspect the beam and measuring faces, confirm the calibration label and due date, and compare the caliper with traceable setting standards such as gauge blocks or a certified ring. Record the instrument ID, standard values, observed readings, date, operator, and result.
How should manufacturers in Indore choose and source an industrial digital caliper?
Match the range, resolution, accuracy, jaw style, ingress protection, data output, and required measurement units to the drawing and work instruction. Ask a supplier for the datasheet, calibration documentation, replacement policy, and compatibility with your inspection records before buying digital calipers for manufacturers in Indore.
Related products
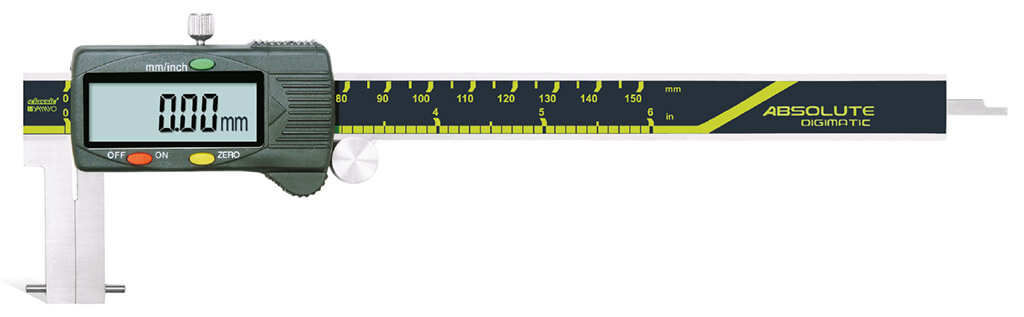 | Calipers Digimatic Inside Point Type Calipers Digimatic Inside Point Type Calipers The Digimatic Inside Point Type Caliper is a precision digital measuring instrument specially designed for... View product → |
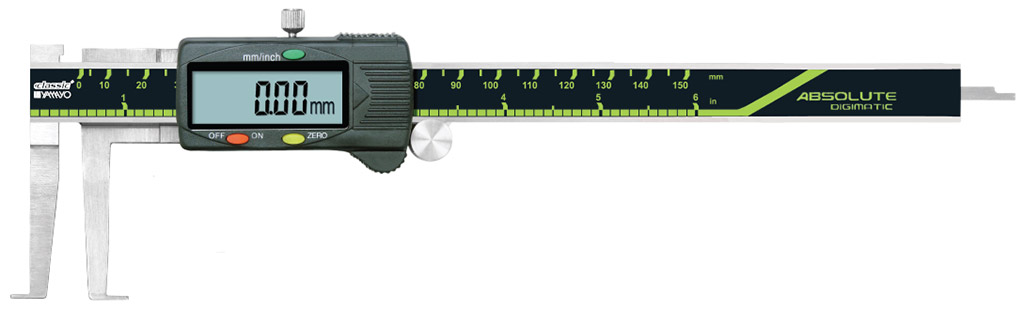 | Calipers Digimatic Inside Knife Edge Point Type Calipers Digimatic Inside Knife Edge Point Type Calipers The Digimatic Inside Knife Edge Point Type Caliper is a precision digital measuring instrument... View product → |
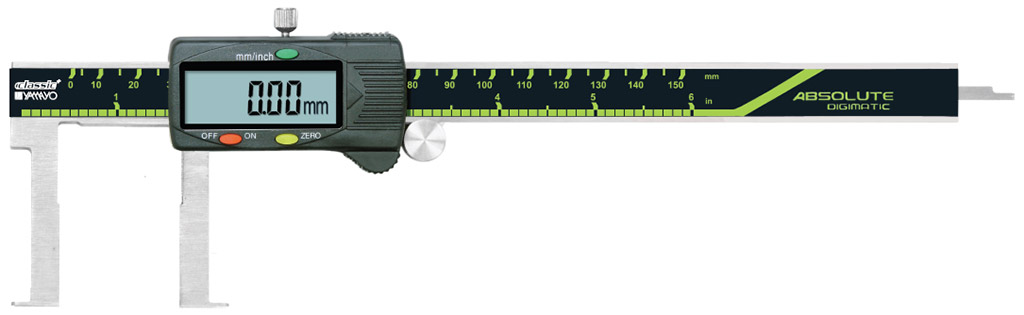 | Calipers Digimatic Inside Flat Point Type Calipers Digimatic Inside Flat Point Type Calipers The Digimatic Inside Flat Point Type Caliper is a precision digital measuring instrument specially designed... View product → |
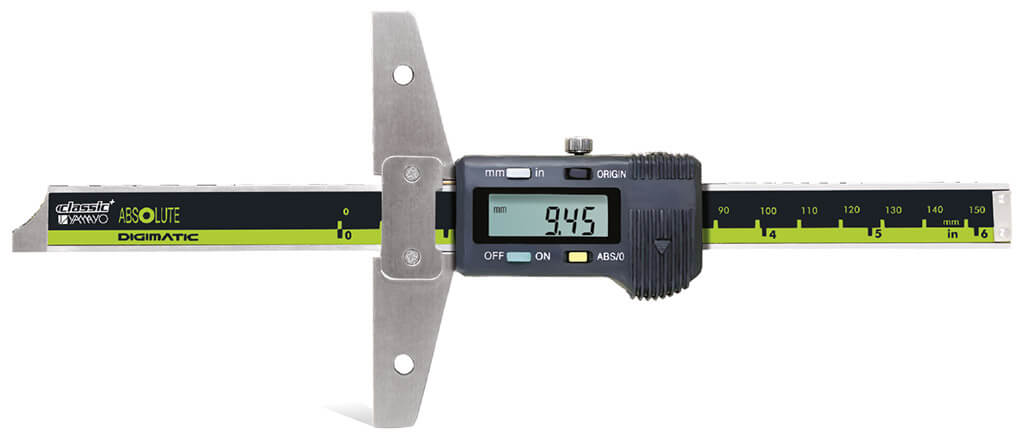 | Calipers Digimatic Depth CalipersCalipers Digimatic Depth Calipers The Digimatic Depth Caliper is a precision digital measuring instrument designed for accurate depth measurement of holes,... View product → |