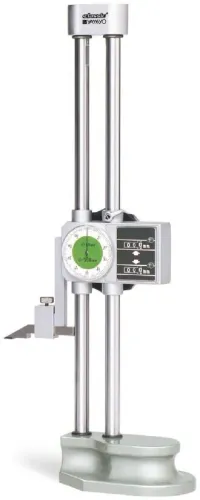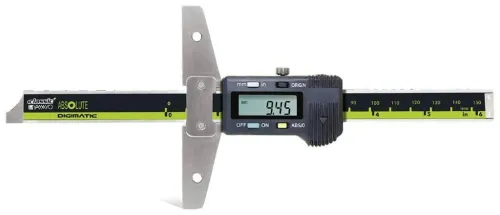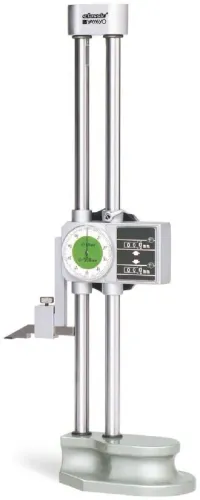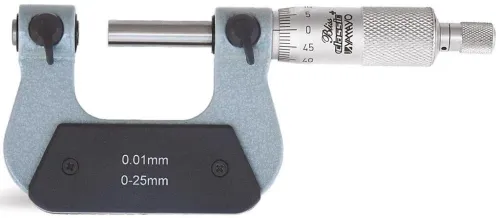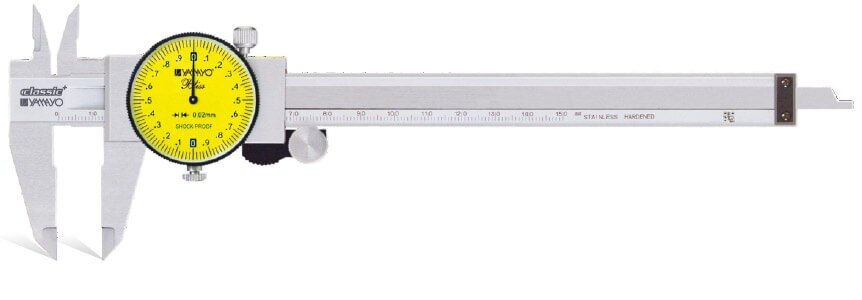
A caliper can quickly measure a screw’s shank, head, thickness, and length, but it cannot answer every thread-inspection question. By comparing dial, digital, vernier, and micrometer tools, you can select the instrument, contact method, and verification routine that match the dimension and its tolerance.
Key takeaways
- Use a micrometer when screw diameter tolerance exceeds caliper capability.
- Measure threads, shanks, heads, depths, and inside features with the correct jaws.
- Clean contact surfaces and align the caliper squarely to prevent false readings.
- Compare range, resolution, accuracy, repeatability, calibration, and service support before sourcing.
Which tool gives the right screw measurement?
Choose a dial, digital, or vernier caliper for external dimensions when its range, resolution, accuracy, and repeatability fit the required tolerance. Use a micrometer when diameter or thickness needs tighter control over a narrower measurement range.
| Tool | Strength | Best choice |
|---|---|---|
| Dial caliper | Immediate analogue indication; no battery dependence | Shank major diameter, head diameter, head thickness, overall length, shank length, accessible recesses, and assembled stand-off |
| Digital caliper | Quick metric/inch changes and easy data recording | Mixed-unit inspection and measurements that must enter a record |
| Vernier caliper | Rugged construction without a rack-and-pinion mechanism | Harsh handling where slower reading is acceptable |
| Micrometer | Higher-control external diameter or thickness measurement | Tight tolerances within its smaller working range |
A dial caliper comparison should therefore start with the dimension, not the display style. A screw measurement caliper can measure across thread crests, but that reading represents major diameter only when the jaws sit perpendicular to the screw axis and contact the crests correctly; it is not pitch diameter.
Calipers cannot establish thread pitch, flank condition, thread class, or acceptance-grade pitch diameter. Use a screw thread micrometer, three-wire method, or calibrated GO/NO-GO thread ring gauge for those characteristics. A caliper reading can look acceptable while the screw still fails thread fit.
What a caliper can measure on a screw—and where it stops
A dial caliper suits external screw dimensions, but only after you identify the exact dimension required: major diameter, head diameter, head thickness, overall length, recess depth, shank length, or assembled stand-off. A screw measurement caliper cannot establish thread fit.
- Use the outside jaws across the shank for diameter, across the head for head diameter, and across the head’s axial faces for head thickness. The beam measures overall length when the screw is seated squarely against a reference face.
- Use the depth rod for an accessible recess or shoulder, and the step faces for a feature reachable from the rear of the caliper. Check these functions separately against the manufacturer’s stated accuracy and the contact geometry; their uncertainty is not automatically the same as the main jaws.
- Treat an outside-jaw reading as major diameter only when both jaws touch the thread crests and remain perpendicular to the screw axis. A tilted screw or flank contact produces neither a dependable major diameter nor a pitch-diameter result.
- Select jaw geometry for the part. Broad jaws can bridge a curved head or several crests; narrow or knife-edge jaws improve access on small screws but can mark soft plating or give unstable readings when the screw is not square.
A dial caliper cannot determine thread pitch, flank condition, thread class, or acceptance-grade pitch diameter. Those characteristics require a screw thread micrometer, three-wire method, or calibrated GO/NO-GO thread ring gauge; industrial dial calipers remain tools for accessible external and depth dimensions.
How to measure a screw without creating a false reading
Whether you use dial calipers in Indore or elsewhere, begin with the part and instrument clean. Chips, abrasive dust, oil film, burrs, and dried coolant can hold the jaws open or damage the rack-and-pinion mechanism.
1. Wipe the screw and both jaws clean. Never force the jaws across a dirty part; trapped grit creates false contact and can cause lost motion.
2. Inspect the jaw edges for nicks and check the rack for packed debris or damaged teeth.
3. Close the jaws gently, without squeezing, and check zero. Rotate the dial bezel so the pointer aligns with zero after the jaws close without force.
4. If the pointer fails to return to zero, stop. Clean the caliper, check for slider or rack binding, and verify it against a known dimension; do not rotate the bezel merely to hide the error.
5. Hold the screw square to the jaws and apply light, consistent contact. Oblique placement, head tilt, burr contact, and excessive pressure can change the reading, deform a small screw, or mark plating.
6. Release the jaws and repeat the measurement at least three times. Consistent results matter more than one forceful reading.
7. Record the dimension, units, instrument identification, and part orientation.
Zero return does not prove accuracy. Check indication with gauge blocks and check repeatability using representative screw sizes; inspect jaw parallelism and contact geometry when the result matters. A gauge block alone will not expose every screw-measurement error.
How to compare dial calipers for small screws and larger components
A 0.001 in or 0.02 mm graduation states resolution, not accuracy. Compare maximum permissible error over the intended range and repeatability: a 0.02 mm-resolution caliper is a weak basis for accepting a 0.02 mm product tolerance when those errors consume the tolerance.
| Feature | Small screws | Larger components |
|---|---|---|
| Range | Keep it close to the required dimension without losing useful resolution | Select enough opening for the part and access |
| Jaws | Compact, narrow, or knife-edge jaws reduce bridging and head tilt | Longer jaws improve reach but increase handling demands |
| Beam | Short, rigid travel limits flex | A rigid beam resists deflection across longer measurements |
| Access | Check jaw thickness, opening, and depth-rod reach | Check jaw length, opening, and depth-rod access |
| Reading | Choose a clear dial with the required inch or metric graduation | Confirm dial readability at the working distance |
A sound dial caliper comparison also checks jaw parallelism, rack-and-pinion smoothness, and readings at representative screw and component dimensions, not just the label on industrial dial calipers. Verify these points over the actual measuring range.
- Match the jaw geometry to the surface: broad jaws can bridge curved heads or several crests, while narrow edges can mark plated surfaces or produce unstable contact.
- Keep chips, abrasive dust, oil, and dried coolant out of the rack and dial mechanism; contamination causes drag and inconsistent readings.
- Protect the mechanism from drops and jaw impacts, which can shift alignment or damage the rack.
- Use light contact on painted, polished, or plated parts; excessive force can leave marks and alter the reading.
What to specify when sourcing a dial caliper in Indore
A defensible purchase specification starts with the screw feature you must accept, not with the label “industrial dial calipers.”
- State the required dimensions: major diameter, head diameter, head thickness, length, recess depth, or assembled stand-off.
- State the tolerance, measuring range, graduation, maximum permissible error, repeatability expectation, jaw style, jaw length, depth-rod requirement, and inch or metric scale.
- Record exposure to chips, coolant, abrasive dust, and plated surfaces, plus the calibration documentation required with delivery.
A buyer searching for dial calipers in Indore or dial calipers for screw measurement in Indore should compare evidence, not a generic listing.
| Source option | Evidence to compare | Risk if absent |
|---|---|---|
| Generic industrial dial calipers | Graduation and range only | The dial reading may not support your tolerance |
| Documented model | Maximum permissible error, repeatability, jaw geometry, and range performance | More effort during technical comparison |
| Supported purchase | Calibration records, service contact, and replacement or verification route | Downtime when accuracy or zero return fails |
Yamayo Instruments can help businesses in Indore match these requirements to dimensional inspection and NDT supply needs, but the characteristic and acceptance method must control the final choice. For pitch diameter, specify a thread micrometer, three-wire setup, or calibrated GO/NO-GO thread gauge instead of forcing a general-purpose caliper to perform thread inspection.
Related product
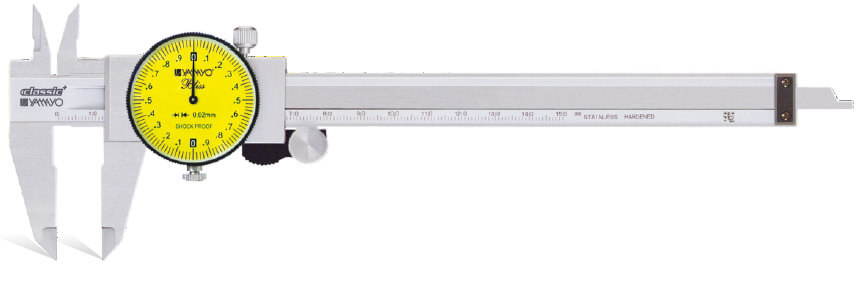 | Calipers Dial Calipers The Dial Caliper is a precision measuring instrument designed for accurate outside diameter (OD), inside diameter (ID), depth, and step... View product → |
Frequently asked questions
Which tool gives the right screw measurement?
Use a dial, digital, or vernier caliper for general external dimensions when its accuracy and repeatability meet the tolerance. Choose a micrometer for tighter diameter or thickness control over a narrower range.
What can a caliper measure on a screw?
A caliper can measure overall length, shank diameter, head diameter, head thickness, thread length, inside features, and depth. It does not identify thread pitch reliably or replace a thread plug gauge or micrometer for close tolerances.
How do you measure a screw without creating a false reading?
Clean the screw and jaws, close the jaws gently, keep them square to the measured surface, avoid measuring over burrs, and repeat the measurement at different positions.
How should you compare dial calipers in Indore?
Compare measuring range, resolution, stated accuracy, repeatability, jaw geometry, zero adjustment, calibration documentation, replacement parts, and local technical support before choosing industrial dial calipers.