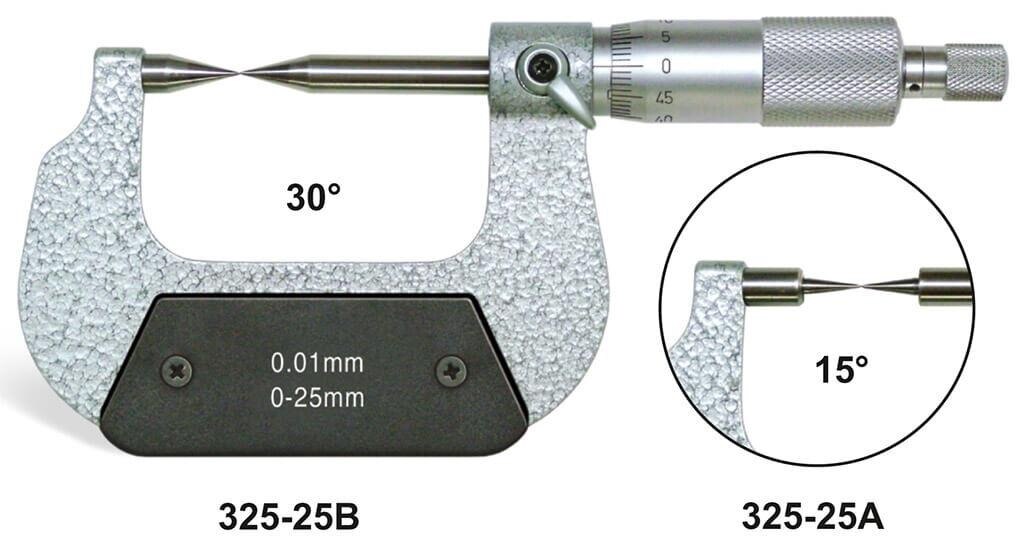
Choose by the feature you must touch, the access available, and the tolerance you must defend—not by the smallest number printed on the tool. By the end, you will know when a dial caliper is enough, when a point micrometer is the safer choice, and how to verify, document, and purchase either instrument for workshop use.
Key takeaways
- Use a dial caliper for fast, accessible outside, inside, depth, and step checks.
- Choose a point micrometer for narrow grooves, thin webs, shoulders, and shim thickness.
- Clean contact faces and the part before measuring curved or contaminated components.
- Verify range, resolution, accuracy, calibration documents, and service support before buying.
Which tool matches the automotive feature you need to measure?
Use a dial caliper for automotive screening when the feature is accessible, the tolerance does not require tightly controlled force, and you need outside, inside, depth, or step measurements quickly. Choose a point micrometer when pointed spindle-and-anvil geometry must reach a narrow groove, keyway, thin web, shoulder, shim, piston-ring groove, seal-groove width, or drill-web thickness.
| Tool | Geometry and reading | Best application |
|---|---|---|
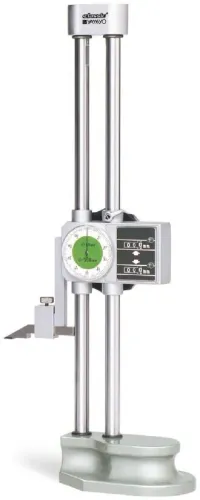
| Standard dial caliper | Beam, sliding jaw, outside and inside jaws, depth rod; dial reading | Brake-rotor thickness screen, brake-drum diameter, shaft comparison, or bearing-seat inspection |
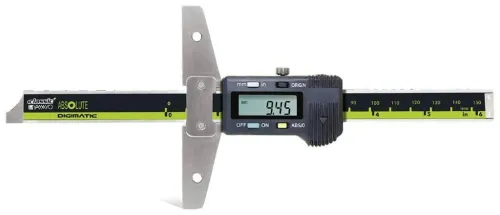
| Digital caliper | Same basic jaw, depth, and step geometry; digital display | Faster reading of accessible dimensions, not a different contact method |
| Inside dial caliper gauge | Internal measuring contact with a dial indicator | Bore checks; it cannot perform ordinary outside-jaw work |
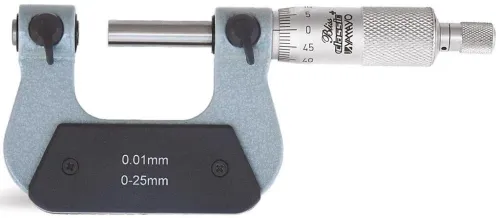
| Point outside micrometer | Pointed spindle and anvil with controlled force | Restricted contact locations where groove or web geometry matters |
| Standard outside micrometer | Broad, opposed flat anvils | Accessible flat surfaces and broad outside dimensions |
The instruments are not interchangeable. A point micrometer offers better contact control than a caliper but measures one feature and range; it is not a substitute for a bore gauge, telescoping gauge, thread micrometer, or deep-reach instrument.
For the dial caliper point micrometer in indore search, distinguish pointed caliper jaws from a pointed spindle-and-anvil tool; the latter is the point micrometer for machinery. Choose by feature access, force, and tolerance—not by name alone.
How do you take a dependable reading on a curved or dirty automotive part?
Clean the part and contact faces before using a dial caliper for automotive measurements. Remove chips, oil films, rust scale, and burrs; close the jaws, check zero, and confirm the dial moves freely.
- Place the outside jaws square across the feature, or use the inside jaws only for an internal dimension. Apply light, consistent pressure without squeezing until the frame or jaws flex.
- Rock the caliper only enough to find the largest outside or smallest inside reading. Read the dial straight on, not from an angle, then repeat at several positions.
- On a curved brake disc, shaft, or drum, flat jaws can touch a chord rather than the true diameter. Place them across the suspected diameter, rotate the part, and record high and low readings to reveal runout instead of trusting one contact point.
| Instrument | Dependable method | Main warning |
|---|---|---|
| Dial caliper | Square the jaws, use light force, and rock minimally for the correct extreme reading. | Dirt, tilted jaws, wrong jaw type, burrs, and curved surfaces create false results. |
| Point micrometer | Select a point angle and radius that fit the groove or web, seat both points at the location, and turn the ratchet or friction thimble. | Do not hand-tighten, measure over damage or oil, or mark soft material with sharp points. |
Let the steel component and instrument reach workshop temperature first. Never measure a hot brake disc or engine part. Record repeated readings and the measurement location.
How do resolution, accuracy, and repeatability affect the decision?
Choose by the tolerance, not the smallest displayed increment. A 0.01 mm, 0.02 mm, or 0.05 mm dial or display increment is resolution; it does not prove accuracy.
| Tool | Strength | Limitation |
|---|---|---|
| Dial caliper | Fast comparative screening on accessible features | Jaw force, alignment, parallelism, and repeatability can exceed a tight tolerance |
| Point micrometer | Ratchet-controlled force and defined point geometry suit narrow grooves, webs, and shims | Slower, feature-specific, and limited to its measurement range |
Compare the maker’s maximum permissible error, jaw parallelism, repeatability, contact pressure, and calibration evidence with the vehicle manufacturer’s service-manual or engineering-drawing tolerance. Do not invent a pass limit. A point micrometer for machinery is preferable when the tolerance is tight and its points seat consistently; use a caliper to screen parts before controlled verification.
Close and zero the tool before work. Confirm performance with calibrated gauge blocks, a certified setting standard, or a verified reference part. Calibration evidence must state the instrument serial number, measured points, reference standard, uncertainty, environmental conditions, and calibration date.
An ISO/IEC 17025 laboratory scope must cover the actual measurand and range, not merely claim accreditation.
Treat 0–25 mm and 25–50 mm instruments as separate ranges: each requires its own suitable standards and calibration points, so the tools are not interchangeable for calibration. Record the component identity, exact location, unit, tool identification, temperature or hot-part status, repeated readings, and applicable limit. Put mm or inch beside every number.
How can a workshop combine both tools without wasting inspection time?
Use a dial caliper for automotive receiving inspection: screen incoming parts, brake components, shafts, steps, and accessible diameters quickly. Take repeated readings at more than one position, then separate obvious rejects from parts that need controlled verification.
Move those parts to a point micrometer when the feature is a narrow keyway, groove, shim, piston-ring groove, or drill web. Choose it when caliper jaws cannot seat consistently, or jaw alignment and measuring force could change the result.
The reverse also applies: a point micrometer wastes time on large outside dimensions, broad accessible faces, rapid multi-feature checks, stepped geometry where both points cannot seat, or soft material that sharp points can mark.
| Caliper type | Workshop advantage | Checks still required |
|---|---|---|
| Analogue dial | No battery; remains readable after a display failure; useful in oil and poor lighting | Check zero, dial movement, shock damage, and repeatability |
| Digital | Faster to read and useful for metric/imperial changes | Check display, zero, battery condition, oil contamination, and replacement needs |
Neither type is universally superior. Compare repeatability under your handling and lighting conditions.
Wipe contact faces after use, protect pointed anvils, check zero before each session, and store the caliper or micrometer without forcing its slide or spindle. Schedule calibration from your quality system and measurement risk, not an invented interval.
What should you verify before buying either instrument in Indore?
Check the instrument against the feature and drawing before you compare prices. “Imported,” “hardened stainless steel,” and “NABL certificate available” do not prove suitability.
| Instrument | Buyer checklist |
|---|---|
| Dial caliper | State the actual range; metric or dual-scale reading; resolution and dial graduation; jaw depth and jaw form; lock; fine-adjustment feature; shock protection; maximum permissible error; calibration documentation; spare parts; and service support. |
| Point micrometer | State the actual range and 25 mm segment, such as 0–25 mm or 25–50 mm; point radius or included angle; spindle and anvil shape; frame clearance; thimble or ratchet; lock; resolution; calibration certificate; and fit against the real groove, web, shim, or shoulder. |
Request a certificate showing the instrument serial number, measured points, reference standard, uncertainty, environmental conditions, and calibration date. Confirm that the laboratory’s NABL scope covers the actual measurand and range; a generic “calibrated” statement is not enough.
Ask for a demonstration on the actual brake, shaft, groove, shim, or web. Confirm metric availability and compare the proposed instrument with the tolerance and feature access. Yamayo Instruments can help distinguish a dial caliper, digital caliper, inside dial caliper gauge, and point micrometer, then confirm calibration support and service arrangements.
For a dial caliper point micrometer in Indore search, submit feature sizes, drawings, required tolerance, and calibration-record requirements. If you want to buy dial caliper in Indore, do not ask only for the lowest price; specify the automotive measuring instruments in Indore your inspection actually needs.
Related products
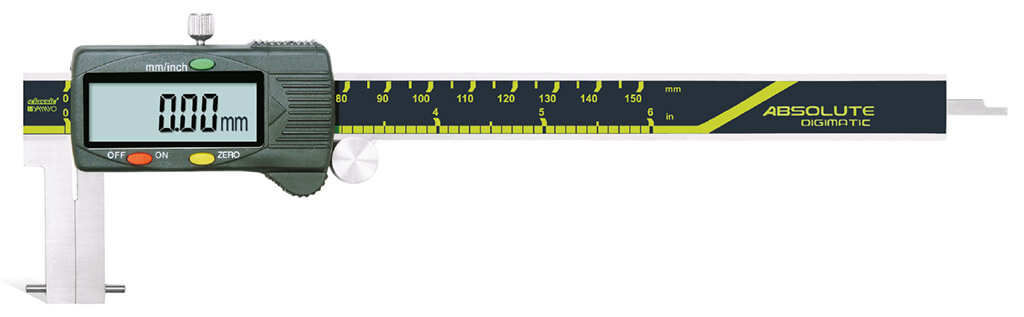 | Calipers Digimatic Inside Point Type Calipers Digimatic Inside Point Type Calipers The Digimatic Inside Point Type Caliper is a precision digital measuring instrument specially designed for... View product → |
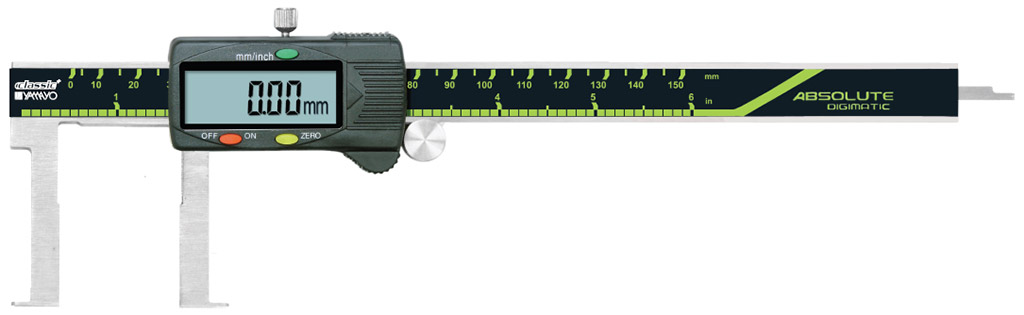 | Calipers Digimatic Inside Flat Point Type Calipers Digimatic Inside Flat Point Type Calipers The Digimatic Inside Flat Point Type Caliper is a precision digital measuring instrument specially designed... View product → |
Frequently asked questions
Which tool matches the automotive feature you need to measure?
Use a dial caliper for accessible outside, inside, depth, and step measurements during screening. Use a point micrometer when pointed contacts must reach a narrow groove, keyway, thin web, shoulder, shim, piston-ring groove, seal-groove width, or drill-web thickness.
How do you take a dependable reading on a curved or dirty automotive part?
Remove oil, rust scale, burrs, and loose debris from the contact area. Seat the tool squarely, use consistent light force, avoid rocking the caliper, and repeat the measurement at several positions on curved parts.
How do resolution, accuracy, and repeatability affect the decision?
Resolution is the smallest displayed increment; accuracy is closeness to the reference value; repeatability is consistency across repeated readings. Match all three to the part tolerance instead of choosing by resolution alone.
How can a workshop combine both tools without wasting inspection time?
Use the dial caliper for rapid incoming checks and dimensional screening, then use the point micrometer for features the caliper cannot contact reliably or for tighter decisions. Record the tool identification and readings in the inspection plan.
What should you verify before buying either instrument in Indore?
Confirm measuring range, resolution, stated accuracy, contact geometry, frame clearance, locking or force-control features, calibration documentation, replacement parts, and local support. Ask suppliers such as Yamayo Instruments which instrument suits your feature and tolerance.
Related products
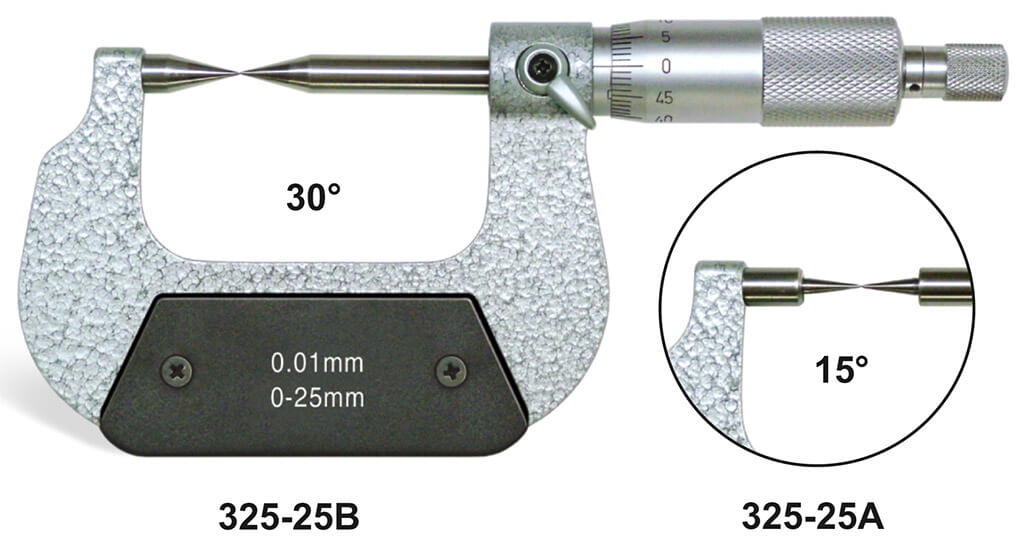 | Micrometers Point Outside Micrometers The Point Outside Micrometer is a specialized precision measuring instrument designed for measuring web thickness of... View product → |
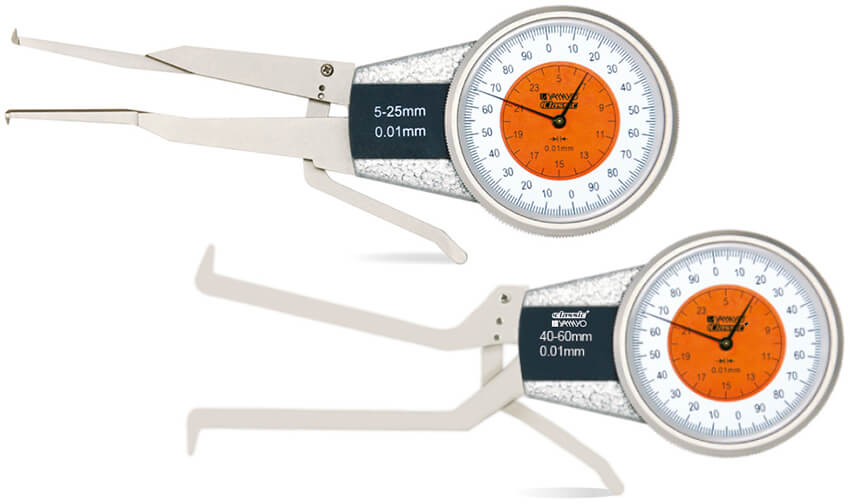 | Inside Outside Measurements Inside Dial Caliper Gauges The Inside Dial Caliper Gauge is a precision measuring instrument designed for accurate measurement of internal diameters... View product → |
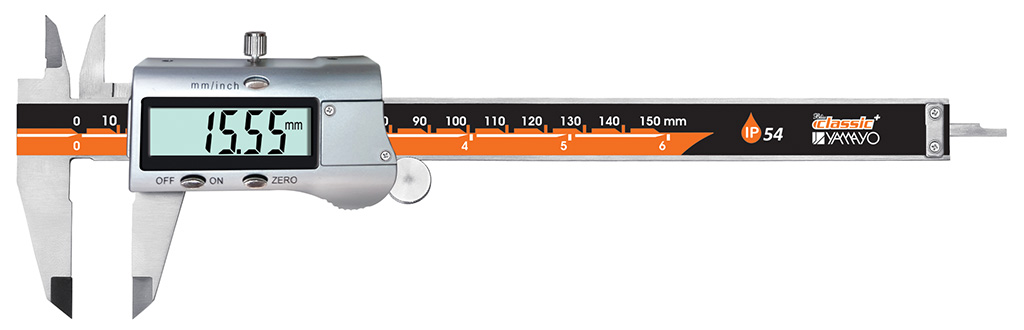 | Calipers Digimatic Calipers The Digimatic Caliper is a high-precision digital measuring instrument designed for accurate inside, outside, depth, and step... View product → |