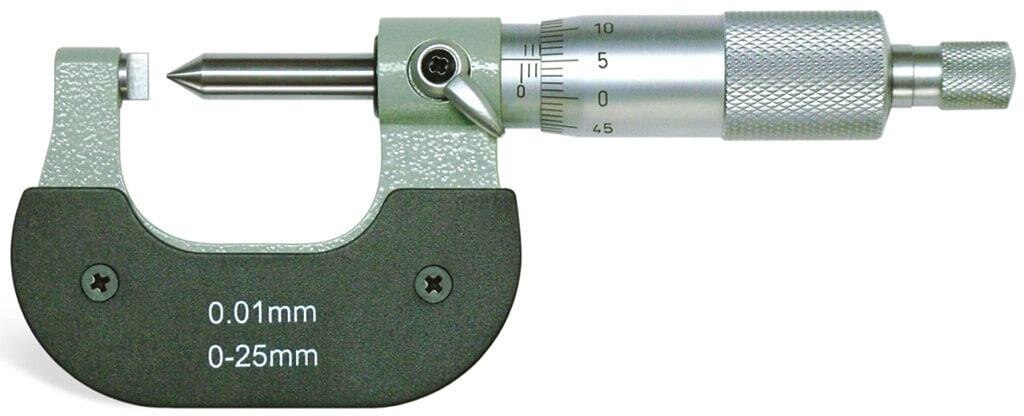
A pointed contact can reach a narrow machined feature, but that does not make it suitable for measuring a formed electrical crimp. By comparing contact geometry, access, measuring technique, alternatives, and purchasing checks, you can select an instrument that fits the feature and supports a defensible inspection decision.
Key takeaways
- Match the anvil and spindle shape to the feature you need to measure.
- Use a point micrometer when access is narrow or the contact area is small.
- Measure crimp height across the specified formed surfaces, not the insulation or wire barrel.
- Choose calipers, gauges, optics, or digital micrometers when their geometry suits the job better.
Which instrument matches the feature you are measuring?
Choose a point micrometer for a narrow machined feature; choose crimp height micrometers for the formed height of an electrical crimp. The deciding factor is contact geometry, not measuring range or a digital display.
| Option | Contact geometry | Correct application |
|---|---|---|
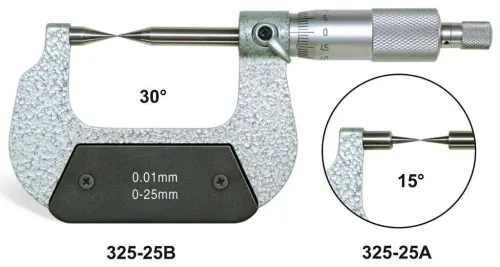
| Point micrometer | Pointed spindle with a pointed or narrow anvil | Drill web, slot, groove, keyway, spline, recess, shoulder, or thin-wall section |
| Crimp-height micrometer | Contacts shaped and positioned for a formed terminal | Conductor-barrel height at the location specified by the terminal or applicator manufacturer |
A point micrometer reaches true surfaces that flat outside-micrometer faces cannot access. Its points must enter the intended web, groove bottom, or flank without touching adjacent faces. A pointed contact can enter a seam, serration, or gap, then indent a soft copper or aluminium terminal, so it is not a substitute for a crimp instrument.
For an electrical crimp, position the contacts across the formed conductor barrel, usually perpendicular to the terminal axis, at the specified crown or reference surfaces. Keep them off insulation wings, the terminal seam, burrs, and flash. Measure insulation-crimp height separately when required.
Select the crimp instrument only after checking its anvil profile, spindle travel, access clearance, terminal family, crimp profile, and wire-size range. A suitable tool must reach the specified measurement station without crushing the crimp or measuring an arbitrary surface.
How do feature size and access determine a point-micrometer fit?
A point micrometer fits a restricted feature only when its points can reach the true measuring surfaces without touching adjacent faces. Check the feature width, groove depth, shoulder position, wall thickness, and available approach angle before choosing the measuring range and spindle travel.
1. Identify the target surface: the drill web, groove bottom, keyway flank, spline space, or thin-wall section. Confirm that the pointed spindle and anvil can enter fully and that their point radius matches the geometry.
2. Reject a point that is too blunt for a narrow groove; it will bridge the bottom and read high. Reject an excessively sharp point on soft copper, aluminium, or coated material if it can indent the surface.
3. Clean chips and oil from the part. Align the point micrometer with the feature axis, close the spindle using the ratchet or friction thimble, and seat both points consistently.
4. Lift and reseat the instrument for repeated readings. Investigate any spread caused by point placement, burrs, a tapered groove, skewed alignment, or excessive contact force. A skewed instrument measures a diagonal or edge rather than the intended dimension.
A blade micrometer can suit a wider, shallow slot because its blades enter without pointed contact. Choose it only when the feature permits blade access; it is the wrong instrument when pointed access is needed.
How do you measure crimp height without measuring the wrong surface?
Measure the conductor barrel, not the most convenient-looking part of the terminal. A crimp height micrometer is valid only when its contact geometry matches the terminal profile and the specified inspection station.
1. Read the terminal drawing or applicator specification before measuring. Record the station along the terminal axis, conductor-barrel reference surfaces, and permitted height for that wire size and strand construction.
2. For an open-barrel terminal, place the contacts across the formed conductor barrel, perpendicular to the terminal axis. Seat them on the specified crown or reference surfaces, not on the insulation wings or support.
3. Keep both contacts clear of the terminal seam, burr, flash, and conductor brush. A point that enters a seam or touches a burr can produce a plausible but invalid result.
4. Control contact force with the ratchet or friction thimble and follow a defined contact procedure. Do not crush the crimp; release the instrument, reseat it, and repeat the reading to expose placement or force variation.
5. Record conductor-crimp height separately from insulation-crimp height. Measure the insulation crimp only when its specification calls for it; it cannot replace the conductor measurement.
6. Inspect wire position, bellmouth, conductor-brush length, wing formation, and terminal damage. Check pull-out or tensile performance under the applicable terminal or workmanship specification.
7. Treat the result as a dimensional process check, not proof of complete crimp quality. Electrical resistance, cross-section appearance, and mechanical performance need separate verification. Digital micrometers provide a readout, but they do not correct wrong contact placement.
When are calipers, gauges, optics, or digital micrometers the better choice?
Choose by contact geometry, not by the easiest number to read. A standard outside micrometer suits broad, flat external dimensions; its flat faces cannot enter a narrow groove and can bridge a crimp instead of measuring its formed height.
| Option | Useful for | Do not use it when |
|---|---|---|
| Standard outside micrometer | Broad, flat external dimensions | The feature is a narrow groove or a formed crimp |
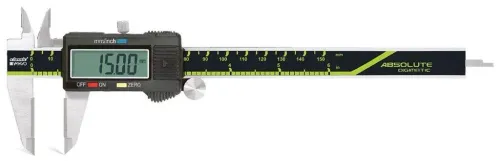
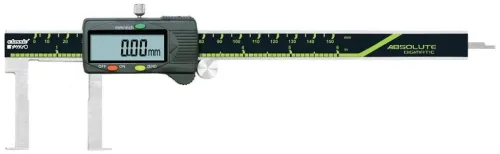
| Caliper | Fast rough checks and large access openings | Tight crimp-height acceptance demands controlled alignment, resolution, and force |
| Pin gauge | Verifying a known hole or slot limit | You need the height of a formed terminal |
| Optical measurement | Small features that contact could deform; profile, burr, bellmouth, and conductor position | Lighting, fixturing, or an image-measurement method is uncontrolled |
| Dedicated crimp-height micrometers | Defined terminal families and production checks | Terminal profile or wire range falls outside the contact geometry |
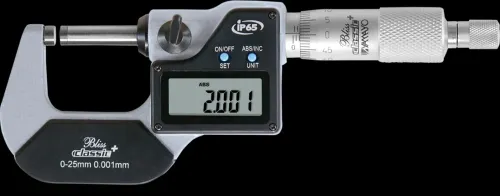
Use digital micrometers for direct reading, unit conversion, and possible data output. A conventional thimble or mechanical-counter micrometer avoids batteries and display contamination.
Compare resolution with accuracy, repeatability, contact-force control, operator consistency, temperature, alignment, calibration uncertainty, and your measurement-system requirements. A 0.001 mm display does not justify reporting 0.001 mm.
Optical systems need controlled lighting and fixturing, while a dedicated crimp-height gauge needs matching anvil shape, spindle travel, terminal profile, and wire range. Excessive contact force compresses the crimp and lowers the reading; inconsistent force increases operator variation. Use a ratchet or friction thimble and a defined contact procedure.
Point contacts are for narrow machined features, not a substitute for crimp height micrometers.
What should you verify before buying in Bengaluru?
A purchase specification must describe the feature, not just request a point micrometer or crimp height micrometer in Bengaluru. Send the supplier these details:
1. For a point instrument, state the feature type, point angle or radius, measuring range, spindle travel, minimum access width, groove depth, and surface material. A contact that damages aluminium or bridges a narrow groove is unsuitable.
2. For a crimp instrument, provide the terminal part number, conductor and insulation crimp profiles, wire-size range, target conductor-crimp height, tolerance, required contact surfaces, and clearance around the terminal. Specify the measurement station on the terminal.
3. Ask whether one tool measures both conductor and insulation crimps, or whether separate contact arrangements are required. Insulation-crimp height cannot replace conductor-crimp height.
4. Request calibration across the working range with traceability to an ISO/IEC 17025-accredited laboratory. Calibration status does not prove application suitability; compare capability and uncertainty with your tolerance.
5. Perform a repeatability study using representative crimped samples, different operators, repeated contact cycles, and temperatures. Control the instrument, terminal, and workbench near the 20 °C dimensional reference when tolerances are tight.
Yamayo Instruments can help Bengaluru manufacturing and inspection teams match contact geometry to the feature instead of selecting a general-purpose display. Digital micrometers still need this application check.
Related products
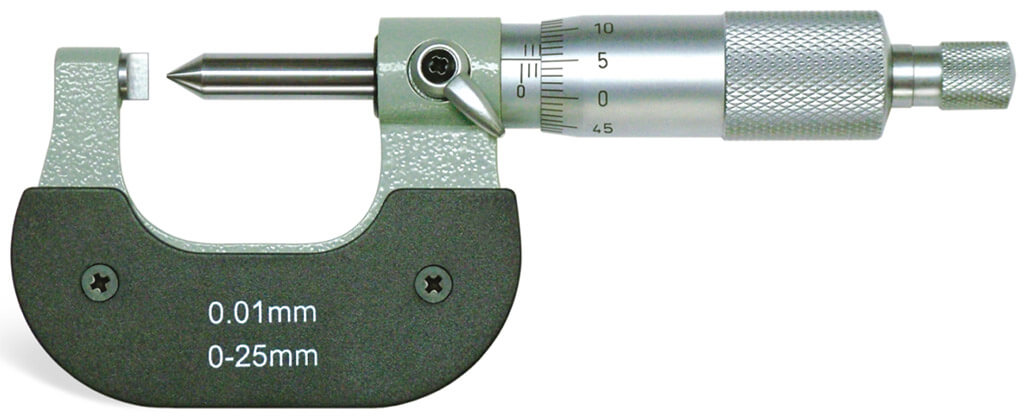 | Micrometers Crimp Height Micrometers The Crimp Height Micrometer is a specialized precision measuring instrument designed for accurate measurement of crimp... View product → |
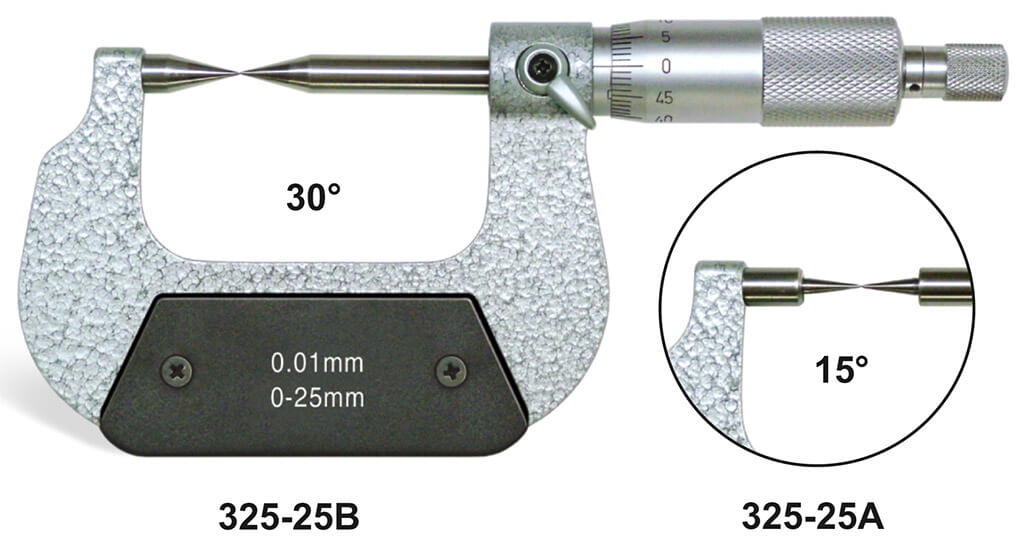 | Micrometers Point Outside Micrometers The Point Outside Micrometer is a specialized precision measuring instrument designed for measuring web thickness of... View product → |
Frequently asked questions
Which instrument matches the feature you are measuring?
Use a point micrometer for a narrow machined feature with limited contact access. Use crimp height micrometers for the formed height of an electrical crimp.
How do feature size and access determine a point-micrometer fit?
Check the point diameter, point angle, throat depth, measuring range, and clearance around the feature. The contact points must reach the intended surfaces without touching adjacent shoulders.
How do you measure crimp height without measuring the wrong surface?
Identify the terminal manufacturer’s specified crimp-height location, seat the contacts on the formed crimp surfaces, and keep the probe away from insulation, wire strands, and the uncrimped barrel.
When are calipers, gauges, optics, or digital micrometers better choices?
Use calipers for broad external dimensions, fixed gauges for fast pass/fail checks, optics for tiny or delicate profiles, and digital micrometers when a standard flat-face contact geometry fits the feature.
What should you verify before buying in Bengaluru?
Verify the measuring range, contact geometry, resolution, accuracy, calibration documentation, temperature conditions, replacement contact availability, and service support for your application.
Related product
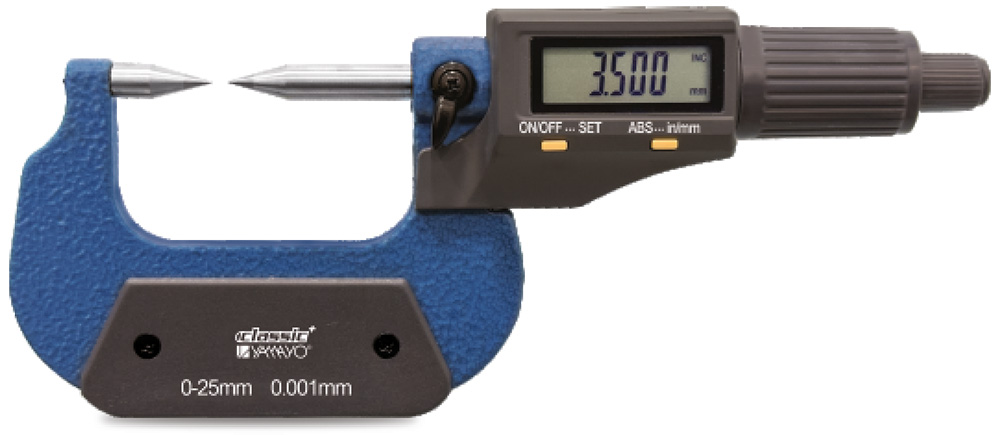 | Micrometers Digimatic Point Outside Micrometer Digimatic Point Outside Micrometer The Digimatic Point Outside Micrometer is a high-precision digital measuring instrument specifically designed for... View product → |