A replaceable anvil extends a micrometer’s reach, but each change alters the contact arrangement that makes the reading trustworthy. By following the correct selection, fitting, reference-checking, and measurement steps, you can match the instrument to a workpiece without treating display resolution as accuracy.
Key takeaways
- Match each anvil to its defined measuring range and frame.
- Clean the anvil seat and tighten it without forcing the fit.
- Use consistent contact pressure and alignment for repeatable readings.
- Recheck zero and known-size accuracy after every anvil change.
How an interchangeable anvil changes the micrometer’s measuring range
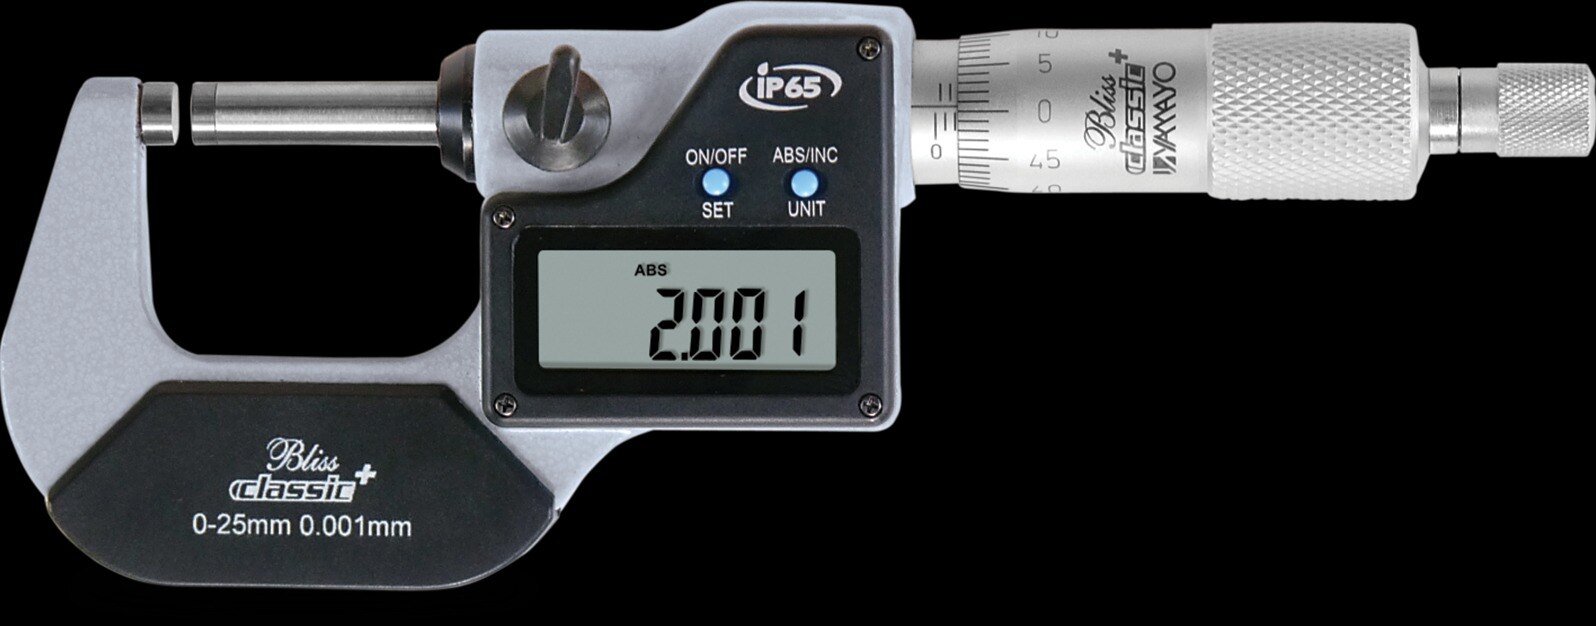
An interchangeable-anvil digital micrometer extends a frame’s measuring coverage by replacing its anvil or extension rod with another length. The frame does not become a universal micrometer: each anvil supports a defined size band, so match the frame, fitted anvil, workpiece diameter, and required accuracy before measuring.
| Option | What it means | When it applies |
|---|---|---|
| Interchangeable-anvil micrometer | One frame accepts anvils or rods of different lengths | When several outside-dimension ranges must be covered |
| Fixed-anvil outside micrometer | The spindle and anvil remain in one fixed capacity | When one size range needs fast, repeatable checks |
| Interchangeable set | Wider coverage with fewer frames, but changeover and verification are required | For incoming inspection, machining checks, and varied shaft or plate sizes |
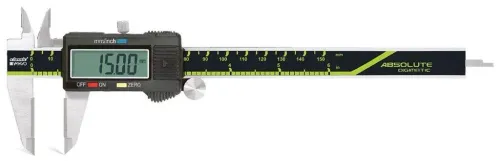
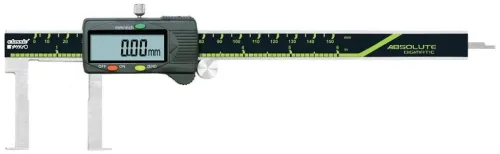
The principal interchangeable micrometers applications are measuring external diameters, thicknesses, shoulders, and lengths across multiple size bands. The arrangement is not the right choice for internal diameters, deep features, thread pitch diameters, or narrow grooves unless the fitted contact geometry is designed for them.
A buyer comparing digital micrometers for interchangeable anvils in Bengaluru should not treat a 0.001 mm display as proof of 0.001 mm accuracy. Check the manufacturer’s maximum permissible error across the complete range and use ISO 3611 as the applicable reference for external micrometer verification.
Before measurement, confirm:
- The selected anvil is fully seated and secured.
- The contact faces are clean and aligned.
- Zero and accuracy remain acceptable for the fitted combination.
A fixed-anvil micrometer avoids this changeover burden, while an interchangeable model trades setup time for broader coverage.
How to choose, fit, and seat the correct anvil
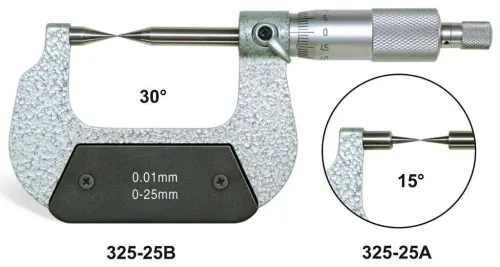
Choose the anvil by the feature’s contact geometry, not by diameter alone. The practical digimatic interchangeable outside micrometer uses are external diameters, thicknesses, lengths, and shoulders; it is not a substitute for an internal, thread, or deep-groove micrometer.
| Anvil shape | Best fit | Main risk |
|---|---|---|
| Flat | Shafts, plates, and general thickness | Edge contact on a narrow step |
| Ball | Curved surfaces and thin sections | Point contact can mark soft material |
| Disk | Shoulders, flanges, and grooves | A disk that is too large cannot enter the feature |
| Blade | Narrow grooves and thin edges | Tilt creates a false reading |
| Point | Small steps or restricted contact areas | High local pressure and deformation |
Select an anvil whose face reaches the intended measuring line without touching an adjacent shoulder. A large flat face can bridge a groove; a sharp point can indent copper, aluminium, or plastic.
Install it with the spindle retracted and the anvil seat, threads, shoulder, and contact face clean. Screw it in by hand until the locating shoulder is fully home, then use the manufacturer’s supplied wrench or locking method. Do not tighten against chips or use pliers.
- Wipe both contact faces with a lint-free cloth.
- Check that the anvil shoulder sits flush with the frame and does not rock.
- Confirm the spindle and anvil faces meet squarely, without visible offset or tilt.
- Close the micrometer gently and check for abnormal resistance before measuring.
A crooked or incompletely seated anvil changes both alignment and zero; repeat the zero and reference checks after fitting it.
How to take a repeatable measurement on the shop floor
Across interchangeable micrometers applications, repeatability depends more on the measuring method than on the digital display. Use the same contact points, measuring force, temperature condition, and operator sequence for every part.
1. Clean the spindle, fitted anvil, and workpiece with a lint-free cloth. Remove chips, oil beads, and burrs; a single chip can create a false oversized reading.
2. Let the micrometer and part reach a stable temperature. Keep both near the inspection reference of 20°C when the tolerance is tight, and hold the frame by its insulated grip rather than warming it with your hand.
3. Place the micrometer square to the feature. For a shaft or thickness, rock the frame gently through the smallest reading to remove cosine error; do not twist the frame until the contacts scrape the surface.
4. Close the spindle with the ratchet or friction thimble, not the plain thimble. Use the same steady clicks or friction action each time, especially on thin, soft, flexible, or compressible material, where excess force can deform the part.
5. Repeat the reading without changing the setup. Open the spindle, reposition the micrometer at the defined location, and take at least three readings; record the digital value, location, operator, temperature, and instrument identification.
A displayed 0.001 mm does not prove process capability. Use the recorded readings to check repeatability and reproducibility against the part tolerance before feeding them into statistical process control. A stable method exposes operator or alignment problems; a larger display only hides them.
How to verify zero and accuracy after changing anvils
A successful anvil change ends with evidence, not a zero display alone. Clean the mating faces, seat the selected anvil fully, lock it, and confirm that the contact faces meet squarely without rocking. For digital micrometers for interchangeable anvils in Bengaluru, use the same verification discipline for every frame-and-anvil combination.
1. Wipe the anvil seat, spindle face, and reference surfaces with lint-free material. Remove burrs, chips, and oil film; any debris can create a repeatable offset.
2. Fit the anvil to the specified seating condition and tighten the lock. Open and close the spindle once, then check that the anvil has not shifted.
3. Close the micrometer using its ratchet or friction thimble, not hand force. Confirm the display reaches zero, or apply the manufacturer’s zero-setting procedure and record the offset before adjustment.
4. Check a calibrated gauge block, setting standard, or ring at the low end of the intended range. Repeat the reading at least twice, then test a second point near the working size; use a third point near the upper range when the measurement approaches the stated maximum permissible error.
5. Compare each observed error with the manufacturer’s accuracy limit, not the displayed 0.001 mm resolution. Stop the configuration if readings vary, the zero will not hold, or any error exceeds the limit.
Record the frame and anvil identification, range, zero offset, standard serial numbers, certificate dates, readings, errors, temperature, operator, date, and pass/fail decision. A certificate for the bare frame does not validate every interchangeable-anvil configuration.
What to specify when buying digital micrometers in Bengaluru
A 0.001 mm display does not mean 0.001 mm accuracy. Specify the measuring range, maximum permissible error across that complete range, spindle diameter, anvil geometry, measuring-force device, units, output interface, and whether you need data export. Match the frame and anvil set to the largest workpiece dimension rather than assuming one set covers every size.
| Requirement | Compare | Why it matters |
|---|---|---|
| Technical fit | Range, resolution, MPE, spindle diameter, contact shape, ratchet or force limiter | An unsuitable anvil can make a correct reading impossible |
| Intended work | External diameters, thicknesses, lengths, shoulders, or steps | Digimatic interchangeable outside micrometer uses do not normally include internal diameters, deep features, thread pitch diameters, or narrow grooves |
| Calibration | Manufacturer certificate versus ISO/IEC 17025-accredited certificate; ISO 3611 alignment | A certificate for the bare frame does not validate every anvil configuration |
| Service | Anvil-set availability, battery and spindle parts, recalibration, turnaround, and traceability | A damaged or lost anvil can stop the entire measuring range |
| Data | Digimatic or other output, cable or wireless method, units, and data format | Confirm that readings enter your inspection or SPC system without transcription |
Ask the supplier to verify the assembled frame, fitted anvil, and contact geometry, not only the base instrument. For digital micrometers in Bengaluru, Yamayo Instruments can help you compare the anvil set and calibration route against your actual workpiece tolerances.
Also state the calibration interval your process requires; ISO/IEC 17025 accreditation confirms laboratory competence, not suitability for every tolerance.
Related products
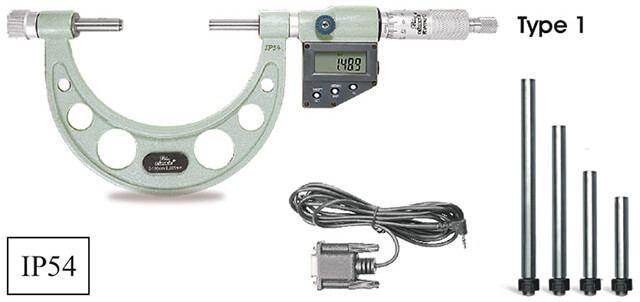 | Micrometers Digimatic Interchangeable Outside Micrometers Digimatic Interchangeable Outside Micrometers The Digimatic Interchangeable Outside Micrometer is a high-precision digital measuring instrument... View product → |
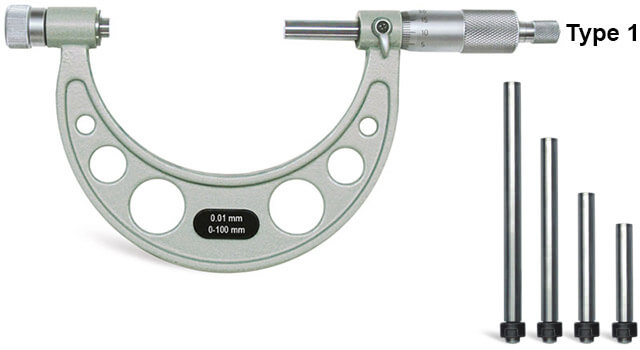 | Micrometers Interchangeable Outside MicrometersMicrometers Interchangeable Outside Micrometers The Interchangeable Outside Micrometer is a versatile precision measuring instrument designed for accurate... View product → |
Frequently asked questions
How does an interchangeable anvil change a micrometer’s measuring range?
It extends the frame’s coverage by replacing the anvil or extension rod with another length. Each fitted anvil covers a defined size band, so match the frame, anvil, workpiece, and required accuracy.
How do you choose and fit the correct interchangeable anvil?
Select an anvil whose specified range includes the workpiece size, then clean the mating surfaces, fit the anvil fully, and seat it without forcing or damaging the threads.
How do you take a repeatable measurement with an interchangeable digital micrometer?
Align the anvil and spindle with the workpiece axis, close using the ratchet or friction thimble, use consistent contact pressure, and take repeated readings at the same location.
How do you verify zero and accuracy after changing an anvil?
Clean the measuring faces, close the micrometer correctly, check the display’s zero, and compare readings against a calibrated standard or gauge close to the intended measurement size.
What should you specify when buying digital micrometers for interchangeable anvils in Bengaluru?
Specify the required size bands, anvil types and lengths, resolution, accuracy, display and data-output needs, calibration documentation, replacement-anvil availability, and service support.