Choosing between an inside dial caliper and a point micrometer depends on the feature, not the smallest number printed on the display. By matching contact geometry, access, repeatability and reference-setting method to the drawing, you can select a tool that gives a defensible internal measurement instead of a precise-looking wrong result.
Key takeaways
- Use an inside dial caliper for fast checks between accessible opposing surfaces.
- Choose a point micrometer when contacts must reach grooves, shoulders, or recesses.
- Match contact shape and reach to the feature before comparing accuracy figures.
- Control alignment, zero reference, contact force, and temperature during internal readings.
Which instrument suits the internal checking task?
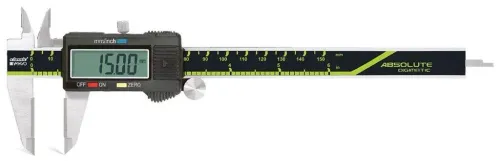
Choose an inside dial caliper for fast comparative checks on accessible opposing surfaces; choose an internally designed point micrometer when contact must reach a narrow groove, shoulder or recess. The right point micrometer comparison concerns contact geometry and measurement purpose, not the largest accuracy number in a catalogue.
| Instrument | Speed and repeatability | Access | Measurement purpose |
|---|---|---|---|
| Inside dial caliper | Fast for sorting; repeatability depends strongly on squareness, rocking and hand force | Reaches relatively open bores and slots with inside jaws | Comparative checking against a master or reference value |
| Two-point internal micrometer | Slower to set and position; controlled anvils give a more direct size reading | Fits internal diameters and restricted shoulders when the anvil shape matches | Direct diameter measurement and tighter-tolerance work |
| Three-point internal micrometer | Slower than a caliper; self-centering contact usually improves repeatability in a round bore | Needs sufficient bore depth and clearance for three contacts | Direct bore-size checking, not detailed form analysis |
Inside dial caliper gauge options suit quick acceptance decisions, but they do not separate size error from taper, ovality or bell-mouth. A dial bore gauge, air gauge or coordinate-measuring method is better when bore form matters.
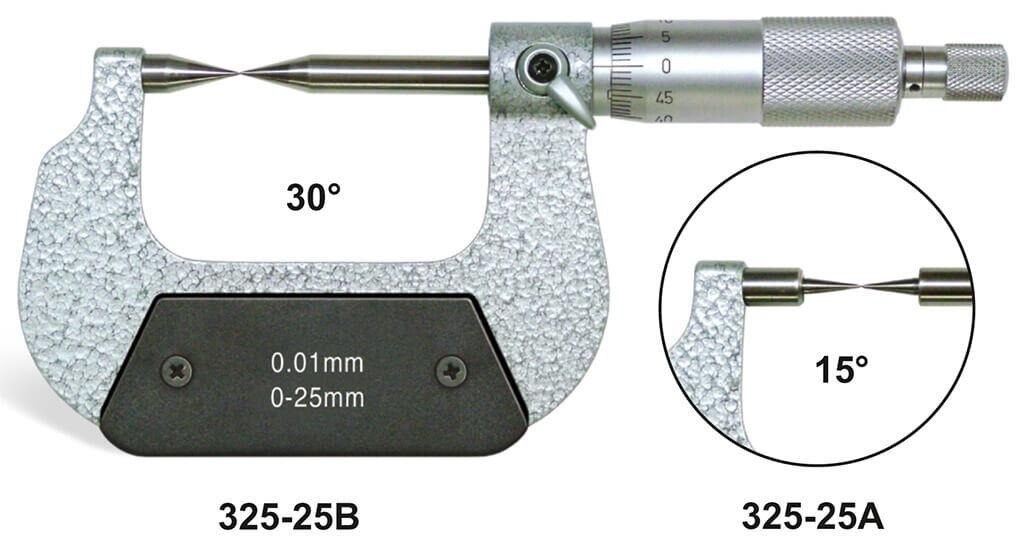
Do not use a pointed external micrometer across an internal diameter: its anvils can land on chamfers or edges and produce a repeatable but false reading. Confirm that the point micrometer’s anvil arrangement and range are explicitly intended for the internal feature.
How do you take a reliable internal reading?
A reliable internal reading comes from controlled contact, correct alignment and a repeatable setting. Use an inside dial caliper for a quick comparative check; use a point micrometer for internal measurement when a groove, shoulder or restricted recess needs a direct, controlled reading.
1. Clean the feature and the contacts. Remove chips, oil film and burrs from the bore, slot or shoulder. A trapped chip can produce a false oversize reading.
2. Bring the workpiece and instrument to the same temperature. Confirm the range and inspect the contacts for damage. Close the inside dial caliper to check its zero, or set it against a certified ring, master or known dimension. Set an internal micrometer to its reference before measuring.
3. Insert the contacts without scraping the surface. Hold an inside dial caliper square to the bore axis, with both jaws touching opposing walls. For a two-point or three-point micrometer, keep the anvils centred and apply only the ratchet or friction-thimble force.
4. Rock a two-point instrument gently through the bore axis and watch for the minimum dial reading. That position represents the true local diameter; forcing the jaws or stopping before the minimum gives a false result.
5. Withdraw and repeat the reading at least twice without changing the technique. Record the depth and clock position, then compare the results. Measure both ends and several angles if taper or ovality matters.
6. Use a flat, knife-edge or groove contact only when it fully reaches the intended shoulder or recess. Never substitute a pointed external micrometer for an internally suitable instrument.
How should contact shape match the feature?
A contact must reach the measuring surfaces without riding a radius, burr, or chamfer. Choose the geometry by feature access first, then by the tolerance and repeatability you need.
| Option | Best feature | Why it applies |
|---|---|---|
| Two-point contacts | Straight bores and blind holes | Measure opposing walls directly; select a long-reach version when the bottom of the hole matters. |
| Three-point contacts | Round production bores | Self-centre more readily and reveal size consistently, but they cannot describe a slot or narrow recess. |
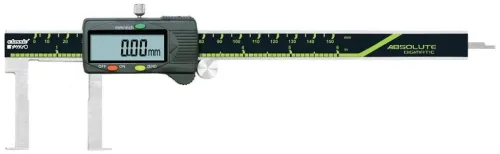
| Jaw contacts | Accessible slots, steps and large openings | Fast comparative checking; jaw tips need clearance and can rock in a shallow feature. |
| Flat-point contacts | Shoulders, broad recesses and flat-bottomed areas | Spread force over a flat surface instead of digging into an edge. |
| Knife-edge contacts | Narrow slots, thin shoulders and restricted recesses | Enter a tight gap, but a chipped edge or burr can shift the reading. |
| Groove contacts | Internal or external grooves | Seat in the groove rather than bridge its lips; match the contact width to the groove width. |
Use two-point or three-point internal contacts for a direct bore size, not a pointed external micrometer simply because its anvils look accessible. A point micrometer is primarily an external tool; its pointed or blade-like anvils suit grooves, shoulders and recesses.
For blind holes, verify contact reach and bottom clearance before ordering. List the inside dial caliper gauge options with jaw-tip width, minimum opening, maximum depth and contact shape; a short jaw that touches the entry chamfer gives a precise-looking wrong answer.
Which errors can make an internal reading wrong?
Alignment, rocking, force, burrs, taper, ovality, temperature and poor reference-setting can all make an internal reading wrong. Hold the instrument square to the bore axis, rock it gently through the minimum reading, and never force the contacts into position.
| Instrument | Reading behaviour | Best use |
|---|---|---|
| Inside dial caliper | Fast comparative reading; operator alignment strongly affects repeatability | Accessible bores and sorting |
| Internal point micrometer | Direct two-point size; pointed contacts suit grooves, shoulders and narrow recesses | Features that ordinary jaws cannot enter |
| Dial bore gauge | Comparative reading at several depths and angles | Deep bores, tight tolerances, taper and ovality checks |
| Fixed plug gauge | Fast accept/reject result, not a measured size | Production bores with defined limits |
Set a comparative instrument against a certified setting ring, master, or reference micrometer before checking parts. A wrong setting transfers its error to every result. A point micrometer comparison is meaningful only when its anvil geometry matches the feature; a pointed external micrometer can catch a chamfer instead of the true diameter.
Clean the bore and contacts, then remove burrs at the entry and in grooves. A burr raises the reading, while excessive force can deflect thin walls. Check multiple angular positions and depths: taper changes size along the axis, and ovality changes it around the circumference.
Correct for temperature when the part and instrument differ substantially from the reference temperature, commonly 20 °C. Choose a bore gauge when you must distinguish size, taper and ovality; choose a fixed plug gauge when speed matters more than the actual dimension.
What should you specify when sourcing internal measurement tools?
The phrase inside dial caliper for gauge point micrometer in Bengaluru is too ambiguous for a quotation. State whether you need an inside dial caliper, dial bore gauge, two-point or three-point internal micrometer, or pointed external micrometer; their contact geometry and setting methods differ.
| Instrument | Specify | Access detail |
|---|---|---|
| Inside dial caliper | Range, resolution, stated accuracy, jaw thickness and measuring depth | Minimum bore or slot size, throat depth and clearance around the feature |
| Point micrometer | Range, spindle travel, point radius or blade thickness, locking arrangement and contact material | Groove width, shoulder clearance, blind-hole depth and spindle approach |
| Dial bore gauge | Range, probe configuration, comparison setting method and supplied extensions | Minimum bore, maximum depth and required setting ring, master or reference micrometer |
For internal measurement tools in Bengaluru, put these items in the request:
- Manufacturer model and complete specification sheet
- Maximum permissible error or manufacturer accuracy statement, not resolution alone
- Contact form, material, replaceable-contact availability and spare-part lead time
- Calibration certificate from an ISO/IEC 17025-accredited laboratory, with traceability, measurement uncertainty and the actual test points
- Verification across the working range, including multiple sizes and repeatability, rather than a single zero check
- Required setting standards, accessories, delivery location and calibration interval
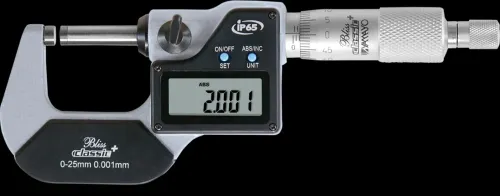
Yamayo Instruments can help clarify whether the quoted instrument matches your feature before you compare prices. A 0.001 mm display does not prove 0.001 mm accuracy.
Related products
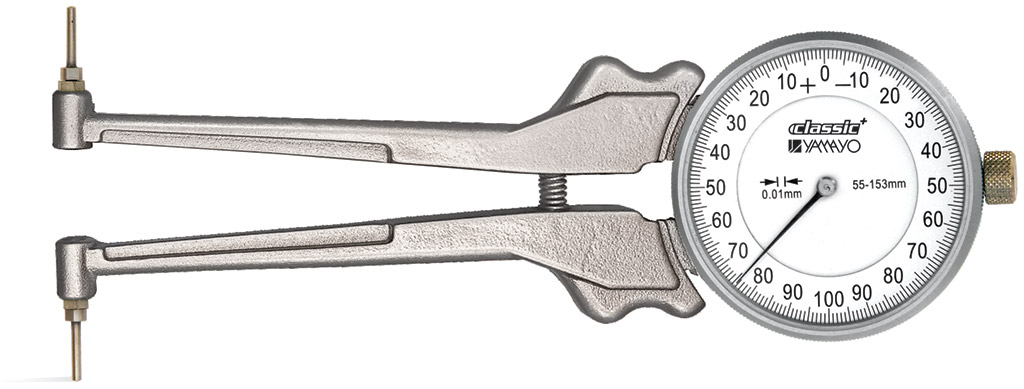 | Inside Outside Measurements Internal Dial Caliper Gauge The Internal Dial Caliper Gauge is a precision measuring instrument designed for accurate measurement of internal... View product → |
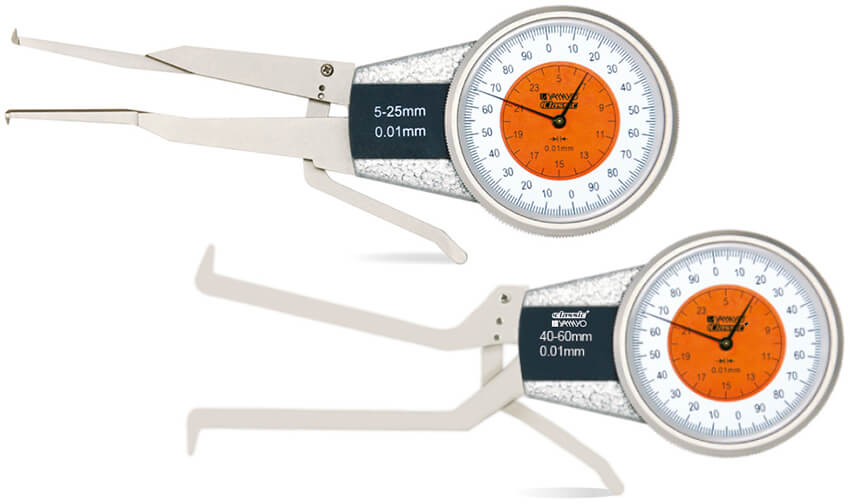 | Inside Outside Measurements Inside Dial Caliper Gauges The Inside Dial Caliper Gauge is a precision measuring instrument designed for accurate measurement of internal diameters... View product → |
Frequently asked questions
Which instrument suits an internal checking task?
Use an inside dial caliper for fast comparative checks on accessible opposing surfaces. Use a point micrometer when narrow grooves, shoulders, or recesses require specialised contact geometry.
How do you take a reliable internal reading?
Set the instrument against a known reference, keep the contacts aligned with the feature, use consistent contact force, and repeat the reading at several positions.
How should contact shape match the feature?
Select rounded or pointed contacts for the feature’s width, depth, and access. A contact that cannot seat fully or reach the measurement location will produce a misleading result.
Which errors can make an internal reading wrong?
Misalignment, excessive force, burrs, dirt, temperature differences, poor zeroing, and measuring at the wrong section of a tapered or irregular feature can all distort the result.
What should you specify when sourcing internal measurement tools?
Specify measurement range, resolution, accuracy, contact style, reach, reference standard, feature geometry, and whether you need comparative inspection or a direct dimensional reading.
Related products
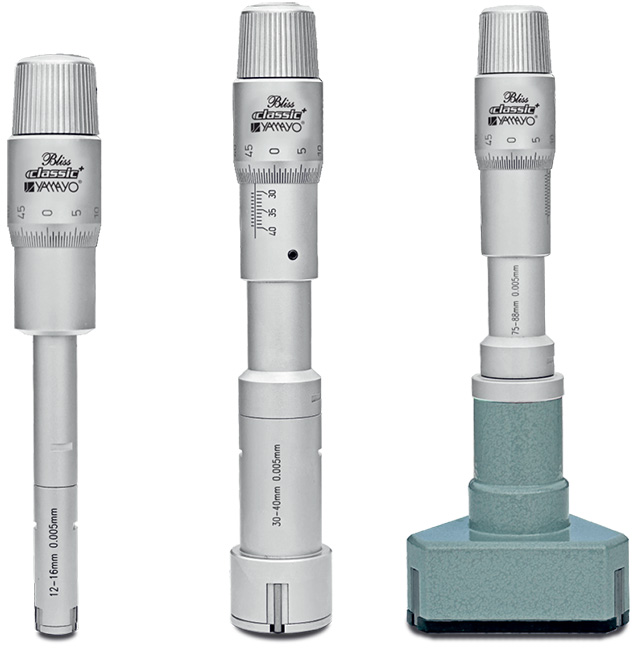 | Inside Outside Measurements Three Point Internal Micrometers Three Point Internal Micrometers The Three Point Internal Micrometer is a high-precision instrument designed for accurate measurement of internal... View product → |
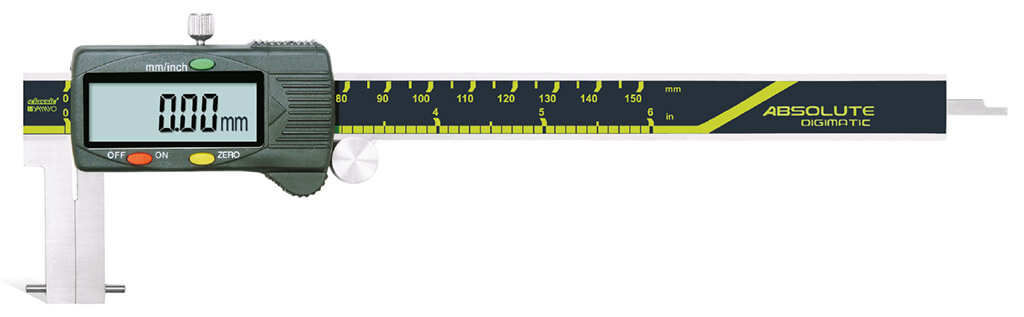 | Calipers Digimatic Inside Point Type Calipers Digimatic Inside Point Type Calipers The Digimatic Inside Point Type Caliper is a precision digital measuring instrument specially designed for... View product → |
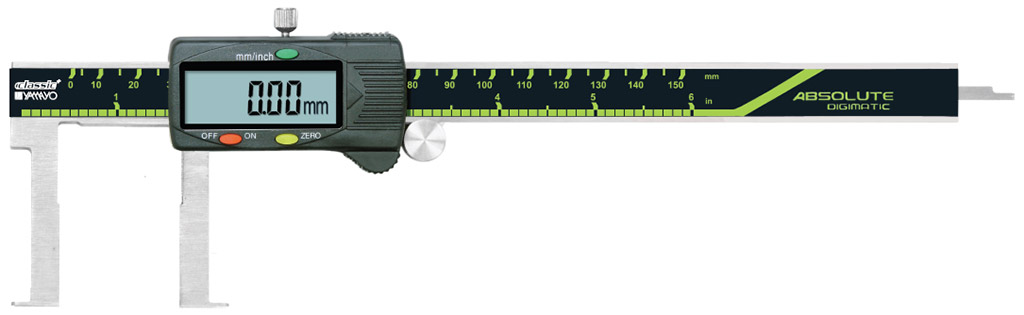 | Calipers Digimatic Inside Flat Point Type Calipers Digimatic Inside Flat Point Type Calipers The Digimatic Inside Flat Point Type Caliper is a precision digital measuring instrument specially designed... View product → |
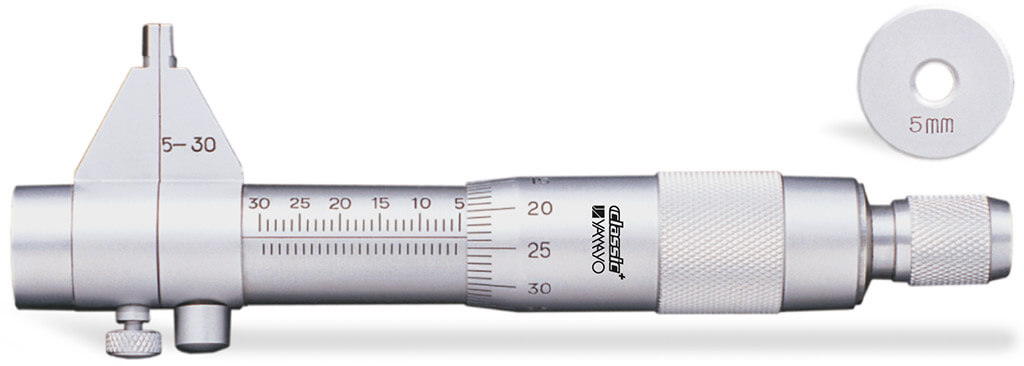 | Micrometers Jaw Type Inside Micrometers The Jaw Type Inside Micrometer is a precision measuring instrument designed for accurate internal diameter (ID)... View product → |