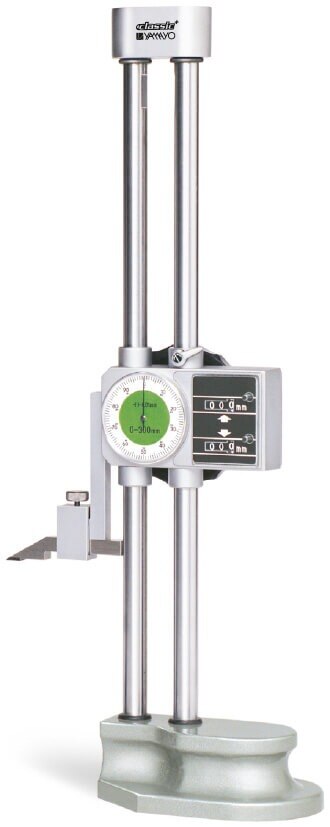
A digit dial height gauge can show a stable value and still produce a wrong inspection result when the base, carriage, contact tip, temperature, or reference surface is not controlled. You will be able to separate display faults from setup errors, test repeatability and reversal error, and decide which reading or instrument is suitable for the inspection.
Key takeaways
- Check carriage movement, rack engagement, encoder condition, and battery before adjusting zero.
- Use a clean reference height to separate bias from repeatability and reversal error.
- Compare dial and digital readings at several heights, not only at zero.
- Switch inspection methods when readings remain inconsistent after controlled setup checks.
What the digital counter and dial are actually telling you
The dial and digital counter are intended to show the same carriage movement, but they sense it through different systems. The dial usually follows a rack, pinion, and mechanical train; the counter reads an electronic scale or encoder.
They can therefore disagree when backlash, scale contamination, pointer damage, battery failure, carriage tilt, or a loose part affects only one system.
| Display | What it indicates | What to check when it disagrees |
|---|---|---|
| Dial | Mechanical displacement transferred from the carriage | Pointer zero, smooth travel, backlash, bent pointer, and return to zero |
| Digital counter | Electronic scale or encoder displacement | Resolution, battery, scale cleanliness, direction setting, and display stability |
| Verified result | Height established against a reference | Gauge block or certified step artefact measured from both approach directions |
Do not record whichever value looks more convenient. Stop the inspection, clean the surface plate and contact, re-zero, and measure a known height above the datum. Repeat the test while approaching from below and above.
Record the value that agrees with the reference and document the other display as discrepant; if neither agrees, quarantine the gauge for verification.
A 0.01 mm display resolution is not 0.01 mm accuracy. For digital height for gauge reading problems in Bengaluru, record the model, serial number, calibration status, reference height, temperature, probe type, approach direction, and repeated readings. Those details separate a display fault from carriage or setup error.
A fault-by-fault check for blank, drifting, or inconsistent readings
Start digit dial height gauge troubleshooting with power and contact checks, not calibration. Fit a fresh battery, clean its contacts, reseat any connector, and switch off data output or nearby wireless equipment. Re-zero afterward; restoring power does not restore a valid zero.
- Blank or frozen display: inspect battery seating and connector strain. If segments remain absent after replacement, stop using the digital reading.
- Flickering digits or intermittent counting: clean scale and rack surfaces, then check for a loose battery cover, cable, or display connection. Record whether movement changes when the cable is touched.
- Drifting pointer: release the carriage clamp and move it across the range. Dirt, guideway binding, rack contamination, or carriage tilt can make the pointer move without a stable height.
- Pointer fails to return to zero: clean the surface plate and base, remove burrs, loosen and retighten the scriber or indicator clamp, then approach zero from the same direction. Persistent offset indicates mechanical wear or damage.
- Counting runs backward: check the scale or encoder strip orientation, sensor connection, and direction setting. Do not reverse the sign in your record unless the instrument manual defines that convention.
- Two displays disagree: repeat the reading from above and below the feature. Backlash, worn rack-and-pinion parts, clamp deformation, or carriage tilt can create reversal error; do not choose the more convenient display.
Use a gauge block or certified step artefact at two heights. If disagreement persists, document instrument ID, calibration status, probe, temperature, approach direction, and repeated readings before requesting service.
Zero-setting and setup checks before blaming the instrument
A clean, stable reference surface is the starting point; zeroing cannot remove scale error, carriage squareness error, probe geometry error, or a local surface-plate defect.
1. Wipe the surface plate and gauge base with a lint-free cloth. Remove chips, oil film, and dust, then inspect the granite for dents or damaged areas.
2. Place the base fully on the plate and slide it through the intended measuring area. Rocking, drag, or a stable reading that changes with position indicates dirt, damage, or poor seating.
3. Check that the carriage moves smoothly, the lock holds it without shifting, and the scriber or probe clamp is tight. A loose tip changes the contact height while the display appears normal.
4. Zero with the selected scriber, test indicator, ball probe, or electronic touch probe touching the clean plate. Apply only the force needed for reliable contact; pressing harder can deflect the setup or alter the reading.
5. Move the carriage away, return from the same direction, and confirm zero after locking it. If the pointer or digits do not return, investigate binding, backlash, or contact technique before adjusting the instrument.
6. Deburr and clean the workpiece, seat it flat against the plate, and secure tilted parts. Match the master and workpiece approach direction and contact force.
Allow the gauge, plate, workpiece, and gauge blocks to reach room temperature. Record the probe type, approach direction, zeroing method, surface-plate identification, temperature, and repeated readings; these details help separate height gauge inspection problems in Bengaluru from setup errors.
Use a reference height to identify bias, repeatability, and reversal error
Use a gauge block or certified step artefact at three or more heights, then repeat each height several times. Record the indicated value, deviation from the reference, approach direction, contact force, and room and artefact temperatures.
Use the same setup for every trial; zeroing on the surface plate removes a datum offset but not scale nonlinearity, probe geometry, or carriage error.
- A nearly equal deviation at every height is constant bias. Check zero, dirt under the base, surface-plate condition, and a shifted scriber or probe.
- An error that grows with height is cumulative. Suspect scale calibration or nonlinearity, carriage squareness, Abbe offset, or a tilted probe; a 0.01 mm display resolution does not prove 0.01 mm accuracy.
- A wide spread around the average, with no consistent direction, is poor repeatability. Check loose clamps, binding, contamination, temperature change, unstable workpiece seating, and inconsistent operator force or settling time.
- Different results from upward and downward approaches are direction-dependent reversal error. Backlash, guideway wear, rack contamination, carriage tilt, or binding is more likely than a display fault.
- A change that follows warming or cooling points to temperature drift in the gauge, reference, or workpiece.
For digital height measurement reading errors in Bengaluru, retain the instrument identification, resolution, calibration status, surface-plate identification, probe type, zeroing method, temperatures, approach direction, and every repeated reading. This record separates a display problem from technique or setup error and gives a service provider evidence rather than a single disputed value.
When to compare the digit dial model with another inspection method
Choose the method by the feature you need to establish, not by the smallest displayed digit. A 0.01 mm resolution does not prove 0.01 mm accuracy; compare permissible error, repeatability, range, and contact geometry.
| Option | Best use | Main limitation |
|---|---|---|
| Digit dial height gauge | Cross-checking digital travel against a mechanical dial | Two displays can disagree if zero, backlash, battery, or counting direction is faulty |
| Vernier height gauge | Direct visual readings without batteries or electronic faults | Slower to read and vulnerable to parallax or reading technique |
| Single-beam Digimatic | Routine point measurements with electronic resolution and data output | A single beam can provide less rigidity during probing |
| Double-beam Digimatic | Greater carriage stability and repeatable inspection on larger parts | Higher cost and more instrument bulk |
| Dial test indicator | Comparing deviation, runout, or step differences after setting a reference | It does not provide a direct absolute height without a reference |
| Depth caliper | Recesses, slots, and hole depths where a height gauge cannot seat | Contact alignment and jaw access can dominate the result |
When digital height measurement reading errors in bengaluru occur only on certain parts, inspect the tip first. A scriber can ride over a burr; repeat with a suitable indicator, ball probe, or gauge block.
Before requesting support, verify and record:
- Instrument identity, resolution, calibration status, battery condition, probe type, and surface-plate identification.
- Room and part temperature, zeroing method, approach direction, and carriage-lock condition.
- Repeated readings at two or more certified step heights, including the dial and digital values.
For height gauge inspection problems in bengaluru, send that record to Yamayo Instruments; it helps separate display failure from setup, contact, or scale error.
Related products
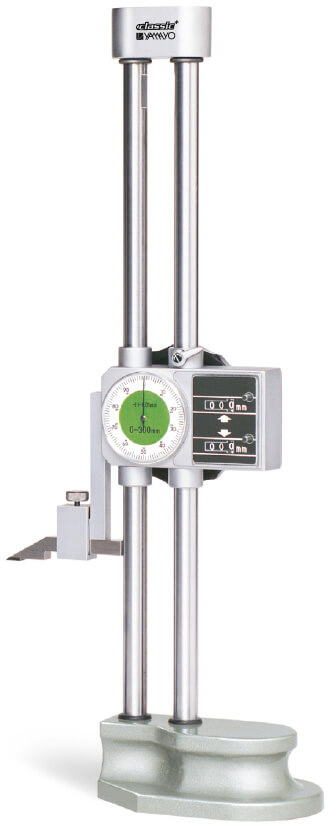 | Height Measurements Digit Dial Height Gauges The Digit Dial Height Gauge is a precision measuring and marking instrument designed for accurate height measurement, layout... View product → |
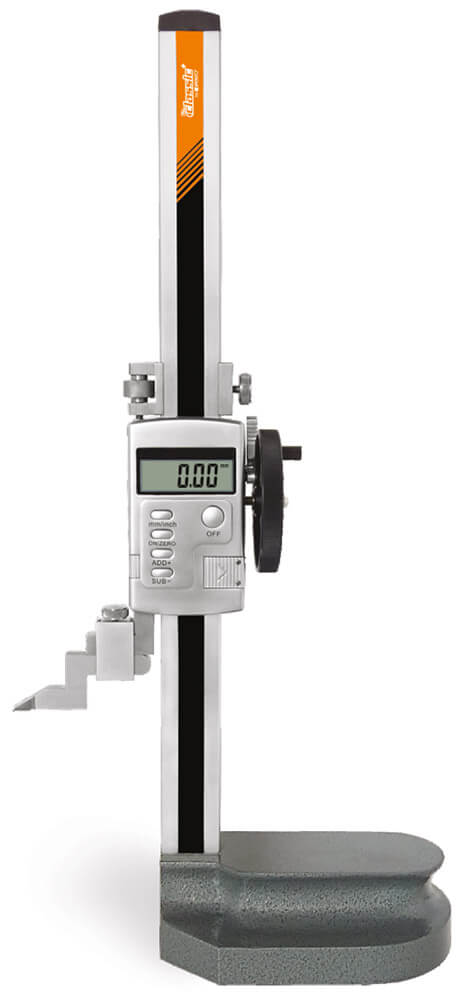 | Height Measurements Single Beam Digimatic Height Gauges with hand wheel Single Beam Digimatic Height Gauges with Hand Wheel The Single Beam Digimatic Height Gauge with Hand Wheel is a precision digital measuring... View product → |
Frequently asked questions
What do the digital counter and dial show on a height gauge?
They indicate the same carriage movement through different systems: a mechanical rack-and-pinion train for the dial and an electronic scale or encoder for the counter.
How do you troubleshoot blank, drifting, or inconsistent digit dial readings?
Inspect the battery, display, encoder or scale, rack and pinion, carriage movement, contamination, loose parts, and environmental conditions before recalibrating.
How should you set zero on a digital height gauge?
Clean the surface plate and scriber, lock or control the carriage, bring the contact point to the reference surface, then zero the display without forcing the mechanism.
How can a reference height identify height gauge errors?
Measure a known reference at multiple positions and directions. A constant offset indicates bias, scattered results indicate poor repeatability, and direction-dependent results indicate reversal error.
When should you compare a digit dial height gauge with another inspection method?
Compare it with a calibrated height standard, surface plate and indicator setup, or a suitable CMM when errors persist after setup and instrument checks.
Related products
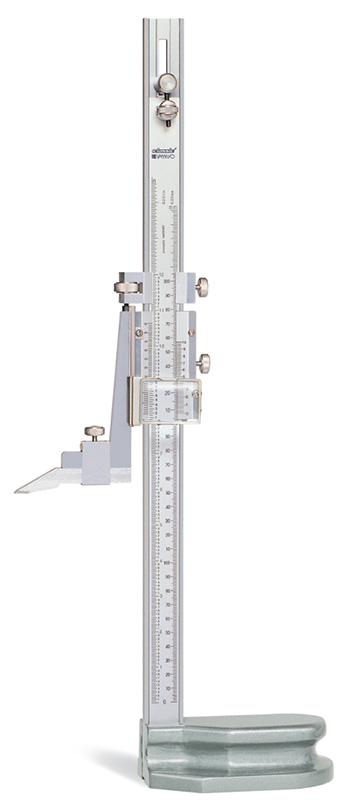 | Height Measurements Vernier Height Gauges The Vernier Height Gauge is a precision measuring and marking instrument designed for accurate height measurement, layout... View product → |
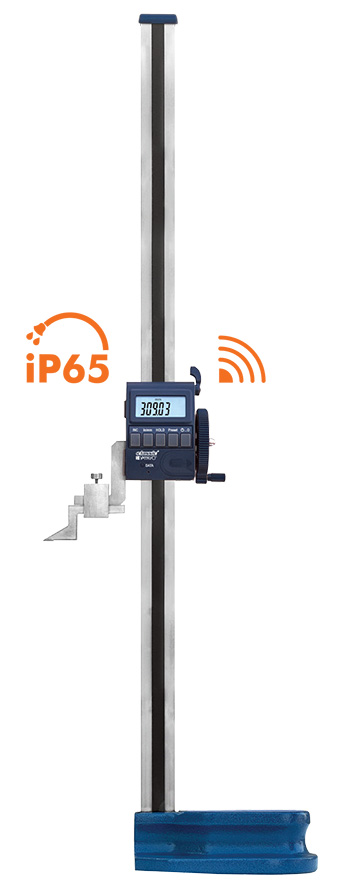 | Height Measurements Digimatic Single Beam Height Gauge with Bluetooth Digimatic Single Beam Height Gauge with Bluetooth The Digimatic Single Beam Height Gauge with Bluetooth is a precision digital measuring instrument... View product → |
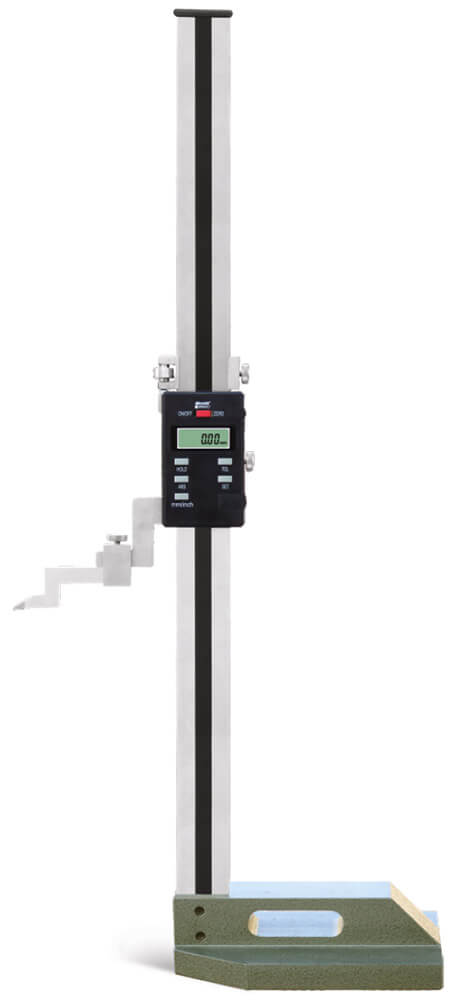 | Height Measurements Single Beam Digimatic Height Gauge Single Beam Digimatic Height Gauge The Single Beam Digimatic Height Gauge is a precision digital measuring and marking instrument designed for... View product → |