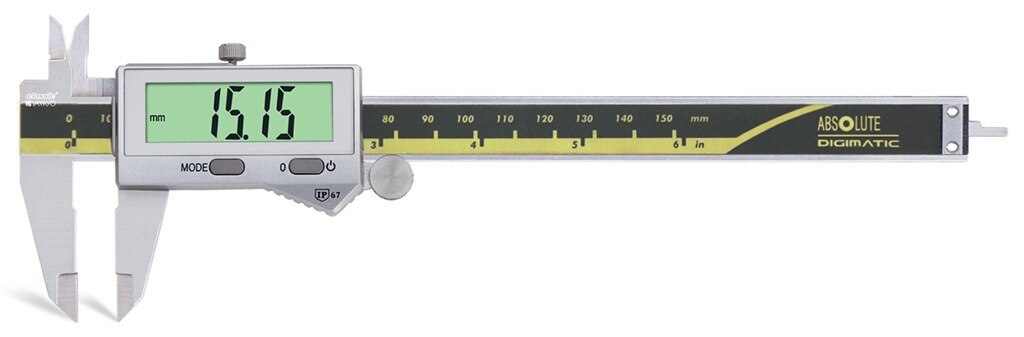
A narrow groove, drill web, keyway, or thin wall can produce a convincing but incorrect caliper reading when the jaws bridge the feature or touch adjacent surfaces. You will learn how to seat a point micrometer correctly, verify the surrounding dimension with an IP67 digital caliper, and judge whether the two readings are reliable enough for an inspection decision.
Key takeaways
- Choose pointed contacts that match the feature’s radius and access.
- Clean the part, close gently, and repeat the point-micrometer reading.
- Use digimatic calipers for surrounding dimensions, not narrow-bottom contact points.
- Treat IP67 as dust and water protection, not proof of measurement accuracy.
Choose the contact geometry before you measure
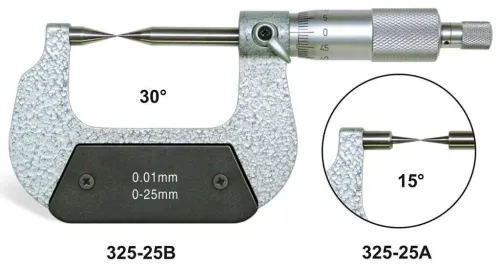
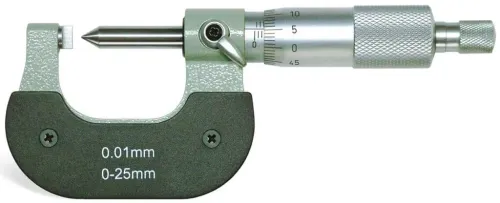
Use a point micrometer when the dimension is local, narrow, recessed, or defined by a small bottom radius. Its pointed spindle and anvil reach surfaces that ordinary caliper jaws can bridge or touch at the edges.
| Feature | Preferred tool | Why |
|---|---|---|
| Drill web | Point micrometer | Measures the web directly without spanning the flutes. |
| Keyway or narrow groove | Point micrometer | Pointed contacts reach the flanks or bottom; caliper jaws can bridge the opening. |
| Slot | Point micrometer for local width; caliper for accessible overall width | Choose the tool whose contacts reach both specified faces without touching adjacent surfaces. |
| Spline | Spline micrometer or suitable point micrometer | Tooth thickness and root dimensions need controlled contact; standard jaws can land on the wrong surfaces. |
| Chamfer | Point micrometer for chamfer width; caliper for a broad outside dimension | A jaw can slide onto the adjoining face and falsely enlarge the reading. |
| Thin wall | Point micrometer with suitable contact radius | Concentrated force can deform a thin wall, so use the lightest consistent ratchet force. |
Do not substitute a caliper depth rod or step faces for the point micrometer. A depth reading is valid only when the reference face is fully seated and the rod is normal to the feature; a chip, chamfer, or recessed shoulder can hide an incorrect dimension.
After choosing the tool, approach the feature in the specified direction, use the ratchet or friction thimble consistently, and reposition the part for a repeat reading. Sharp points magnify burrs, sloped surfaces, and force errors, so matching readings demonstrate repeatability—not merely agreement with one caliper display.
Prepare the part and take a repeatable point-micrometer reading
Coolant and chips must be removed before the point micrometer touches the feature; a single trapped chip can hold the pointed spindle and anvil apart. Wipe the part, brush the groove or recess clean, and inspect the contact area under light.
1. Remove loose burrs only when the drawing or process permits it. Do not file a burr away from a finished feature and then report the altered dimension. If a burr remains, mark the reading as invalid rather than measuring over it.
2. Identify the exact contact location before closing the point micrometer. Keep both points on the specified groove flanks or web surfaces, away from a radius, chamfer, edge break, or sloping transition. A point seated on a radius can produce a different result every time.
3. Approach the feature in the same direction for each reading. Use the ratchet or friction thimble, not extra force on the thimble, because pointed contacts concentrate pressure and can deflect a thin wall or press into a soft surface.
4. Open the tool, reposition the part or micrometer, and repeat the measurement at least three times. Record the location and readings, then judge repeatability from their spread rather than accepting one convenient value. A changing result indicates unstable seating, contamination, a burr, or inconsistent force; clean and inspect again before accepting the dimension.
Do not twist the points into a chamfer to make them seat. Measure the defined surface, not the nearest place where the contacts happen to touch.
Verify the surrounding dimension with a digimatic caliper inspection
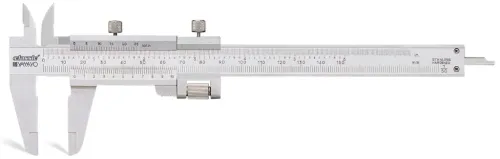
Set the caliper’s broad outside jaws across the adjacent external faces, keeping both jaws square to the part’s axis and clear of the narrow feature. A Digimatic caliper inspection verifies the surrounding dimension; it does not replace the point micrometer where the groove, web, or radius defines the critical measurement.
- Clean the jaws, close them fully, and check that the display reads zero. Move the slider through its range; binding or rough travel disqualifies the reading.
- Verify the caliper against suitable traceable standards close to the inspected dimension. A zero display does not prove scale accuracy, and two unchecked instruments do not establish calibration.
- Seat the fixed jaw fully on one outside face, then bring the movable jaw onto the opposite face without using a jaw corner or touching a chamfer, burr, groove edge, or step.
- Rock the caliper gently through the feature while maintaining square alignment. Record the maximum stable external reading, not the first value that appears.
- Repeat the check after repositioning, using the same jaw locations and part orientation on every piece. A skewed jaw or incomplete seating can produce a repeatable-looking wrong result.
Do not force standard jaws into a narrow groove: their thickness can bridge the opening or contact its edges instead of the true local surfaces. Keep the point micrometer result as the feature measurement.
If using the depth rod or step faces, seat the reference face completely and hold the rod normal to the surface; a chip, chamfer, or recessed shoulder can make depth appear correct. Record the display, unit, operator, time, and data-output record when traceability matters.
Treat IP67 as an ingress rating, not a measurement guarantee
IP67 protects an enclosure, not the quality of its measurement. Under IEC 60529, “6” means dust-tight and “7” means protection during temporary immersion under specified test conditions; it does not make an IP67 digital caliper pressure-washable, continuously submersible, or resistant to every coolant.
Before exposing dust water protected calipers to washdown or fluid, confirm:
1. The manufacturer’s permitted fluids, cleaning method, immersion time, and temperature. Cutting oil, alkaline cleaner, solvent, and coolant can attack seals, displays, batteries, or connectors despite the IP code.
2. The metrology specifications separately: resolution, accuracy, repeatability, measuring range, operating temperature, and calibration interval. IP67 supplies none of these. Ask Yamayo Instruments for the manufacturer’s technical sheet when the catalogue does not state them.
3. Whether the battery cover, data-output connector, slider, and jaw area must be closed or protected. Do not connect a data cable while the instrument is wet.
4. The care procedure after inspection. Remove chips and abrasive dust from the beam and jaws, wipe away fluid, dry the tool fully, and inspect seals before storage. Liquid trapped around contacts can cause failures later.
A point micrometer and dust water protected digital calipers remain different measurement decisions. Stabilize the tool and steel part before a tight check; steel changes about 11 micrometres per metre per degree Celsius. IP67 does not compensate for worn faces, jaw misalignment, or an unsuitable caliper contact geometry.
Related products
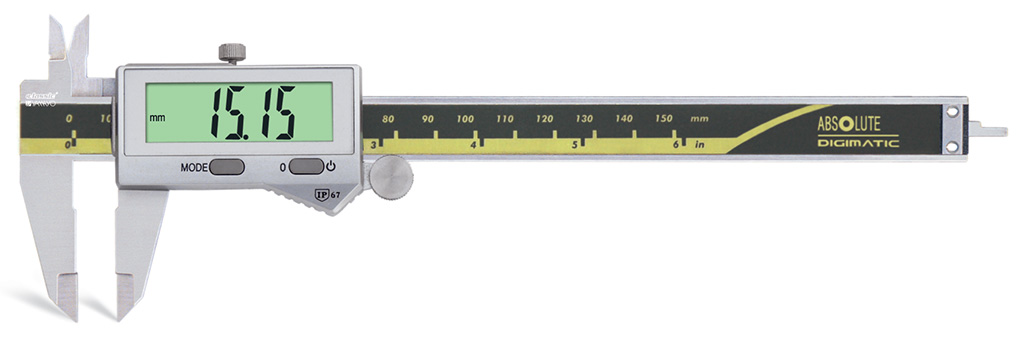 | Calipers Digimatic Calipers with Dust/Water Protection Confirming to IP67 Level Digimatic Calipers with Dust/Water Protection (IP67) The Digimatic Caliper with Dust and Water Protection is a high-performance digital measuring... View product → |
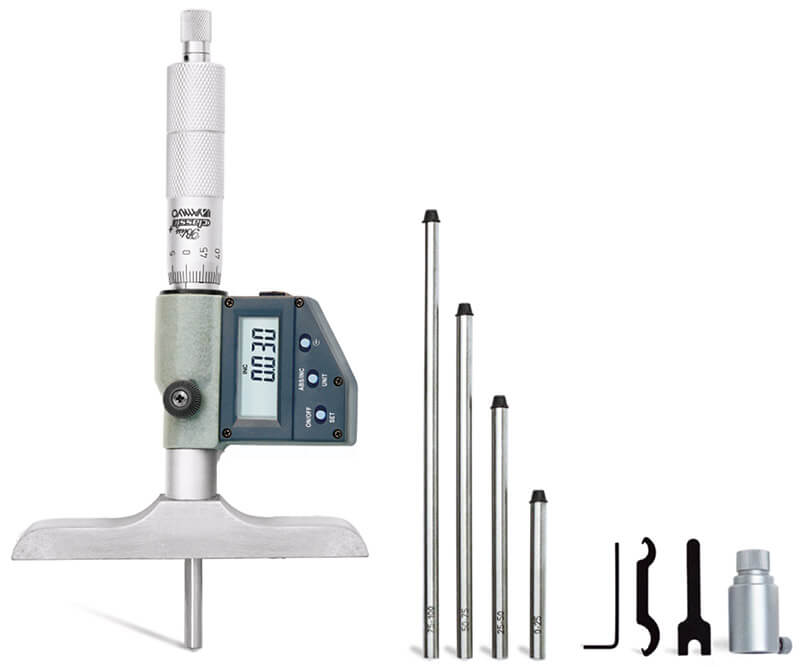 | Depth Measurements Digimatic Depth Micrometers The Digimatic Depth Micrometer is a high-precision digital measuring instrument designed for accurate measurement of... View product → |
Reconcile the readings and decide whether the check is valid
A difference is not automatically an instrument failure: the point micrometer measures a localized feature, while the caliper may measure an adjacent outside dimension. Decide whether both readings describe the same surfaces before comparing their numbers.
- Repeat the point measurement after repositioning, using the ratchet or friction thimble and the same approach direction. Repeat the caliper measurement with clean, closed jaws checked at zero; rock the jaws through the feature and record the maximum stable reading without skewing them.
- Compare the spread of repeated readings with each instrument’s stated accuracy and resolution. A stable disagreement larger than the combined stated accuracy, calibration uncertainty, and observed repeatability requires investigation; do not average it away.
- Confirm current calibration against suitable traceable standards near the inspected dimensions. A zero display does not prove scale accuracy, and two unchecked instruments cannot calibrate each other.
- Let the tools and part reach a stable temperature before judging a tight tolerance. Steel changes about 11 micrometres per metre per degree Celsius, so record the reference temperature and avoid warming either instrument by hand.
- Record the part identifier, feature, contact locations, readings, repeats, instrument IDs, calibration status, temperature, operator, time, and acceptance decision. For a digimatic caliper inspection, verify that the actual data interface and receiving system retain those records; a display alone provides no traceability.
If the disagreement remains after these checks, mark the check inconclusive and use a method whose contact geometry directly matches the feature.
Frequently asked questions
When should you choose a point micrometer instead of standard caliper jaws?
Choose a point micrometer when the dimension is local, narrow, recessed, or ends in a small bottom radius that ordinary jaws cannot contact correctly.
How do you take a repeatable point-micrometer reading?
Clean the part and contacts, align the pointed spindle and anvil with the feature, apply consistent measuring force, and repeat the reading to check stability.
What is a digimatic caliper inspection used for in this check?
Use a digimatic caliper to verify the surrounding or accessible dimension, while avoiding narrow bottoms where its jaws can bridge the feature or touch its edges.
Does an IP67 digital caliper guarantee accurate measurements in wet or dusty conditions?
No. IP67 describes protection against dust and temporary immersion under specified test conditions; it does not guarantee measurement accuracy, alignment, contact force, or instrument condition.
How do you decide whether point-micrometer and caliper readings are valid together?
Reconcile the readings only after checking contact geometry, part cleanliness, alignment, repeatability, instrument zero, and whether both tools measured the same defined dimension.
Related product
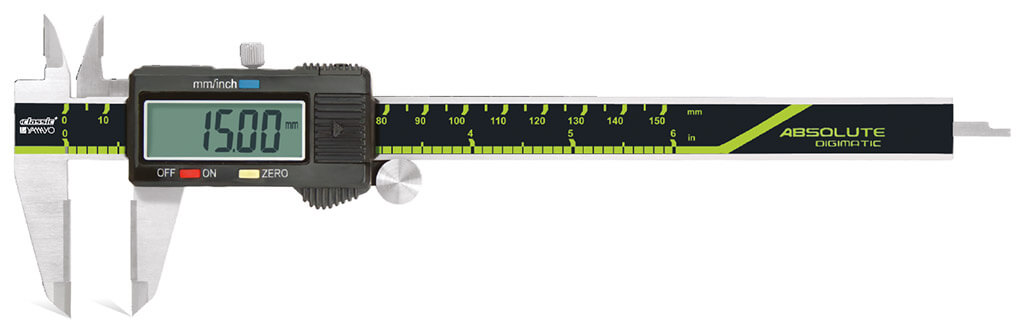 | Calipers Digimatic Calipers with Carbide Jaws Digimatic Calipers with Carbide Jaws The Digimatic Caliper with Carbide Jaws is a precision digital measuring instrument engineered for accurate... View product → |