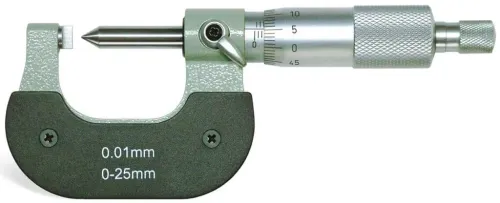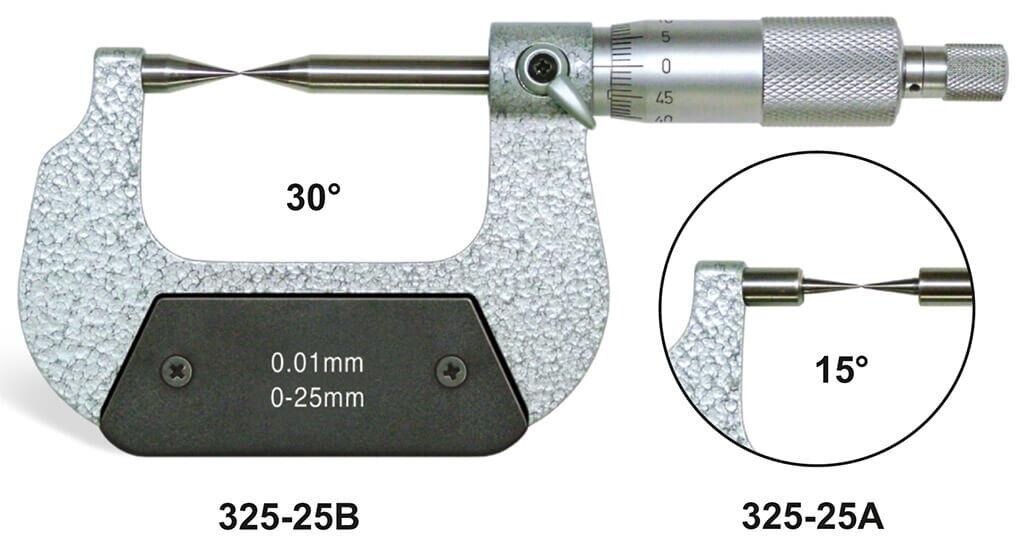
A point micrometer check can produce a wrong height even when the digital display is stable: a chip beneath the base, a tilted point, inconsistent seating, or carriage backlash can shift the result. You will be able to build a controlled reference setup, separate height-gauge faults from micrometer faults, and document whether the result requires adjustment, calibration, or quarantine.
Key takeaways
- Use a certified reference height and record repeated point-micrometer readings.
- Clean contacts and control temperature before diagnosing digital height gauge problems.
- Compare repeatability and bias to separate gauge faults from micrometer faults.
- Document setup, readings, uncertainty, and calibration evidence before local escalation.
Set Up the Point Micrometer Check on a Known Reference
A point micrometer check verifies whether a defined pointed contact reaches a known height repeatedly; it does not, by itself, prove the micrometer’s calibration. Point condition, probe position, dimensional height, repeatability, and calibration result are separate findings.
Use this setup for point micrometer height checks:
- Place a clean, calibrated gauge block stack, step master, or qualified height standard on a certified surface plate. Do not use a steel rule or an unverified “known-good” part.
- Inspect the pointed anvils for wear, burrs, damage, and contamination. A damaged point can seat consistently while touching the wrong tangent or entering a radius.
- Clamp the point micrometer in a stable fixture. Align its measurement axis with the height-gauge travel; an angled point introduces cosine or sine error.
- Bring the height-gauge probe or scriber to the defined contact point without forcing it. Zero the gauge from the reference surface only after the fixture, standard, and probe are seated.
- Take at least five readings, lifting and reseating the contact each time with the same direction and force. Record the mean, spread, and any reading that lands on a chamfer, burr, groove, or rounded edge.
- Compare the measured height with the standard’s certified value. Treat a repeatable offset as evidence for investigation, not automatically as a calibration result.
For quality inspection height measurement, control the whole system: clean the plate, check local wear, and allow the gauge, master, plate, and part to reach 20 °C. A 300 mm steel part changing 5 °C can shift about 17 µm.
Remove Contact, Alignment, and Temperature Errors Before Blaming the Gauge
A chip under the base, a tilted contact, or a temperature difference can create a false height reading before the gauge electronics are involved. Clean the certified surface plate, gauge-base underside, fixture, and micrometer contacts; allow the gauge, standard, and workpiece to reach the same stable temperature.
Use this setup for point micrometer height checks:
- Align the pointed anvil or scriber with the intended vertical measurement direction. A tilted tip creates cosine or sine error, and touching a slope, radius, chamfer, or rough edge can measure the wrong point.
- Seat the micrometer consistently against its fixture and control contact force. Do not let the tip slide, enter a chamfer, bridge a burr, or press into a soft surface.
- Remove chips and burrs before every trial. A particle under the base produces an almost one-for-one height error.
- Zero the height gauge only after the carriage and contact are seated in the defined position. Re-zeroing after a poor seat hides the setup problem.
- Approach every feature from the same direction, use fine adjustment, and lock the carriage before reading where the procedure requires it.
| Condition | False result | Control |
|---|---|---|
| Tilted tip | Height biased by geometry | Align tip and feature vertically |
| Carriage play | Readings change by approach direction | Use one approach direction and lock |
| Thermal drift | Reading changes during repeats | Equalise temperature before zeroing |
| Unintended contact | Tip touches a burr or adjacent face | Inspect the point and contact path |
These controls remove common single beam height gauge errors. If readings still vary, record temperature, approach direction, seating method, and repeated values rather than adjusting the zero again.
Separate a Height-Gauge Fault from a Point-Micrometer Fault
Do not replace the point micrometer immediately: isolate the source by changing one element at a time. Clean the granite plate and gauge base, then repeat the check with a traceable gauge block or calibrated step master. A chip or burr beneath the base creates an almost one-for-one height error.
| Source | Diagnostic sign | Confirmation |
|---|---|---|
| Digital single-beam gauge | The same offset appears with several standards and positions | Check zero, display stability, scale response, and readings at multiple heights |
| Point micrometer | The error follows the micrometer or changes with point position | Check the point for damage, ensure the spindle contacts the defined feature, and compare with another verified height method |
| Reference standard | Different standards disagree, or one location gives a persistent bias | Inspect for burrs, dirt, wear, damage, and calibration status; verify temperature and traceability |
| Measurement method | Readings change with approach direction, contact angle, seating, or operator | Repeat using the same direction, aligned contact, consistent pressure, and a locked carriage |
Take repeated readings from the same approach direction. Opposite-direction results expose backlash in the rack, slider, fine adjustment, or clamp; a tilted point introduces cosine or sine error rather than proving a gauge fault.
For investigations described as digital height gauge problems in Aurangabad, record the range, resolution, accuracy specification, plate condition, master identification, temperature, repeated readings, approach direction, and whether the error is constant or position-dependent. “Gauge reads high” alone cannot separate single beam height gauge errors from setup failure.
Interpret Readings Against Accuracy, Repeatability, and Uncertainty
A stable 0.01 mm display does not prove 0.01 mm accuracy. Compare the indication with the reference height at defined points across the working range, using the manufacturer’s accuracy and repeatability specification or an approved calibration procedure—not the number of decimal places shown.
For quality inspection height measurement, treat the surface plate as part of the measurement system. Dirt, local wear, flatness error, a thermal gradient, or a chip beneath the base can create a real height bias. Record temperature and allow the gauge, reference, and workpiece to reach a stable condition before judging the result.
Assess the readings in this order:
- Repeat the measurement without changing the setup. Scatter shows repeatability; a consistent difference from the reference suggests bias.
- Remove and replace the workpiece or gauge, then repeat. A changed result points to seating, contact, or alignment effects.
- Move and lock the carriage from both approach directions. Hysteresis, drag, or locking movement indicates carriage or mechanism trouble.
- Compare the display with the exported digital value. Check units, sign, decimal handling, zero status, and whether rounding or data transfer altered the result.
A calibration report should state indication error at each test point and expanded measurement uncertainty. Include reference-standard uncertainty, repeatability, temperature, plate and setup effects, contact geometry, and resolution; an error comparable with uncertainty is not automatically significant.
For digital height gauge problems in Aurangabad, provide the range, resolution, accuracy specification, plate condition, master, temperature, repeated readings, approach direction, and whether error is constant or position-dependent. “Reads high” is not enough.
Choose the Right Instrument and Escalate the Evidence Locally
A single-beam gauge is unsuitable when the carriage twists, the beam flexes, access is poor, or the feature lies beyond the stable reach of the slider. A burr under the base creates an almost one-for-one height error, so clean the granite plate and base before changing instruments.
| Arrangement | Benefit | Choose it when |
|---|---|---|
| Single beam | Simple access, but more sensitive to carriage play and loading | The workpiece is compact and the slider remains stable |
| Double beam | Better carriage guidance and easier height-scale readability | Opposite-direction readings disagree or the slider twists |
| Hand-wheel single beam | Finer, more controlled approach to the point | Coarse slider movement causes overshoot or inconsistent contact |
A double-beam arrangement improves stability; it does not repair a damaged reference surface or a worn point micrometer. Bluetooth improves record capture, not measurement geometry. Yamayo Instruments can help compare the arrangement with the required range and inspection method rather than treating every display fault as a calibration failure.
Give a supplier or calibration provider this evidence:
- Instrument make, model, range, resolution, and stated accuracy
- Surface-plate condition, cleaning method, and any known flatness or wear issue
- Master type, identification, calibration status, and nominal height
- Temperature and time allowed for thermal stabilisation
- Repeated readings, approach direction, carriage-lock practice, and point-contact method
- Whether the error is constant, changes with height, or appears only at particular beam positions
For digital height gauge problems in aurangabad, include photographs of the base, slider, point contact, and display. Label the request digital single beam height for gauge problems in aurangabad so the provider receives the complete diagnostic context.
Related products
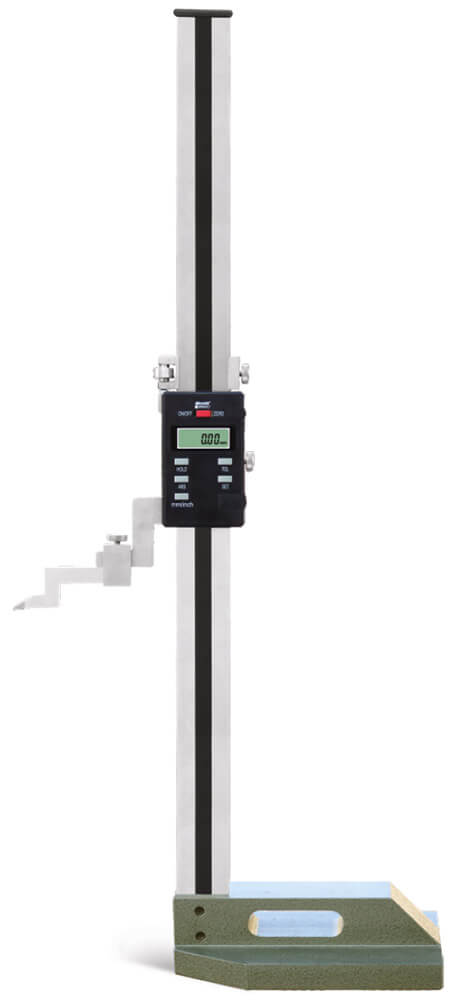 | Height Measurements Single Beam Digimatic Height Gauge Single Beam Digimatic Height Gauge The Single Beam Digimatic Height Gauge is a precision digital measuring and marking instrument designed for... View product → |
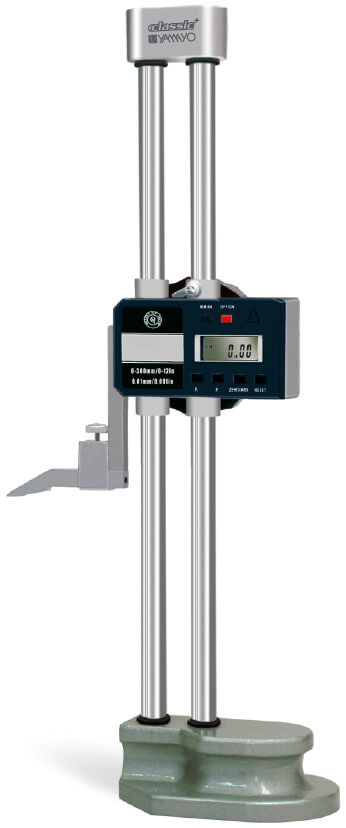 | Height Measurements Digimatic Double Beam Height Gauges Digimatic Double Beam Height Gauges The Digimatic Double Beam Height Gauge is a precision digital measuring instrument designed for accurate height... View product → |
Frequently asked questions
How do you set up a point micrometer height check?
Place the height gauge on a clean reference surface, use a known height standard, align the pointed contact correctly, and record repeated readings.
Which errors should you remove before blaming the height gauge?
Check contact damage, probe alignment, reference height, surface cleanliness, operator force, and temperature differences before fault-finding the gauge.
How can you tell whether the height gauge or point micrometer is faulty?
Repeat the check with a verified reference and, if available, a second known-good instrument. Consistent bias points to calibration or setup; unstable readings point to contact, alignment, or repeatability problems.
How should readings be interpreted against accuracy and uncertainty?
Compare the observed error and repeatability with the instrument accuracy specification and the check’s measurement uncertainty. Do not treat one reading as a calibration result.
Related products
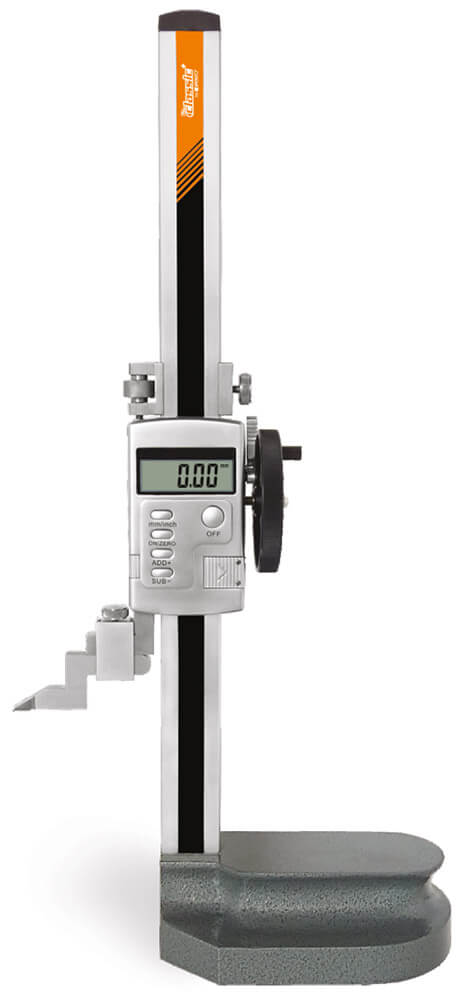 | Height Measurements Single Beam Digimatic Height Gauges with hand wheel Single Beam Digimatic Height Gauges with Hand Wheel The Single Beam Digimatic Height Gauge with Hand Wheel is a precision digital measuring... View product → |
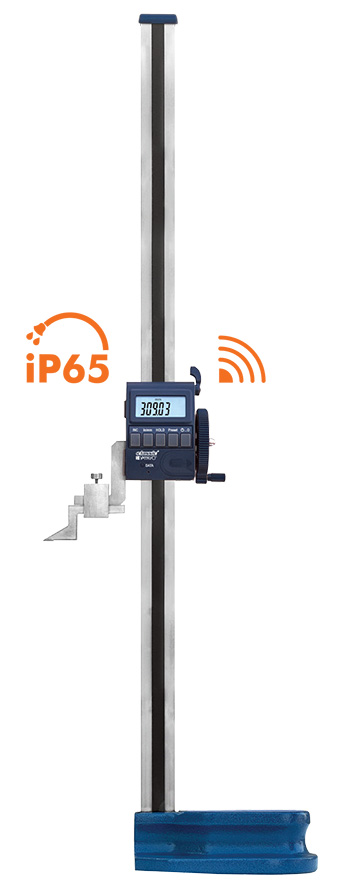 | Height Measurements Digimatic Single Beam Height Gauge with Bluetooth Digimatic Single Beam Height Gauge with Bluetooth The Digimatic Single Beam Height Gauge with Bluetooth is a precision digital measuring instrument... View product → |
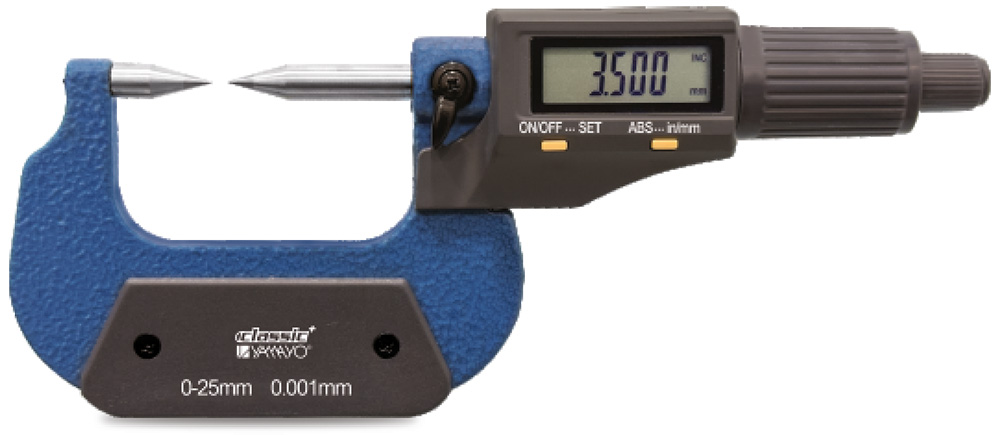 | Micrometers Digimatic Point Outside Micrometer Digimatic Point Outside Micrometer The Digimatic Point Outside Micrometer is a high-precision digital measuring instrument specifically designed for... View product → |