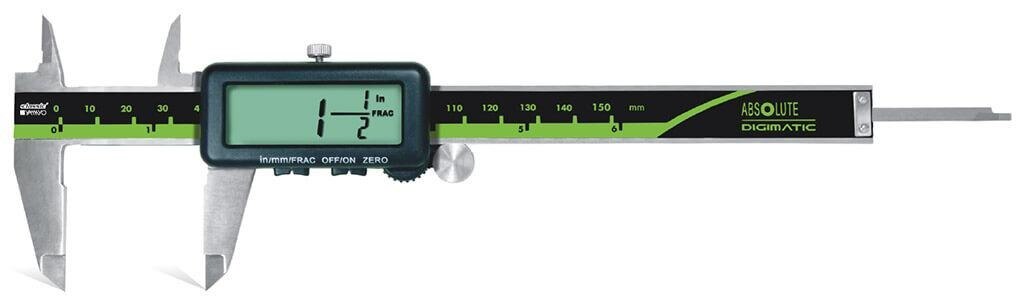
A screw measurement is useful only when you name the dimension first: major diameter, head diameter, head thickness, length, shank length, or thread pitch. By following a controlled contact and reading method, you can separate a displayed fractional value from the screw’s nominal designation and know when a different gauge is required.
Key takeaways
- Measure diameter before length, and use a pitch gauge for thread pitch.
- Zero the caliper, clean the jaws, and keep the screw square.
- Convert fractional readings before comparing them with screw specifications.
- Match caliper resolution and accuracy to the tolerance on your drawing.
Prepare the screw and caliper before taking a reading
Decide which dimension you need before touching the tool: major diameter, head diameter, head thickness, overall length, thread length, shank length, or pitch. Fraction digital calipers for screw measurement in Pune are useful for the first six, but pitch requires a thread-pitch gauge.
1. Wipe oil, chips, burrs, plating buildup, and thread debris from the screw and caliper jaws. Debris trapped between a jaw and surface creates a false oversized reading.
2. Close the clean jaws gently and check zero. A non-zero closed-jaw value indicates contamination, a zero-setting issue, or instrument trouble—not a screw dimension. Clean and reset the caliper; remove it from service if the error remains.
3. Select the contact that matches the feature: outside jaws for external diameters and lengths, inside jaws for an accessible internal feature, the depth rod for a hole or recess, and step faces for a shoulder or head thickness.
4. Keep the screw stable on a firm surface. Use light, consistent contact; excessive force can deform a soft screw, shift a flexible part, or damage sharp threads and plating. Do not rely on a severely bent or damaged screw for an acceptance decision.
5. For digital caliper screw measurement, record the instrument identification, date, temperature, and inch, fraction, or metric mode when the result supports inspection. Treat the reading as contact screening, not proof of thread class or pitch.
Measure diameter, head features, and length in a repeatable sequence
1. Measure the outside thread diameter by placing the external jaws across the thread crests at about 90 degrees to the screw axis. Close with light, consistent contact, then rock the caliper slightly through the maximum stable reading; a jaw seated in a thread valley gives an undersize result.
2. Repeat the diameter reading at more than one axial position and rotate the screw between readings. Differences can reveal out-of-round threads, burrs, coating buildup, runout, or a damaged crest.
3. Measure head diameter across the largest head envelope, then rotate the screw to find the largest stable value. A rolled or damaged head can produce a misleading reading if you measure only one orientation.
4. Measure head thickness with the outside jaws or step faces. Keep the contact surfaces parallel to the bearing surfaces so tilted jaws do not add or remove apparent thickness.
5. Measure screw length from the bearing surface under the head to the tip. For a countersunk screw, include the head because it is designed to finish flush with the material.
6. Measure thread length from the thread runout or shoulder to the end of the threaded portion. Measure shank length between the bearing shoulder and the thread start.
Record major diameter, head diameter, head thickness, overall length, thread length, and shank length separately, each with its unit. This digital caliper screw measurement sequence prevents head, shank, and overall length from being combined into one ambiguous label.
Interpret fractional readings without misidentifying the screw
A fractional display is a rounded presentation of the measured decimal, not the screw’s designation. The selected denominator and rounding determine whether the screen shows 1/4, 5/16, or another fraction; a displayed 1/64-inch increment is resolution, not proof of 1/64-inch accuracy.
| Reading or designation | What it means | Correct interpretation |
|---|---|---|
| 1/64-inch increment | Display step | Check accuracy and repeatability, not just resolution |
| 1/4-inch reading | Approximate major diameter | Compare with the drawing, tolerance, or fastener standard |
| #8 screw | Numbered Unified size | Nominal diameter is about 0.060 + (0.013 × 8) = 0.164 inch |
| M6 screw | Metric designation | Do not expect an exact 6.000 mm reading |
Place the outside jaws on the thread crests at about 90 degrees to the screw axis, then rock the caliper slightly through the maximum stable reading. A jaw sitting in a valley reports an undersize value. A nominal 1/4-inch screw can measure below 0.250 inch because external threads include manufacturing allowance and tolerance.
Do not identify 1/4-20, 1/4-28, M6 × 1.0, or M6 × 0.75 from diameter alone. Use a thread-pitch gauge; for greater confidence, measure several crest intervals over a longer span and divide by the number of intervals. Confirm the result against the applicable ISO metric or ASME B1.1 Unified thread table.
Check fraction caliper specifications for resolution, accuracy, and repeatability before accepting the reading.
Match the instrument to the tolerance and verify the measurement
A reading is fit for purpose only when the caliper’s stated performance covers the screw tolerance. Review measuring range, resolution, stated accuracy across that range, repeatability, display increment, jaw geometry, zero-setting method, depth-rod design, inch/fraction/metric switching, data output, protection rating, battery type, and calibration interval.
Resolution is the smallest displayed step; accuracy and repeatability determine whether repeated readings support acceptance.
| Instrument | Best use | Limitation |
|---|---|---|
| Fractional or metric digital caliper | Quick external screening of diameter, head, and length | Not suitable for formal thread class or tight diameters |
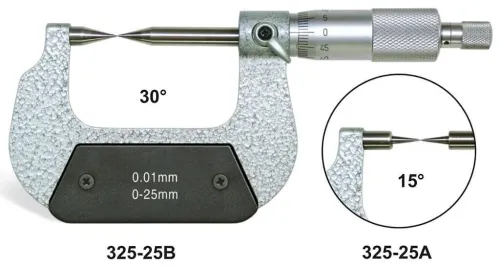
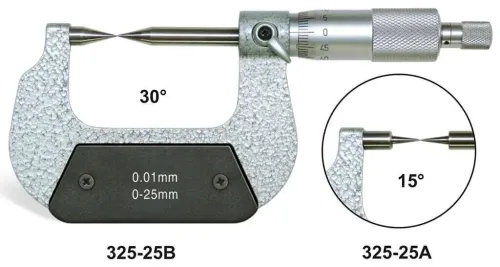
| Micrometer | Tighter-tolerance outside diameters | Does not identify pitch |
| Thread-pitch gauge | Pitch identification | Does not replace diameter measurement |
| Vernier caliper | Battery-free readings | Slower to read and record |
| Thread plug or ring gauge | Internal or external GO/NO-GO decisions | Requires the correct thread specification |
Verify the instrument before accepting a result:
- Close clean jaws, take repeated readings, and check a clean reference dimension. Compare the results with the manufacturer’s specification or calibration certificate; do not invent an acceptance limit. Use the exact permitted error in that document.
- Record instrument ID, reference size, readings, operator, temperature, and surface condition. Use an inside-point model for a narrow internal groove; never force standard jaws into an inaccessible feature.
- Choose another tool when measuring internal thread form, formal thread class, or a feature smaller than the jaws can reach. A caliper cannot make those decisions reliably.
Choose a Pune supplier that can support the actual screw inspection
A low price or finer fraction display does not prove that a caliper suits screw inspection. Compare fraction digimatic calipers in Pune by measurement evidence, service support, and fit with your production tolerances, then assess Yamayo Instruments by the same criteria.
- Ask for the exact model datasheet. It must state measuring range, accuracy across that range, resolution, repeatability, jaw dimensions and geometry, IP rating, battery type, data interface, depth-rod design, calibration interval, and inch, fraction, and metric modes.
- Request calibration records traceable to national or international standards. Confirm that the laboratory is accredited for the relevant dimensional scope, not merely authorised to sell the instrument.
- Ask about zero-setting checks, spare batteries, replacement parts, service turnaround, delivery, and technical support in Pune. Bring your production fasteners to a demonstration: test 1/4-inch, 5/16-inch, numbered, and metric screws used in your workflow.
| Evidence to compare | Acceptable evidence | Warning sign |
|---|---|---|
| Calibration certificate | Measurement results, uncertainty, acceptance criteria, instrument number, and traceability statement | Instrument number only |
| Practical verification | Readings compared with a known reference at relevant sizes | Display value accepted without comparison |
| Application guidance | Supplier explains when to use a pitch gauge, micrometer, or thread gauge | Supplier identifies 1/4-20, 1/4-28, M6 × 1.0, or M6 × 0.75 from diameter alone |
| Inspection support | Clear service interval, parts availability, and local turnaround | No defined response after calibration or failure |
Related product
 | Calipers Fraction Digimatic Calipers The Fraction Digimatic Caliper is a versatile digital measuring instrument designed for accurate external, internal,... View product → |
Frequently asked questions
Which screw dimensions can a fraction digital caliper measure?
It can measure major diameter, head diameter, head thickness, overall length, thread length, and shank length. Use a thread-pitch gauge to measure pitch.
How do you take a repeatable digital caliper screw measurement?
Clean the screw and caliper jaws, close the jaws to confirm zero, hold the screw square, apply light consistent pressure, and repeat the reading.
How can a fractional reading be interpreted without misidentifying the screw?
Convert the displayed fraction or decimal to a common unit, then compare diameter, length, head features, and thread pitch against the screw specification.
When should you choose a different instrument than a fraction digital caliper?
Choose another instrument when the required tolerance exceeds the caliper’s specifications, when pitch must be identified, or when the feature cannot fit securely between the jaws.