A point micrometer and a single-beam height gauge measure different features: one reaches confined thicknesses or grooves between pointed contacts, while the other locates a feature vertically from a surface plate. You will be able to identify the correct instrument, specify contact geometry, compare height-gauge configurations, and set up a repeatable quality-control measurement.
Key takeaways
- Use a point micrometer for local groove, slot, wall, and recess measurements.
- Use a height gauge to compare vertical features from a defined datum.
- Match anvil geometry and measuring range to the feature before requesting quotes.
- Specify resolution, accuracy, calibration evidence, and verification method in writing.
Point micrometer or height gauge: which measurement do you need?
Choose a separate point outside micrometer for local feature size, a single-beam height gauge for vertical comparison, or a height gauge with a compatible probe for repeatable feature location.
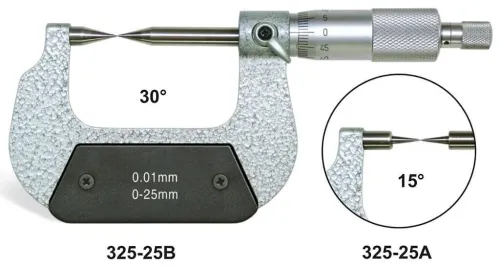
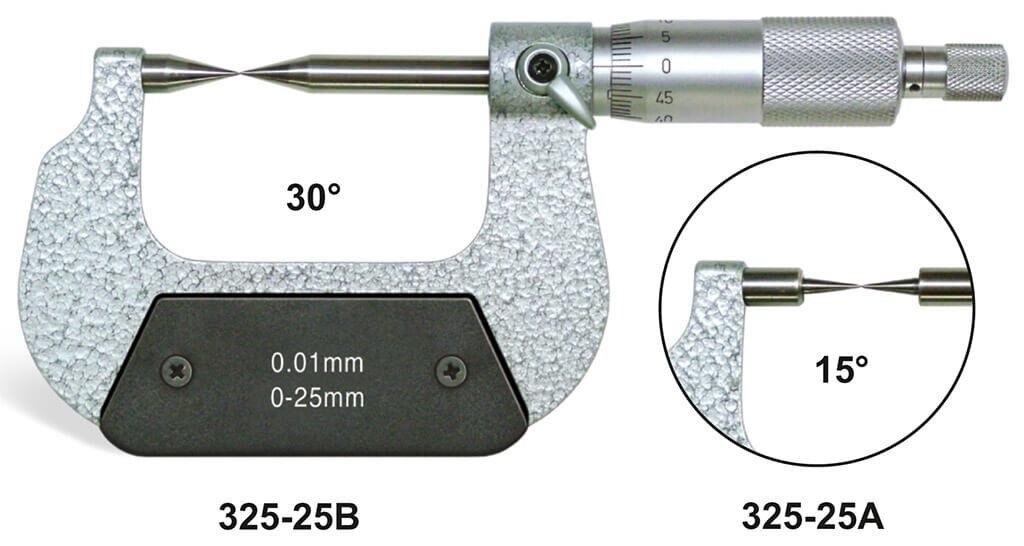
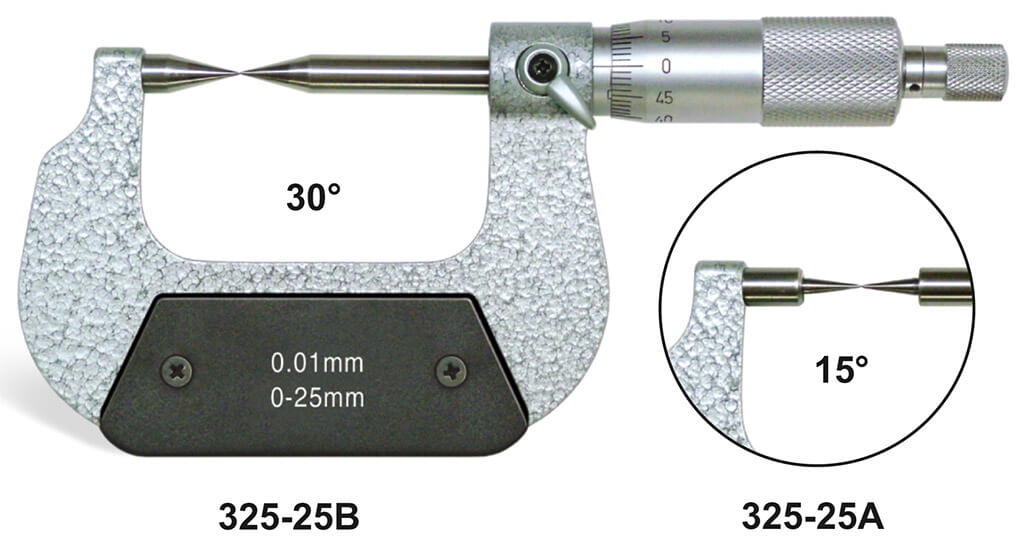
Point micrometer height measurement uses pointed or reduced-diameter spindle and anvil contacts to measure thickness, width, or wall sections inside a groove, slot, keyway, drill web, shoulder, or recess.
| Option | What it measures | When it applies |
|---|---|---|
| Handheld point micrometer | Local thickness, width, or wall section | A confined feature must be measured directly between pointed contacts |
| Single-beam digital height gauge | Vertical dimension from a cleaned surface plate | Compare feature height using a scriber, test indicator, lever probe, or electronic probe |
| Height gauge with compatible probe | Repeatable feature location | Locate holes, edges, shoulders, or profiles with controlled contact |
Point micrometer options and a single-beam height gauge for quality control in Pune are separate procurement categories, not interchangeable quotations. A point micrometer is not automatically an attachment for a listed height gauge.
Before pairing them, verify the stem diameter, holder, clamp, interface, and accessory compatibility. A gauge supplied with only a scriber may not locate a small hole repeatably without a suitable indicator or probe.
These are dimensional inspection tools. They do not replace radiography, ultrasonic testing, magnetic-particle testing, or dye-penetrant testing for internal or surface flaws.
Match point geometry to the groove, slot, or wall
Point geometry decides whether point micrometer height measurement is possible, not the display resolution alone. Compare the feature with the spindle and anvil profile before choosing a model.
| Feature | Contact choice | Main risk |
|---|---|---|
| V-groove | Narrow pointed contacts with a suitable included angle | The points seat on the flanks unevenly |
| Slot or keyway | Reduced-diameter points that enter the opening | The thimble or shoulder stops against the part |
| Drill web | Opposing points sized for the web thickness | One point lands on a curved flute |
| Thin wall | A small radius or contact that reaches the wall face | The contact lands on a chamfer or edge |
Ask the supplier to state:
- Point angle or tip radius, spindle and anvil shape, anvil separation, and throat clearance
- Measuring range, spindle pitch, resolution, accuracy, thimble diameter, and ratchet or friction control
- Whether the model is intended for external thickness, groove, or depth-related measurements
A generic 0–25 mm range proves only the travel between the contacts; it does not prove that they can enter your slot or seat on its walls. When access is difficult, geometry matters more than nominal resolution. A sharp point can also magnify errors from burrs, seating angle, and local curvature.
Request the point profile or a dimensioned drawing before purchase. Use the drawing to confirm clearance, contact location, and whether the instrument suits the feature rather than relying on catalogue range alone.
Compare single-beam digital height gauge options in Pune
Choose by the inspection motion you need, not by display resolution. Digital height gauge options in Pune fall into four practical configurations for a height gauge for quality control.
| Option | Best use | Main trade-off |
|---|---|---|
| Standard Digimatic | Straightforward comparative inspection from a surface plate | Less controlled approach near an edge or hole |
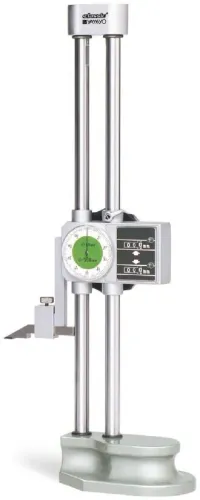
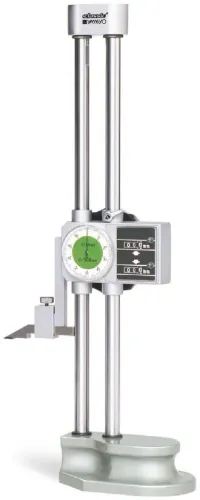
| Hand-wheel | Controlled carriage travel and fine approach to a feature | Added mechanism, size, and maintenance |
| Bluetooth | Transfer readings into approved software or records | Requires confirmed app, file format, pairing, range, compatibility, and data-integrity controls |
| Double-beam | Greater beam rigidity, readability, or workspace access | More mass, bench space, and setup time |
For a single beam digital height gauge, compare approximately 300, 450, 600, or 1000 mm travel, then check base size, beam rigidity, carriage lock, fine adjustment, scriber or probe mounting, display, battery arrangement, and output interface. More reach can increase setup time, mass, and sensitivity to beam or base deflection.
Before requesting quotations from Yamayo Instruments or another supplier, require these accuracy details:
- Accuracy stated over full travel, not only 0.01 mm or finer resolution
- Repeatability and permissible error
- Squareness or parallelism
- Probe or scriber compatibility and mounting play
A larger instrument is not automatically better for a compact inspection bench. Select the 1000 mm class only when the workpiece and datum genuinely need that reach. For Bluetooth, approve the data path before using readings in inspection records; wireless transfer alone does not prove data integrity.
Related products
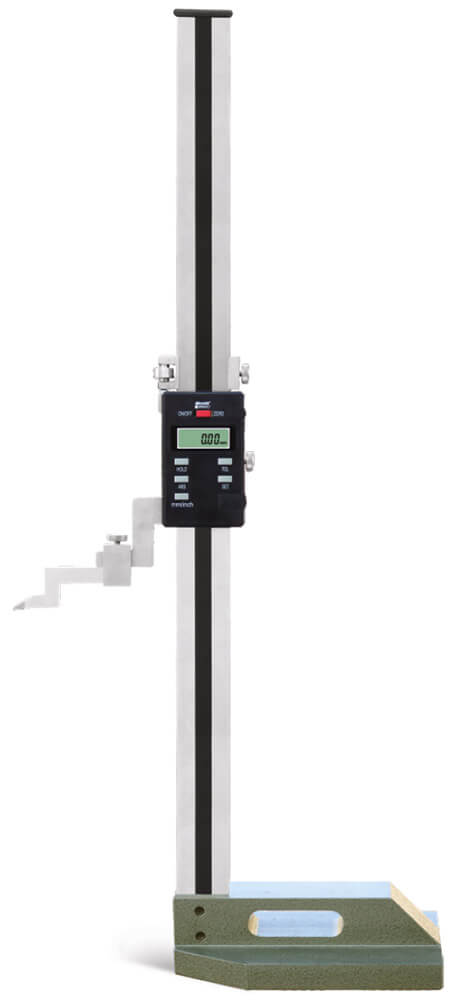 | Height Measurements Single Beam Digimatic Height Gauge Single Beam Digimatic Height Gauge The Single Beam Digimatic Height Gauge is a precision digital measuring and marking instrument designed for... View product → |
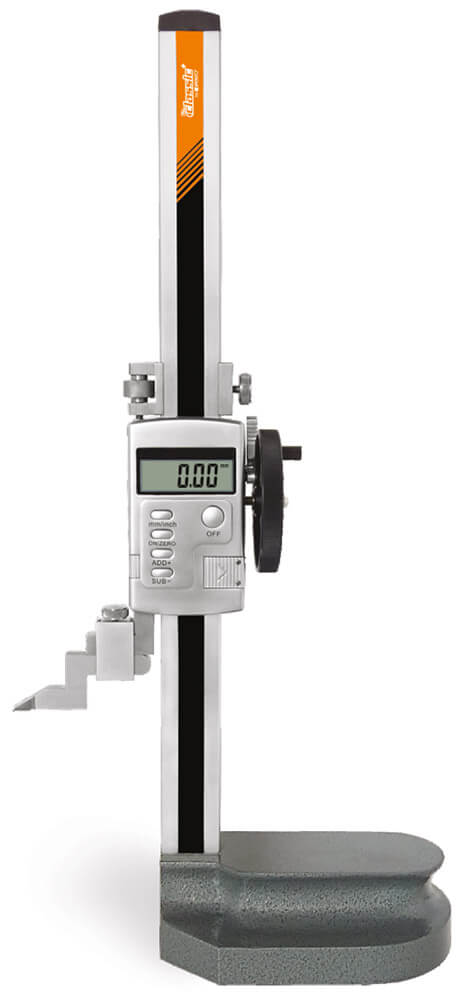 | Height Measurements Single Beam Digimatic Height Gauges with hand wheel Single Beam Digimatic Height Gauges with Hand Wheel The Single Beam Digimatic Height Gauge with Hand Wheel is a precision digital measuring... View product → |
Set up point micrometer height measurement from a known datum
Reliable point micrometer height measurement starts with a controlled reference, not the displayed resolution. For a height gauge for quality control, follow the same sequence every time:
- Clean the surface plate, workpiece, spindle, and anvils. Remove oil, chips, dust, and burrs that could lift the part or shift the contact.
- Allow the steel gauge, part, and plate to reach a stable temperature. A 100 mm steel dimension changes by about 0.0011 mm for each 1 °C change.
- Establish the datum on the surface plate or specified reference face, then place the part in the same orientation and location for each reading.
- Approach the feature from one direction to reduce backlash and carriage-position variation.
- Bring the pointed contact onto the intended surface without side loading. The point must sit on the feature, not on a burr, chamfer, edge, or curved portion.
- Use the height gauge fine adjustment to locate the contact precisely. Do not force the point into the feature.
- Lock the carriage before reading the height gauge. Apply the micrometer ratchet or friction control with the same action and force for every reading.
- Repeat the measurement at multiple points. Differences can expose tilt, rocking, form error, or burrs rather than true dimensional change.
Record the datum, absolute or incremental mode, contact location, temperature, and repeated readings. If incremental mode is used, retain the absolute datum reference so an incorrect reset cannot hide a setup error.
Write a purchase and verification specification before requesting quotations
A Pune purchasing request must define the measurement decision, not merely ask for digital height gauge options in Pune. Separate a handheld point micrometer, a single-beam height gauge, and a height gauge for quality control with a probe or indicator; treating them as interchangeable produces incomparable quotations.
Do not use the phrase “point micrometer options single beam height for gauge in Pune” as a specification.
- State the feature, vertical travel, base dimensions, scriber or probe, holder and clamp details, point profile, range, resolution, accuracy over travel, repeatability, carriage lock, fine adjustment, data output, battery arrangement, and replacement or recalibration support.
- Request an interface drawing showing stem diameter, holder geometry, clamp position, and clearance before accepting a point micrometer as a height-gauge accessory.
- Require calibration evidence identifying the instrument, range and test points, reference standards, environmental conditions, measurement uncertainty, and traceability. For a height gauge, include vertical positioning error over travel and repeatability. For a point micrometer, include zero, scale error, contact condition or parallelism, and multiple points through the range.
- Reject quotations that report only display resolution. Do not report readings to three decimal places unless uncertainty, repeatability, temperature control, and calibration capability support that discrimination.
- Ask who performs recalibration, supplies replacement contacts, and verifies the complete setup after servicing.
A supplier is useful at this stage only when it matches the application to a complete dimensional-measurement setup, rather than quoting a display alone.
Frequently asked questions
When should you choose a point micrometer instead of a height gauge?
Choose a point micrometer for local feature size, such as a groove, slot, wall, recess, or narrow shoulder. Choose a height gauge when you need a vertical comparison from a known datum.
How do you match point geometry to a measured feature?
Select pointed anvils for narrow grooves, blade or knife-edge contacts for slots and shoulders, and suitable spherical or flat contacts for walls and broader surfaces. Confirm that the contact reaches the intended measurement surface without interference.
What should you compare when selecting a single-beam digital height gauge in Pune?
Compare measuring range, resolution, stated accuracy, beam rigidity, base stability, slider or probe compatibility, display readability, battery requirements, and calibration documentation.
How do you set up point micrometer height measurement from a datum?
Clean and deburr the datum, place the workpiece securely, establish zero or a reference height, align the measuring point with the feature, and verify the reading with a known reference before recording results.
Related products
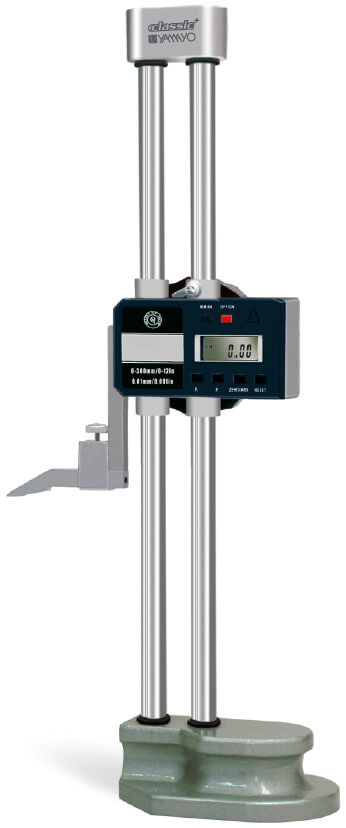 | Height Measurements Digimatic Double Beam Height Gauges Digimatic Double Beam Height Gauges The Digimatic Double Beam Height Gauge is a precision digital measuring instrument designed for accurate height... View product → |
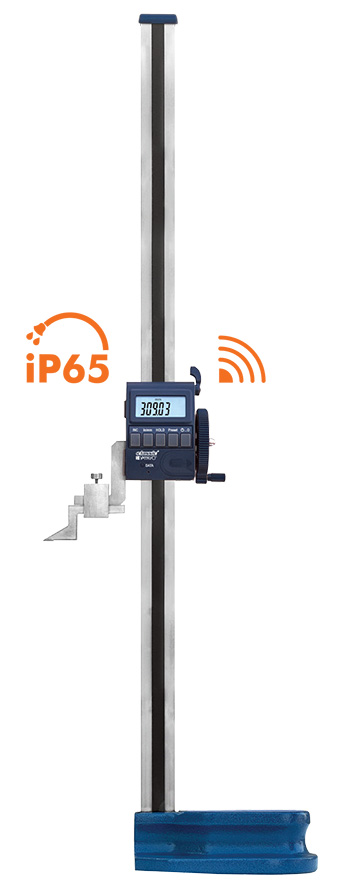 | Height Measurements Digimatic Single Beam Height Gauge with Bluetooth Digimatic Single Beam Height Gauge with Bluetooth The Digimatic Single Beam Height Gauge with Bluetooth is a precision digital measuring instrument... View product → |
 | Micrometers Point Outside Micrometers The Point Outside Micrometer is a specialized precision measuring instrument designed for measuring web thickness of... View product → |