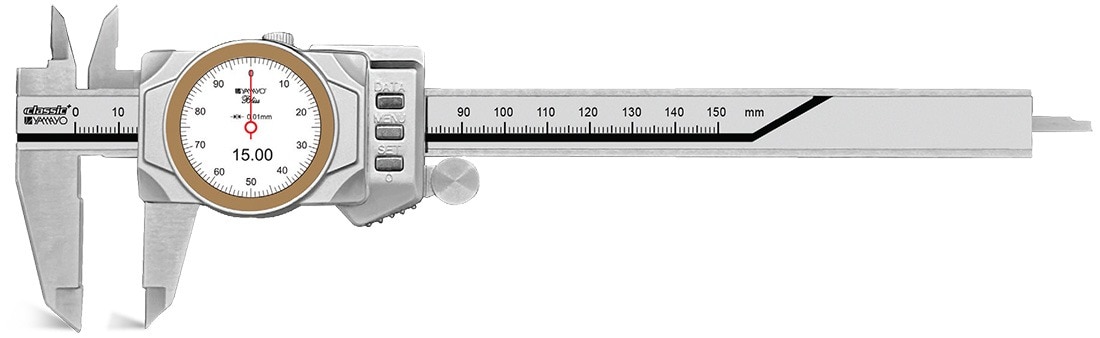
A reliable caliper reading starts before the jaws touch the part: contamination, temperature, jaw alignment and zero condition can each change the result. Follow the setup, contact, verification and recording sequence to produce a reading you can defend during shop-floor inspection or quality review.
Key takeaways
- Bring tight-tolerance parts and calipers near 20 °C before measuring.
- Close the jaws gently and confirm zero before taking a reading.
- Keep caliper jaws square to the measured surface, not tilted.
- Record the reading with part ID, instrument ID and inspection conditions.
Prepare the Part and Confirm the Caliper Zero
Bring the part and caliper close to 20 °C when tolerance is tight. Steel expands about 11–12 µm per metre for every 1 °C change, so a hot part from a Pune shop floor can shift a large or close-tolerance reading beyond the caliper’s stated accuracy.
1. Wipe the beam, jaws and workpiece with a clean, lint-free cloth. Remove coolant, oil, chips, oxide, paint flakes and burrs; even a small particle between the contacts changes the dimension.
2. Inspect the jaws, depth rod and display for damage. Slide the movable jaw through its range and confirm that it moves smoothly without binding or excessive play.
3. Close the clean jaws gently, without forcing them together. Check that the measuring faces meet fully and show no visible gap. Press the zero button only after the faces are clean and closed.
4. Open and close the jaws once more. If the display does not return to zero, clean the contacts again, check for a burr or damaged jaw, and repeat the zero check. Remove the caliper from service if the error remains.
5. Select the correct contact faces for the dimension, then hold the part securely without deforming it. A zero reading confirms the starting reference; it does not prove accuracy across the measuring range.
For how digital calipers for work in Pune should be controlled, compare a questionable reading with a suitable known standard and record the result. Formal calibration and traceability require documented procedures, controlled conditions and suitable standards; ISO/IEC 17025 applies to competent calibration laboratories, not merely to an instrument carrying a calibration label.
Place the Jaws Squarely on the Intended Dimension
For a digital calipers measurement process in Pune, let the instrument and part approach 20 °C when tolerances are tight. Steel expands about 11–12 µm per metre per °C, so a temperature difference can exceed caliper accuracy on large dimensions. Wipe away oil, coolant, chips, oxide and burrs before contact.
For an outside measurement:
- Select the largest stable diameter or the specified datum faces. Keep the jaws away from corners, chamfers and burrs, which can produce a false reading.
- Hold the caliper square to the feature axis. On a turned shaft, rock it gently through the contact point to locate the maximum diameter, then stop rocking and take the reading with the caliper aligned.
- Close the jaws with light, repeatable force. Excess force can deflect the jaws, compress a thin-wall tube or sheet, and make the result undersize or oversize.
For an inside measurement, use the inside jaws on clean, opposing surfaces. Rock the caliper slightly to find the minimum opening, then hold it square and apply only enough force to seat both contacts. Tilting creates cosine error because the measured span becomes a projection rather than the true dimension.
Keep both contacts on the intended surfaces; do not bridge a gap or let one jaw rest on a burr. After closing the jaws, confirm the display returns to zero before repeating the measurement. A zero reading does not prove accuracy across the full range.
Measure Depths, Steps and Internal Grooves Correctly
Use the depth rod for recesses, the step faces for offsets, and narrow or pointed jaws for internal grooves; ordinary outside contacts cannot represent these dimensions accurately.
1. For a depth, seat the caliper’s flat end firmly on the datum surface and extend the depth rod until it touches the bottom. Keep the beam perpendicular to the surface. A tilted rod measures a longer diagonal and gives a false depth.
2. For a step, place each step face against the caliper’s dedicated step surfaces. Confirm both faces are clean and parallel enough for the tolerance, then hold the beam square to the part. Do not substitute outside or inside jaws casually; their contact offsets can change the measured distance.
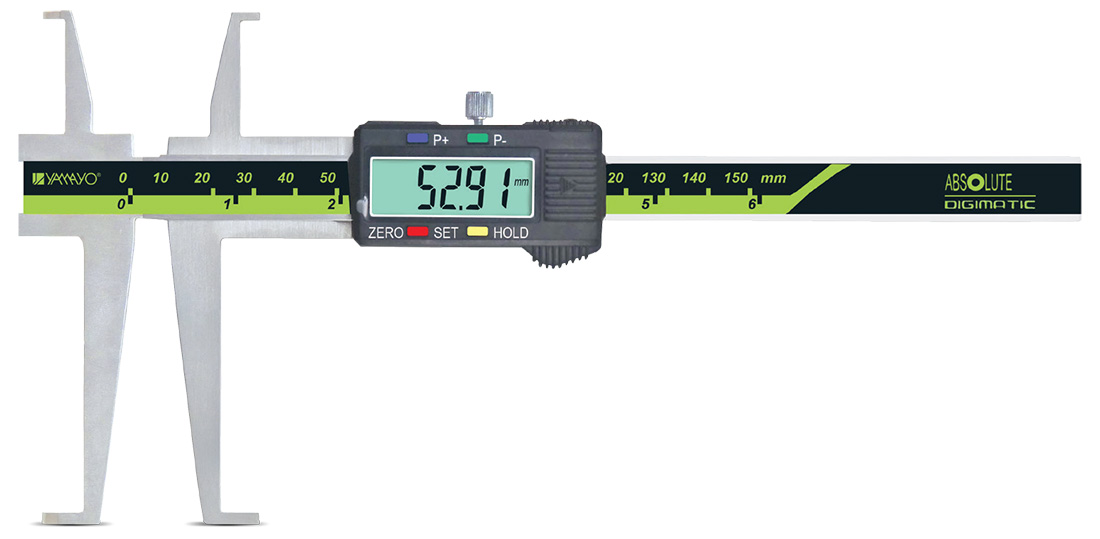
3. For an internal groove, use narrow inside jaws, blade jaws or pointed jaw tips that enter the groove without bridging its opening. Align the contacts with the groove’s diameter, use light consistent force, and rock the caliper slightly to locate the minimum stable inside reading.
Excess force can spread thin jaws or ride over a chamfer.
4. Inspect the contact point after measuring. A chip, burr, coating or rounded edge can make a recess appear shallower or a groove appear wider.
For industrial digital caliper usage in Pune, record the feature being measured, not only the displayed number. If the rod or specialised jaws cannot reach the actual surfaces, stop and choose a depth micrometer, bore gauge or gauge designed for that geometry. A caliper cannot reveal cracks or porosity hidden beneath those surfaces.
Read, Verify and Record the Result as Inspection Evidence
Treat the LCD value as usable only after the display returns to zero and the reading passes a check suited to the tolerance. A 0.01 mm resolution is not 0.01 mm accuracy; a model specified at ±0.02 mm cannot prove a tighter tolerance.
If the jaws do not return to zero, clean the contact faces, close them without force, repeat the check, and remove the caliper from inspection if the fault remains.
For digimatic calipers inspection in Pune, record enough detail to identify exactly what was measured:
- Instrument identification and range
- Displayed value and unit
- Part number, serial or batch number
- Characteristic number and drawing datum
- Operator and workstation
- Temperature or applied correction
For a bore, take readings at different angular positions and rock the inside jaws to find the minimum diameter. A chamfer can make the tips touch an edge rather than the bore; use a bore gauge or plug gauge when roundness or a close tolerance matters.
Do not treat one convenient display value as proof of the bore condition.
A connected caliper does not automatically create reliable evidence. Verify that the cable or wireless transmitter sends the correct unit and maps the reading to the right part and characteristic in the SPC system. Check the part and instrument near 20 °C for tight tolerances; steel changes about 11–12 µm per metre per °C.
A zero check or reference standard can expose a problem, but documented calibration and traceability require controlled procedures and suitable standards.
Choose the Right Caliper Workflow for Pune Shop-Floor Conditions
Use a digital caliper for ordinary shop-floor inspection when the feature is accessible, tolerance fits the instrument’s accuracy, and the part and tool can reach about 20 °C. Steel changes roughly 11–12 µm per metre for each 1 °C difference, so temperature error can exceed caliper accuracy on large dimensions or tight tolerances.
| Option | What it means | When it applies |
|---|---|---|
| Digital caliper | Quick comparative or dimensional check after cleaning, deburring and confirming zero | Use for accessible outside, inside, depth or step features within the stated accuracy |
| Calibration support | Documented verification against suitable standards with controlled conditions and traceability | Use when zero fails, a known standard disagrees, damage is suspected, or certification is required; ISO/IEC 17025 concerns competent calibration laboratories, not merely an instrument labelled calibrated |
| Different method | A tool matched to geometry, tolerance or measurement uncertainty | Choose a micrometer for closer outside tolerances, a bore gauge or plug gauge for hole size, and a height gauge or CMM for location, profile or datum-based inspection |
For Industrial digital caliper usage in Pune, do not treat a successful zero check as calibration. If a standard check fails, give Yamayo Instruments the instrument ID, failed range and standard value so the fault can be investigated rather than simply adjusting the display.
Digimatic calipers inspection in Pune also needs controlled data transfer: verify the cable or wireless interface, unit, characteristic mapping and part identification before accepting SPC records. Record the instrument ID, datum, operator, workstation and temperature; an LCD value alone cannot prove traceability.
Related products
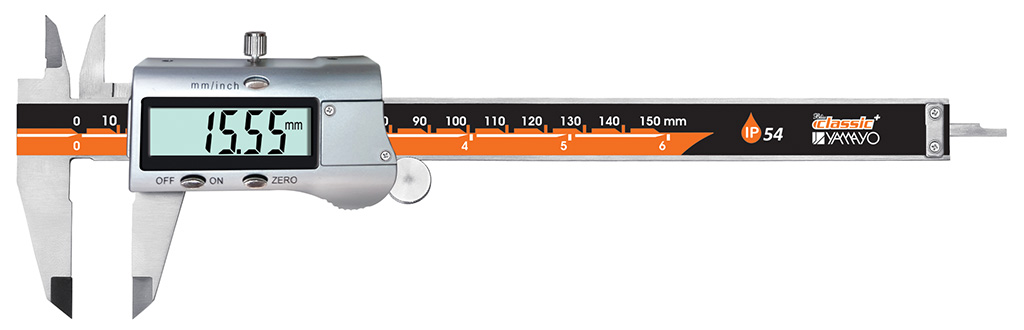 | Calipers Digimatic Calipers The Digimatic Caliper is a high-precision digital measuring instrument designed for accurate inside, outside, depth, and step... View product → |
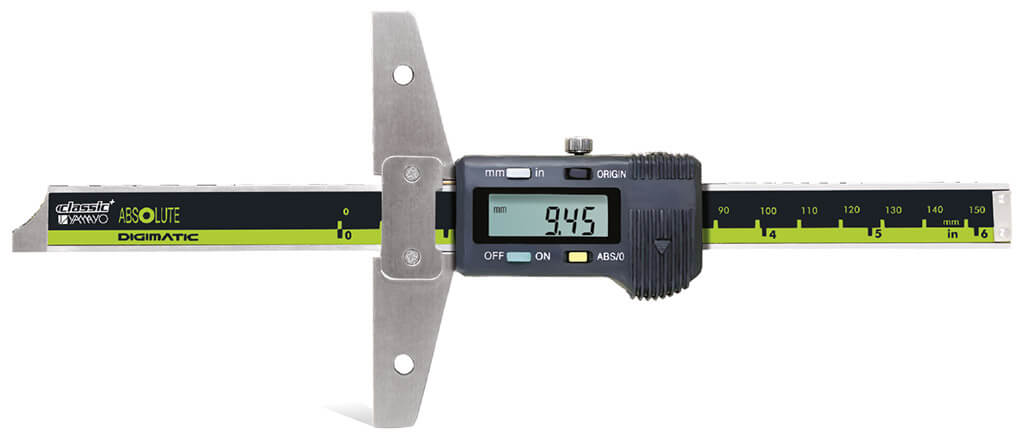 | Calipers Digimatic Depth CalipersCalipers Digimatic Depth Calipers The Digimatic Depth Caliper is a precision digital measuring instrument designed for accurate depth measurement of holes,... View product → |
Frequently asked questions
Why should you bring the part and caliper close to 20 °C?
Steel expands about 11–12 µm per metre for every 1 °C change, so temperature differences can affect large or close-tolerance measurements.
How do you position digital caliper jaws for an accurate measurement?
Place the jaws squarely against the intended dimension, use light consistent contact, and avoid tilting or rocking the caliper.
How should you measure depths, steps and internal grooves?
Use the depth rod for depths, the step faces for step dimensions, and the smaller internal jaws for internal grooves, keeping the tool aligned with the feature.
What should you record as inspection evidence?
Record the measured value, part or batch identification, caliper identification, units, date, operator and any verification or temperature information required by your procedure.
Related products
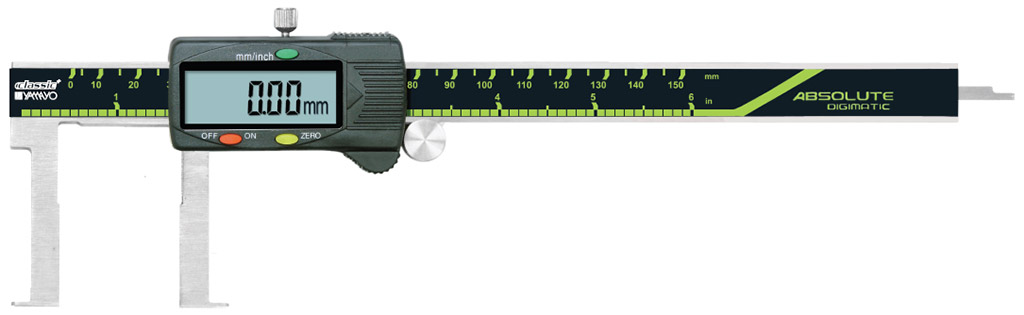
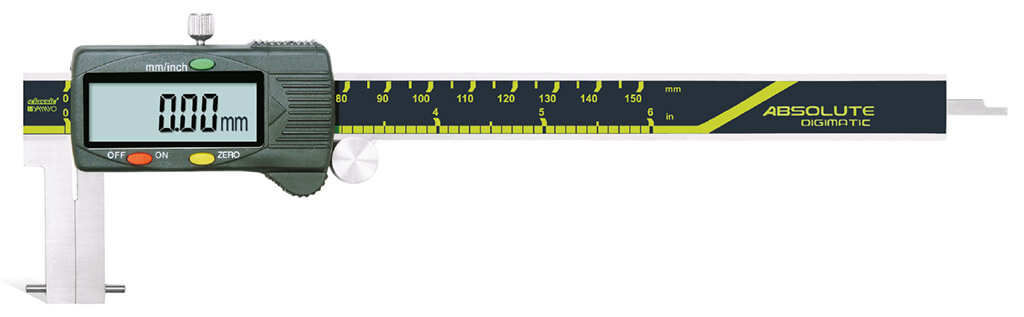 | Calipers Digimatic Inside Point Type Calipers Digimatic Inside Point Type Calipers The Digimatic Inside Point Type Caliper is a precision digital measuring instrument specially designed for... View product → |
 | Calipers Digimatic Inside Flat Point Type Calipers Digimatic Inside Flat Point Type Calipers The Digimatic Inside Flat Point Type Caliper is a precision digital measuring instrument specially designed... View product → |
 | Calipers Digimatic inside Groove Caliper Digimatic Inside Groove Calipers The Digimatic Inside Groove Caliper is a specialized digital measuring instrument designed for accurate measurement... View product → |
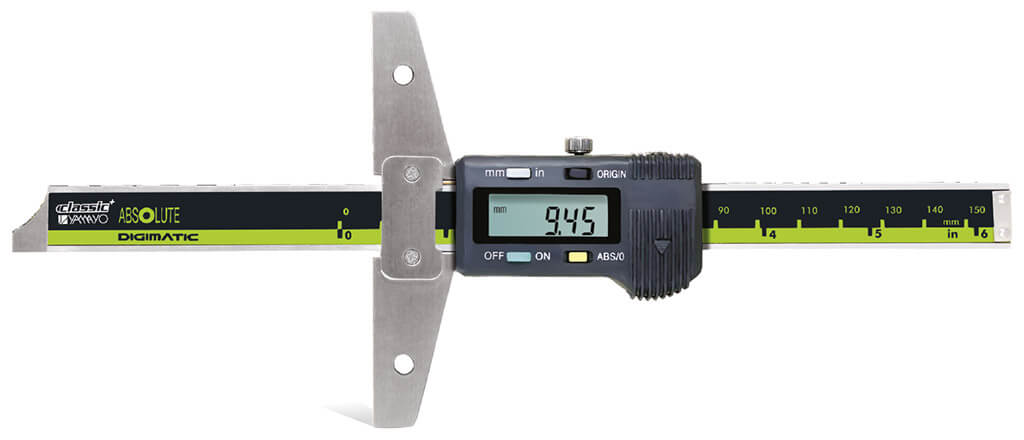 | Depth Measurements Digimatic Depth Calipers The Digimatic Depth Caliper is a precision digital measuring instrument designed for accurate depth measurement of slots,... View product → |