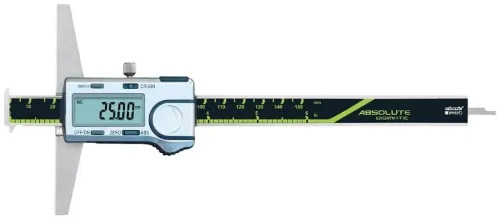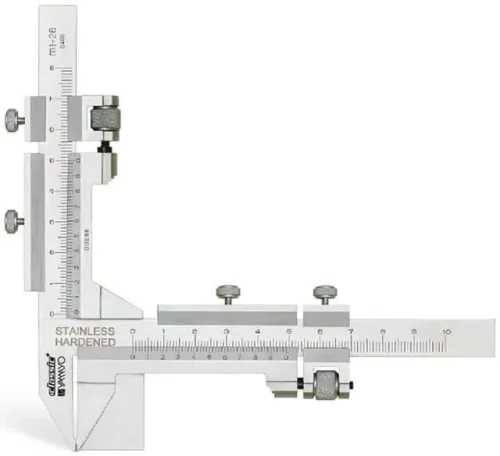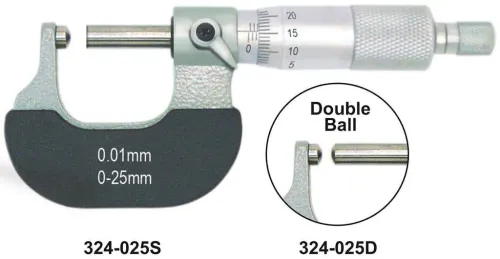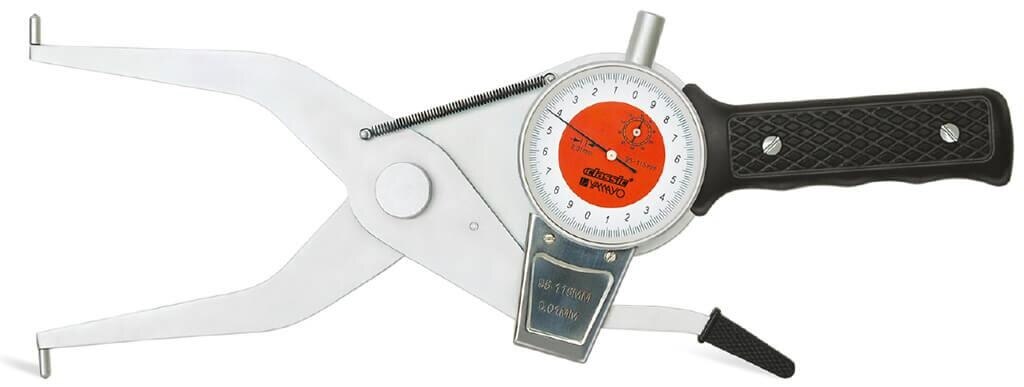
Choosing an inside caliper starts with the feature on the drawing, not the instrument name in a catalogue. By matching contact geometry, reach, reading method, and tolerance to the inspection task, you can decide when a caliper is suitable, when another gauge is safer, and how to take a repeatable measurement.
Key takeaways
- Use rounded or point contacts that clear chamfers, keyways, and burrs.
- Rock the caliper across the bore axis to find maximum diameter.
- Choose range, reach, resolution, and accuracy from the drawing tolerance.
- Use transfer calipers when a direct reading cannot support the decision.
Match the Contact Style to the Internal Feature
A bore needs contacts that reach the cylindrical wall without riding on a chamfer, keyway, or burr. Use a point-type or rounded contact for a narrow bore, then rock the caliper through the axis to find the maximum internal diameter; a single angular position can measure a chord instead.
| Internal feature | Contact style | How to place it |
|---|---|---|
| Bore | Point-type or rounded contacts | Enter past the chamfer and rock through the bore until the maximum opening is found. |
| Slot with flat, parallel walls | Flat-point contacts | Keep both flat faces square against the walls; do not let a contact corner touch the slot floor. |
| Internal shoulder | Flat-point contacts | Seat each flat against the shoulder face, avoiding the fillet at its inner corner. |
| Shallow recess | Flat-point or jaw-type contacts | Confirm the jaws fit the recess depth and sit fully on its opposing faces. |
| Narrow groove or small-radius corner | Knife-edge or groove contacts | Reach the groove flanks directly; flat points can bridge the opening and report a false size. |
Flat-point contacts suit relatively broad, uninterrupted faces. They are poor choices for chamfered entries, radiused corners, and interrupted surfaces because the contact may rest on an edge rather than the functional feature.
A digital inside flat point caliper can display a direct internal dimension, but the word “digital” does not guarantee that function; some electronic designs only support transfer checking. Confirm the display mode before purchase. These distinctions define practical indside calipers applications: comparative checks, direct readings, or both.
Decide Whether You Need a Transfer Check or a Direct Reading
Choose a transfer inside caliper when you need a fast comparative check, not a standalone dimension. Adjust the points in the feature, then compare the transferred size with an outside micrometer, height gauge, or setting ring.
| Option | What it means | When it applies |
|---|---|---|
| Traditional transfer caliper | Captures an internal size for comparison after removal | Use for quick checks of bores, slots, recesses, or shoulders when operator technique and a reference standard are controlled |
| Direct-reading digital model | Displays an internal dimension directly; it is not automatically a transfer tool | Use a digital inside flat point caliper for a flat-bottomed slot, parallel walls, shallow recess, or shoulder when its contacts sit fully against the measuring faces |
| Inside micrometer or bore gauge | Measures the dimension directly with a more controlled contact system | Choose it for a tight bore tolerance, recorded dimensional results, greater reach, or a requirement to assess diameter variation |
Verify the instrument’s function before buying: the display must state an absolute internal dimension, not merely assist comparison. A transfer caliper gives no direct reading, so every result inherits the reference standard, alignment, contact pressure, and operator’s feel.
Use a different gauge when pointed contacts can bridge a burr, chamfer, radius, keyway, or interrupted surface. For production records, an inside caliper for inspection is suitable only when the decision is comparative and the method has a defined reference, cleaning procedure, and repeatability check.
Select Range, Resolution, Reach, and Accuracy from the Drawing
The drawing determines the caliper’s usable range, resolution, reach, and accuracy. For a bore marked 24.00 ±0.03 mm, choose an instrument that covers 23.97–24.03 mm without operating at the end of its travel, displays increments no coarser than 0.01 mm, and has stated accuracy and repeatability comfortably below 0.06 mm.
Extract these details before assigning a tool:
- Minimum and maximum feature size, including tolerance limits
- Required resolution and readability for the inspection decision
- Measurement depth from the opening to the functional surface
- Bore, slot, shoulder, recess, or groove geometry
- Maximum jaw thickness, point width, and contact clearance
- Material, surface finish, and the risk of marking the part
- Operating temperature if the tolerance is only a few hundredths of a millimetre
| Drawing detail | Specification to match | Consequence of a mismatch |
|---|---|---|
| Bore depth or recess location | Reach greater than the contact depth, with clearance for alignment | The points measure the entrance instead of the required surface |
| Flat-bottomed slot or shoulder | Flat contacts that sit fully on the specified faces | Point contacts give a false or unstable size |
| Tight dimensional tolerance | Stated accuracy, repeatability, and suitable resolution | A readable display does not guarantee a trustworthy result |
| Recorded production diameter | Internal micrometer or bore gauge rather than a screening caliper | Comparative checks get mistaken for traceable dimensions |
For indside calipers for quality control in chennai, require a calibration certificate with traceability, the operating temperature, digital protection rating, and replacement-contact or service availability. Verify the actual contact configuration across its working range, not at one nominal setting only.
Use a Repeatable Method and Check the Feature’s Form
A burr can create a repeatable but false size by forcing the contacts outward or stopping them before they reach the functional surface. Clean the feature and the contact points, then remove oil films, chips, and raised edges with a suitable deburring method.
- Inspect the drawing and identify the functional surface. Check the caliper for damaged points, a loose joint, or dirt between the contacts.
- Set the spring tension or joint movement to produce light, consistent contact. For a transfer inside caliper, set or zero the reference instrument before taking the transfer.
- Insert the contacts without forcing them past a chamfer, radius, keyway, groove edge, or interrupted surface. A pointed contact can bridge these features and report a false size.
- Align the caliper with the feature’s measuring axis. Keep both contacts at the same depth; tilting the tool turns an internal diameter into a chord.
- Rock a spring-joint caliper through the bore or feature using the same light pressure. Find the position that gives the maximum opening, not the first position that touches.
- Repeat the measurement at another depth and at several angular positions. A changing result indicates taper, ovality, a local low spot, or poor alignment.
- Transfer the setting without disturbing the joint and compare it with the outside micrometer, setting ring, or other reference. Repeat the check and record the variation.
This routine suits indside calipers applications where comparative speed matters. An inside caliper for inspection should not conceal form error behind one convenient reading.
Specify the Instrument for the Inspection Decision
If you are sourcing indside calipers for quality control in Chennai, require a specification that identifies the inspection decision, not just “inside measurement.” A supplier such as Yamayo Instruments should confirm whether the instrument gives an absolute reading or only transfers a size for comparison.
Require these details in writing:
- Measurement range covering the drawing limits, with clearance beyond both ends.
- Contact geometry, including flat-point width, point thickness, jaw thickness, and reach.
- Stated accuracy and repeatability across the working range.
- Resolution and display readability for the required tolerance.
- Calibration certificate with traceability to a recognised national or international standard.
- Operating temperature range and, for electronic models, the IP protection rating.
- Replacement contacts, battery details, repair support, and recalibration service.
Digital inside flat point calipers suit parallel internal walls, flat-bottomed slots, shallow recesses, and shoulders when both flats sit fully against the functional surfaces. They are the wrong choice for a narrow groove, small-radius corner, or chamfered entry; use point or groove contacts instead.
| Instrument | Best decision | Better alternative |
|---|---|---|
| Transfer inside caliper | Screening, setup, or comparison against a master | Bore gauge for a recorded diameter |
| Digital inside flat point caliper | Direct reading on broad, parallel internal faces | Internal micrometer for tighter tolerances |
| Bore gauge or internal micrometer | Controlled numerical diameter with a comparator or reference | Inside caliper for rapid non-critical checks |
Related products
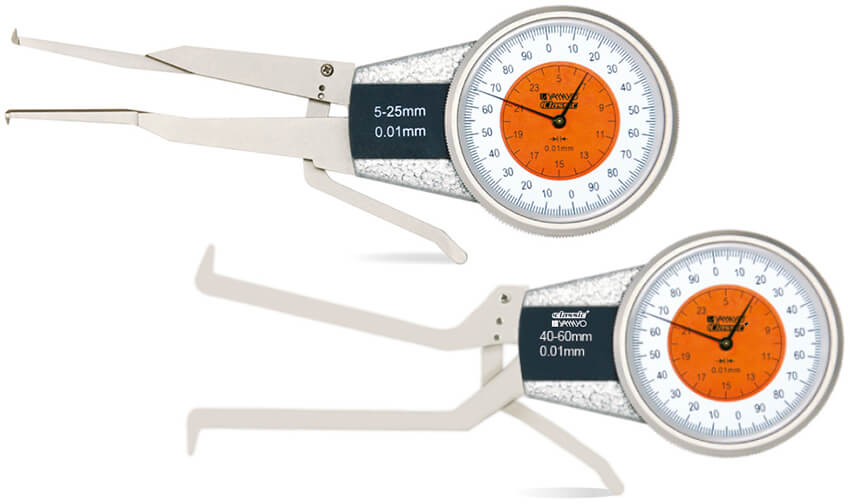 | Inside Outside Measurements Inside Dial Caliper Gauges The Inside Dial Caliper Gauge is a precision measuring instrument designed for accurate measurement of internal diameters... View product → |
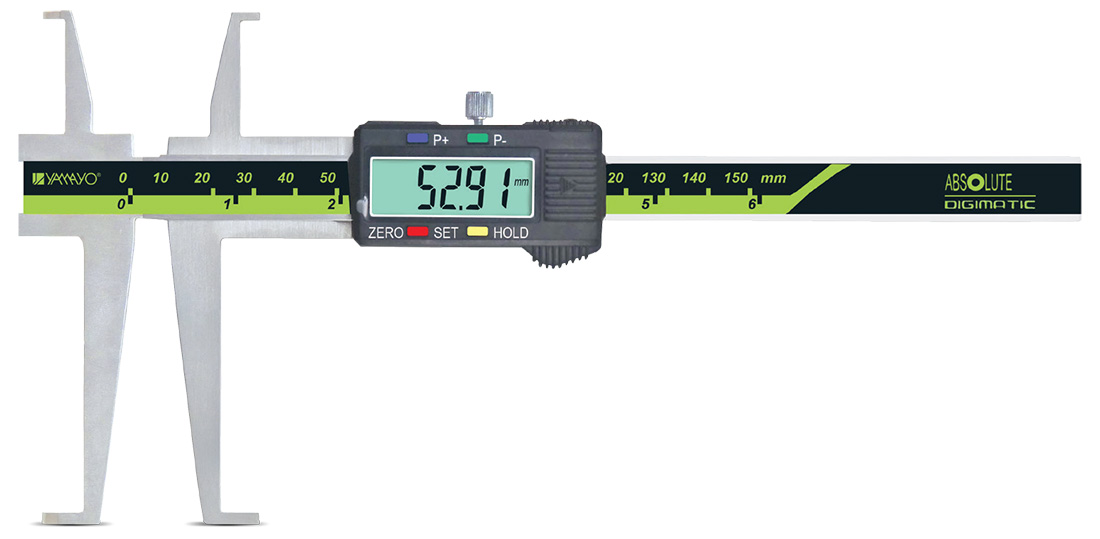 | Calipers Digimatic inside Groove Caliper Digimatic Inside Groove Calipers The Digimatic Inside Groove Caliper is a specialized digital measuring instrument designed for accurate measurement... View product → |
Frequently asked questions
Which contact style suits different internal features?
Use point-type or rounded contacts for narrow bores and contacts that reach the cylindrical wall. Use flat contacts for broader internal faces, but keep them off chamfers, keyways, and burrs.
When should you use a transfer check instead of a direct reading?
Use a transfer check when the feature is difficult to read directly or the inspection decision requires comparison with a reference instrument. A direct-reading inside caliper is suitable when its resolution and accuracy support the drawing tolerance.
How do you select an inside caliper from the engineering drawing?
Select a range that contains the nominal size, reach that clears the feature depth, resolution that exposes the tolerance, and accuracy appropriate to the acceptance decision.
How do you measure an internal diameter repeatably?
Place the contacts across the bore, align them with the axis, and rock the caliper through the axis to find maximum diameter. Repeat the measurement at additional angular positions to identify ovality or other form errors.
Related products
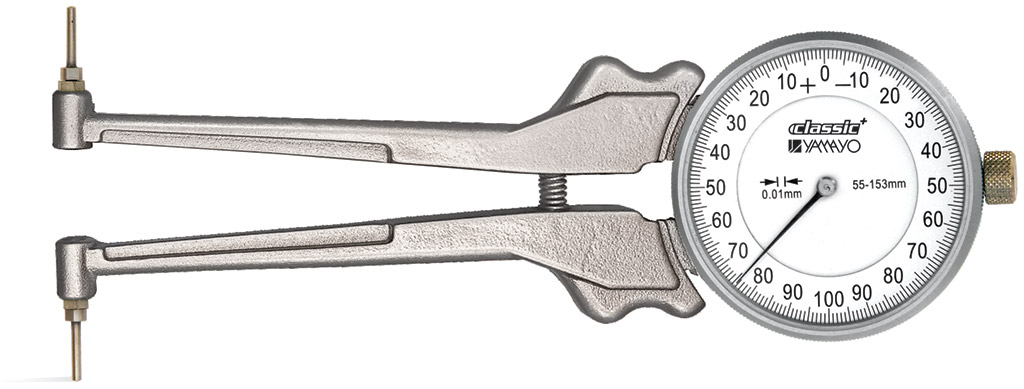 | Inside Outside Measurements Internal Dial Caliper Gauge The Internal Dial Caliper Gauge is a precision measuring instrument designed for accurate measurement of internal... View product → |
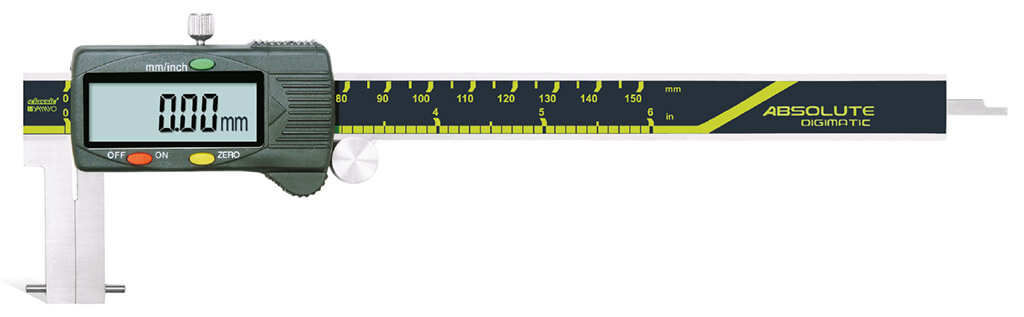 | Calipers Digimatic Inside Point Type Calipers Digimatic Inside Point Type Calipers The Digimatic Inside Point Type Caliper is a precision digital measuring instrument specially designed for... View product → |
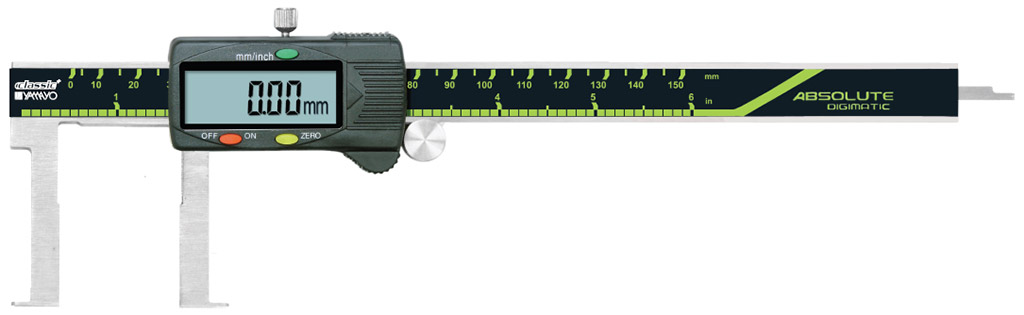 | Calipers Digimatic Inside Flat Point Type Calipers Digimatic Inside Flat Point Type Calipers The Digimatic Inside Flat Point Type Caliper is a precision digital measuring instrument specially designed... View product → |
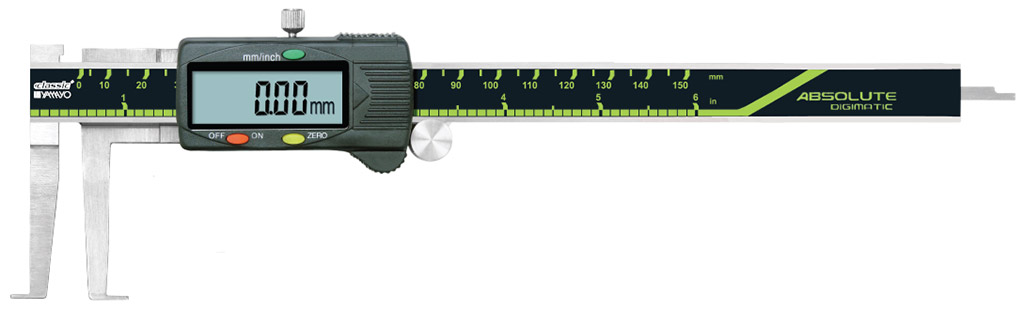 | Calipers Digimatic Inside Knife Edge Point Type Calipers Digimatic Inside Knife Edge Point Type Calipers The Digimatic Inside Knife Edge Point Type Caliper is a precision digital measuring instrument... View product → |