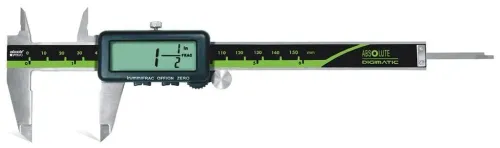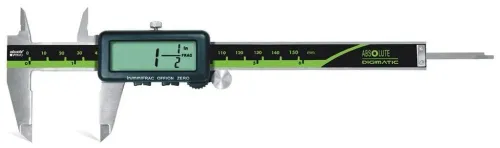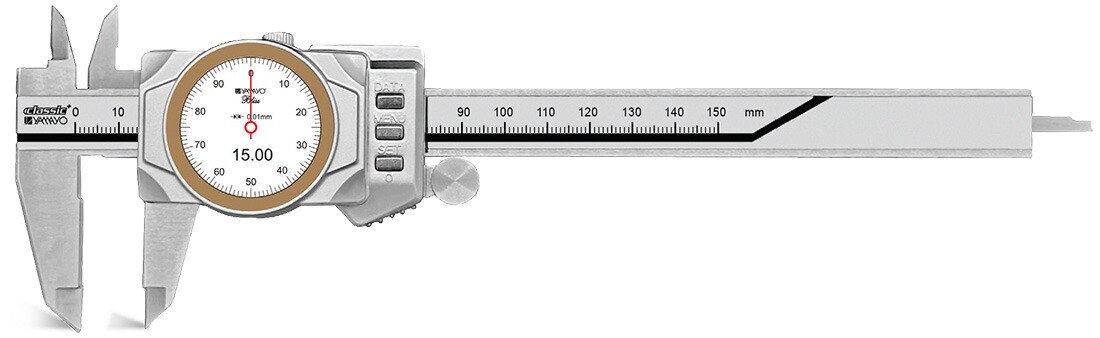
A caliper that will not close, binds after locking, or shows a drifting zero is not automatically a screw-adjustment problem. You will learn how to identify each screw, isolate contamination and mechanical damage from electronic faults, adjust the slider safely, and verify the instrument before it measures an inspected part.
Key takeaways
- Identify each screw before turning it; not every screw controls measurement.
- Clean and inspect the caliper mechanically before setting zero.
- Use symptoms to separate dirt, mechanical damage, and electronic faults.
- Verify readings at several lengths before releasing the caliper for inspection.
Identify Which Screw You Are About to Adjust
A screw on a Digimatic caliper is not automatically a calibration control. Identify whether it changes slider friction, immobilises movement, retains a jaw, or belongs to the measuring structure before attempting digital caliper screw adjustment.
| Part | What it does | What goes wrong if misadjusted |
|---|---|---|
| Adjustment screw | Sets slider tension or, on a manufacturer-specific design, an alignment relationship; it does not normally correct zero error. | Excess tension causes drag; insufficient tension allows play and unstable readings. |
| Lock screw | Clamps the slider at a chosen position for holding a reading. | Tightening it must not be used to correct zero, parallelism, or accuracy; a bent lock pad can make the slider bind. |
| Jaw-retaining screws | Secure the fixed or movable jaw and its seating parts. | Tightening them unevenly can shift, tilt, or distort the jaw. |
| Slide-lock mechanism | Transfers lock-screw pressure to the slider or beam. | A displaced pad or damaged clamp can bind only when the lock is engaged. |
| Rack | Provides the toothed track that engages the slider drive or pinion on designs that use one. | Burrs, damaged teeth, or debris cause notches, backlash, or repeated reading jumps. |
| Jaw alignment parts | Keep the outside, inside, and depth-measuring surfaces square and properly related. | A bent or displaced part makes jaws meet at one end or measure skewed. |
Before turning any screw, confirm its location and function against the caliper’s service drawing. A screw beside the slider is not proof that it is an adjustment screw.
- Release the lock and test the full travel.
- Clean the beam and jaw faces without filing or scraping.
- Close the jaws gently and inspect whether both faces meet evenly.
Follow the Mechanical Check Before Setting Zero
A zero error is not enough evidence to adjust a screw. A caliper can display zero while its jaws are bent, its slider is contaminated, or its scale is inaccurate. Use this sequence for digimatic smart caliper troubleshooting:
1. Check the display before touching any mechanical adjustment. Confirm that it is stable, that the buttons respond, and that the battery is seated with clean contacts. Investigate a blank, intermittent, or changing display electrically first.
2. Inspect the beam, rack, jaws, and slider for chips, dried coolant, burrs, impact marks, and loose screws. Do not tighten a jaw or frame screw as a first response; it can distort jaw alignment.
3. Wipe the beam and measuring faces with a clean, lint-free cloth. Remove debris from the rack and jaw corners without filing, scraping, or applying excess lubricant.
4. Release the slider lock completely. The lock holds a reading; it does not correct zero, parallelism, or accuracy.
5. Move the slider through its full travel several times. Feel for tight spots, clicking, backlash, or movement that opens after you stop pushing.
6. Close the outside jaws gently, without forcing them together, and inspect whether their faces meet evenly. Check the inside jaws in the same way, looking for a visible gap, twist, or contact at only one end.
7. With the jaws clean and fully closed, observe the zero reading without pressing repeatedly. Record the result, then verify it against a suitable reference at more than one length before deciding that adjustment is necessary.
A stable zero after cleaning does not prove accuracy; documented dimensional verification must follow.
Separate Dirt, Damage, and Electronics by Their Symptoms
If digital caliper jaws not closing, release the slider lock before touching any screw. For digimatic smart caliper troubleshooting, clean the beam and both measuring faces with a lint-free cloth and non-abrasive cleaner, then cycle the slider through its full travel. Do not use abrasive paper, a file, or forceful scraping.
| Condition | Distinguishing symptom | Likely cause |
|---|---|---|
| Loose adjustment screw | Slider has side play, or drag changes after a small tension adjustment; jaws still meet evenly | Loose slider-tension mechanism |
| Beam contamination | Localised tight spots or gritty movement; debris is visible on the beam or jaw faces | Chip, dried coolant, or burr |
| Damaged rack or pinion | Repeating catches, skips, or grinding at the same travel positions | Chipped rack teeth or pinion damage |
| Bent jaws | Jaws touch at one end but show daylight at the other; outside and inside measurements disagree | Bent or displaced jaw |
| Slider wear | Smooth movement with noticeable rocking and inconsistent readings when force changes | Worn guide surfaces |
| Encoder failure | Slider moves freely, but the display jumps, freezes, or changes while stationary | Encoder or signal fault |
| Weak battery | Display fades, resets, loses data, or behaves erratically while mechanics remain smooth | Low battery |
A slider that reads correctly unlocked but binds when the lock screw is tightened points to a damaged or mis-seated lock mechanism, not a zero error. Electronic zeroing cannot repair contamination, damaged teeth, bent jaws, or wear.
Confirm a suspected encoder fault with a fresh battery and a stationary display check before removing the caliper from inspection use.
Adjust Slider Tension and Check How the Jaws Meet
Do not use the slider lock screw for digital caliper screw adjustment. It immobilises the slider during a reading; tightening it to correct zero, jaw parallelism, or accuracy creates drag and can hide a damaged lock mechanism.
If the caliper moves freely with the lock released but binds when locked, stop and inspect the lock parts.
Use the manufacturer’s specified slider-tension or adjustment mechanism only:
- Release the slider lock and clean the beam and both jaw faces with a lint-free cloth and non-abrasive cleaner.
- Move the slider through its full travel. Remove contamination; do not use abrasive paper, a file, or forceful scraping.
- Turn the tension screw by a very small increment, then cycle the slider again.
- Stop when side play is controlled but movement remains smooth from end to end. A screw that makes the slider stiff, jerky, or unable to reach the beam ends is too tight.
- Do not loosen jaw-retaining screws unless you are correcting jaw seating with the manufacturer’s procedure.
To check whether digital caliper jaws not closing are actually misaligned, close them gently with consistent force several times. The outside measuring faces should meet across their width without a visible gap, rocking, or one corner touching first; the inside jaw tips should align symmetrically rather than crossing or contacting on one side.
Repeat the check after rotating the caliper and inspect for a burr, chip, or bent jaw. A changing zero after these cycles indicates mechanical seating or repeatability trouble, not an electronic zero problem.
Verify the Caliper at Several Lengths Before Inspection Use
Do not return a caliper to acceptance work because its display zeros. A zero check can pass while the instrument fails at a working dimension. Remove it from acceptance use if any gauge-block point exceeds the model’s published accuracy specification or your approved calibration procedure; mark it failed or restricted until repaired and recalibrated.
- Record the mechanical condition: slider travel from closed to full opening, binding or uneven drag, lock-screw operation, beam and rack condition, jaw-retaining screw security, and visible jaw parallelism and squareness. Use an optical or mechanical comparison when the inspection tolerance requires it. Do not tighten jaw or frame screws without the manufacturer’s procedure.
- Record the electrical condition: display stability while stationary, repeatability after closing, encoder response through the full travel, battery condition, and data-output performance where transmission is used. A working display or successful data transfer does not prove measurement accuracy.
- Record dimensional results at several gauge-block lengths, such as near zero, mid-range, and near the instrument’s maximum range. Note the block size, measured value, error, resolution, temperature, and whether the caliper and block reached 20 °C equilibrium.
- Record the adjustment performed, screw identified, tools used, post-adjustment results, technician, date, and calibration status.
The phrase screw adjustment problems digital caliper in ahmedabad does not identify one fault; a service provider must name the screw and show evidence. Yamayo Instruments can help match a Digimatic model to the correct verification or calibration route rather than treating every screw as a calibration adjustment.
Related products
 | Calipers Digimatic Caliper with Interchangeable Anvils Digimatic Caliper with Interchangeable Anvils The Digimatic Caliper with Interchangeable Anvils is a versatile precision digital measuring instrument... View product → |
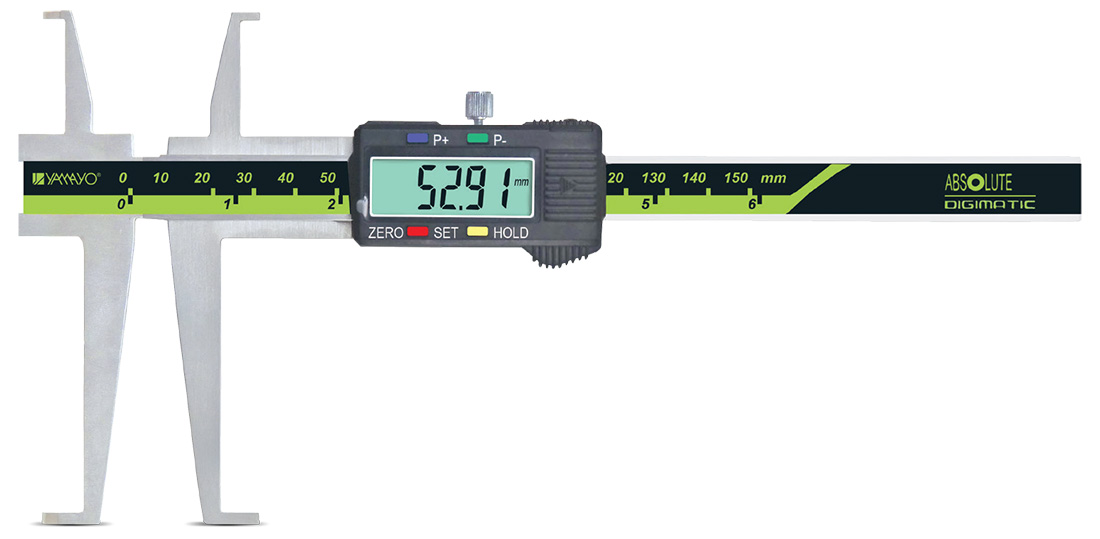 | Calipers Digimatic inside Groove Caliper Digimatic Inside Groove Calipers The Digimatic Inside Groove Caliper is a specialized digital measuring instrument designed for accurate measurement... View product → |
Frequently asked questions
How do I identify which screw to adjust on a Digimatic caliper?
Check whether the screw controls slider friction, locks movement, retains a jaw, or belongs to the measuring structure before turning it.
What should I check before setting zero on a digital caliper?
Clean the beam and jaws, inspect for damage, confirm the jaws meet correctly, and complete the mechanical check before zeroing.
Why are my digital caliper jaws not closing?
Dirt, damaged jaw faces, excessive slider tension, or a distorted measuring structure can prevent proper closure. Inspect these causes before suspecting electronics.
How can I verify a Digimatic caliper before inspection use?
Check zero and compare readings at several known lengths, recording errors and confirming that the jaws remain aligned throughout travel.
Related products
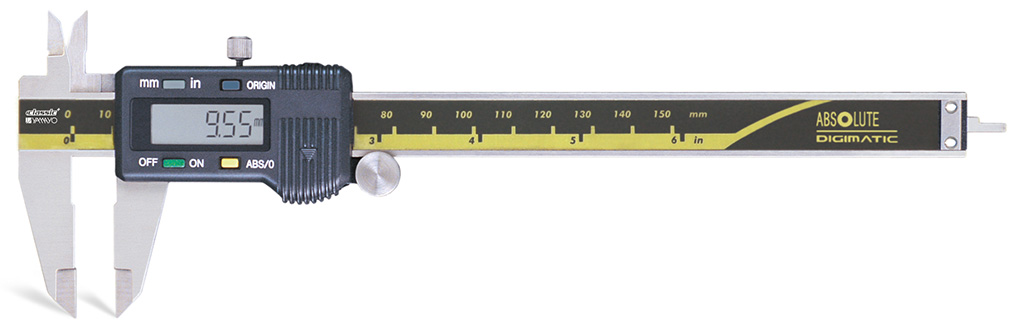 | Calipers Digimatic Calipers The Digimatic Caliper is a precision digital measuring instrument designed for accurate external, internal, depth, and step... View product → |
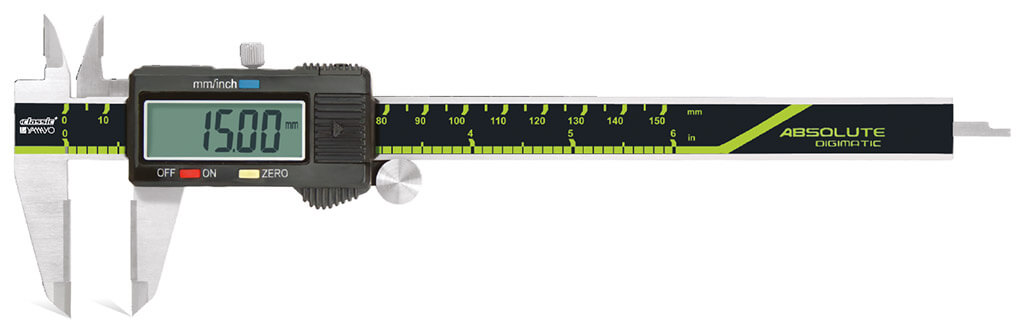 | Calipers Digimatic Calipers with Carbide Jaws Digimatic Calipers with Carbide Jaws The Digimatic Caliper with Carbide Jaws is a precision digital measuring instrument engineered for accurate... View product → |
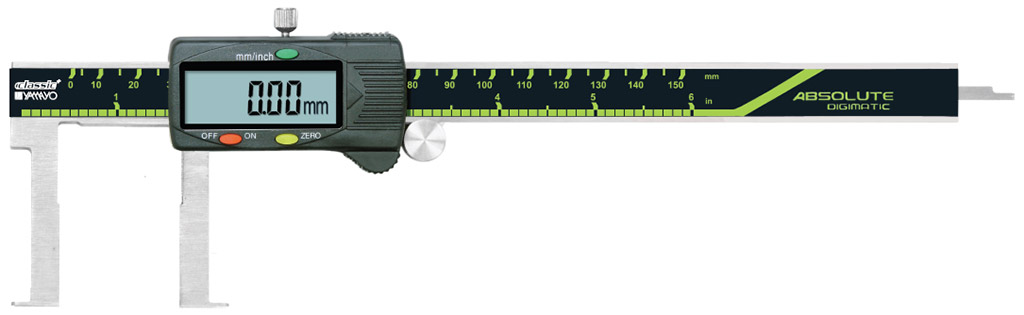 | Calipers Digimatic Inside Flat Point Type Calipers Digimatic Inside Flat Point Type Calipers The Digimatic Inside Flat Point Type Caliper is a precision digital measuring instrument specially designed... View product → |
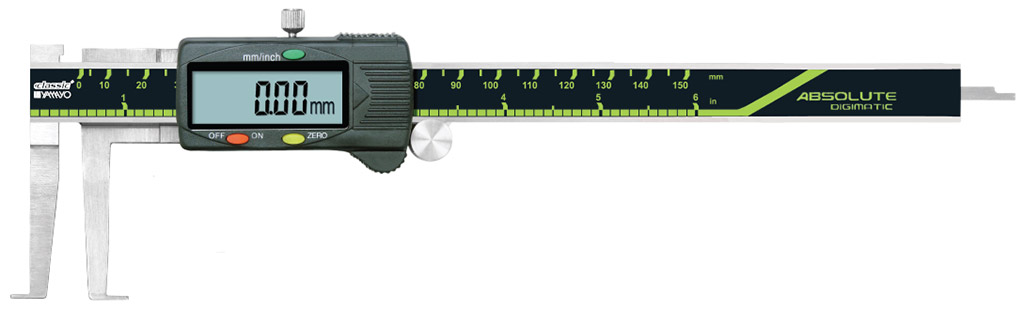 | Calipers Digimatic Inside Knife Edge Point Type Calipers Digimatic Inside Knife Edge Point Type Calipers The Digimatic Inside Knife Edge Point Type Caliper is a precision digital measuring instrument... View product → |