A tube wall reading is only useful when the contacts reach the intended surfaces without tilting, crushing the tube, or allowing the opposite wall to influence the result. By the end, you will be able to choose the correct instrument geometry, define a repeatable production method, and compare supplier support against your actual tolerance and shop-floor conditions.
Key takeaways
- Use a ball-and-spindle tube micrometer to measure wall thickness at a selected point.
- Align the contacts squarely and use ratchet force to avoid tilting or crushing the tube.
- Compare range, resolution, accuracy, repeatability, and calibration documentation before buying.
- Control temperature, zero, contact cleanliness, and measurement location for reliable production results.
What a tube micrometer measures—and when it is the wrong gauge
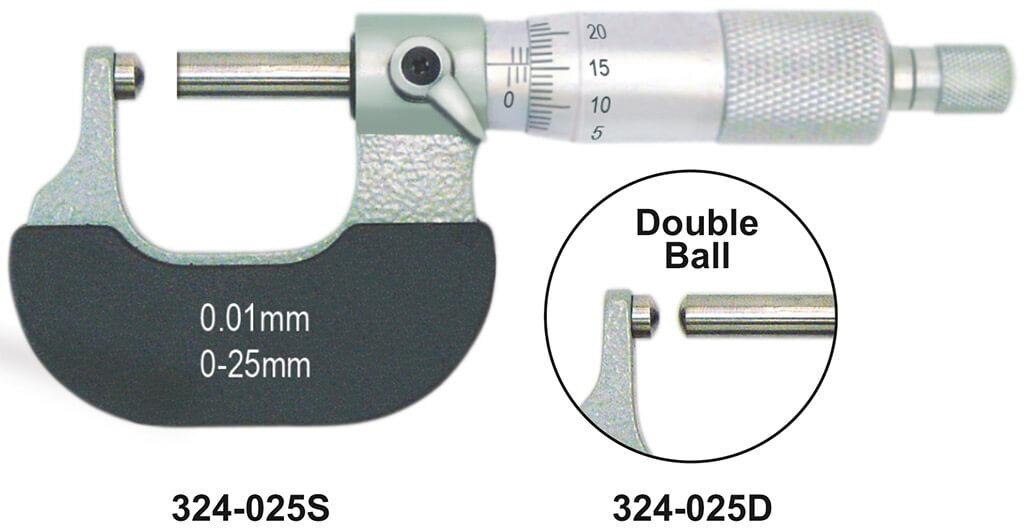
A digital tube outside micrometer measures wall thickness, not the tube’s outside diameter. Its internal contact enters the bore and rests against one wall while the external spindle touches the outside surface, measuring one wall at the selected point.
A digital micrometer for tube measurement is therefore the wrong gauge when your drawing specifies outside diameter. Use an outside micrometer or suitable diameter gauge instead. A conventional flat-anvil outside micrometer can bridge curved tubing, leaving gaps beneath its faces and producing a misleading diameter reading.
The internal anvil must physically enter the smallest tube inside diameter. Check its diameter, projection, and clearance before approval; a broad measuring range does not prove that the tool fits your part.
The reading can change with:
- Ovality or eccentricity
- Taper along the tube
- Weld beads or seams
- Dents and burrs
- Paint, plating, or other coatings
- Corrosion or rough internal surfaces
Place the contacts on clean, representative material. A ball-shaped anvil gives a defined contact on curved tubing, but tilting the instrument or landing on a defect changes the result.
This gauge measures only an accessible contact point. It cannot replace ultrasonic thickness mapping or radiographic testing when you need to find hidden corrosion, laminations, or broad-area wall loss. Choose another inspection method when the surface is inaccessible or the decision depends on internal condition across the tube.
How to place the contacts without tilting or crushing the tube
A valid reading starts with controlled contact, not pressure. Use the same sequence for every tube outside micrometer for production inspection:
1. Wipe oil, coolant, dust, and swarf from the tube and both measuring faces. Inspect the ball and spindle for damage, deposits, or restricted movement.
2. Close the instrument gently and verify zero. Do not force the contacts together; a false zero can hide a damaged ball or spindle.
3. Place the internal ball at the specified axial and angular location inside the tube. Keep the frame aligned with the tube rather than tilted across its curvature.
4. Bring the outside contact squarely onto the opposite surface. Do not force the tool against thin-wall material, or the wall itself can deform and reduce the reading.
5. Rock the instrument lightly through the contact position and find the minimum stable reading. Then apply the ratchet or friction thimble with the same operating method each time.
6. Do not measure over a weld seam, dent, burr, or coating unless that feature is the inspection target. These local conditions can change contact geometry and produce a result that does not represent the tube wall.
For an ovality or eccentricity check, measure at 12, 3, 6, and 9 o’clock; these positions mean the top, right, bottom, and left around the tube cross-section. Add several axial locations when taper, weld effects, or changing wall thickness matters.
Repeat readings at one location to reveal instrument and operator variation. Readings around the tube reveal part variation.
Which specifications matter for production tube measurement
A tube outside micrometer for production must cover the full wall-thickness range and physically enter the smallest inside diameter. Check anvil diameter, anvil projection, spindle shape, contact radius, throat depth, clearance around the tube, and access to the measurement point—not just the nominal measuring range.
| Choice | Benefit | Limitation |
|---|---|---|
| Tube-specific spherical contact | Follows curved surfaces and reaches one wall through the bore | Manufacturer’s stated tube application and contact geometry still require confirmation |
| General digimatic outside micrometer with flatter faces | Useful for external dimensions | Faces can bridge curvature and give a misleading wall reading |
| Ratchet or friction thimble | Consistent force reduces operator variation on thin walls | Does not prevent wall deformation, ovality, or angular variation |
| Plain thimble | Simple and fast for controlled operators | Hand force varies more between readings |
A digital micrometer for tube measurement should specify resolution separately from accuracy, repeatability, and calibration uncertainty. Select the smallest resolution that supports the tolerance, then verify the other three values in the specification and calibration record.
Digital benefits include direct metric or inch reading, faster inspection, and less transcription risk when data output works. Before purchase, verify the connector, cable, software, output format, wireless or USB compatibility, battery life, and whether the port remains usable in the intended orientation.
A digital tube outside micrometer is unsuitable if its anvil cannot reach the tube or its data system cannot support your inspection method.
How to control temperature, zero, repeatability, and contamination
Trust a displayed value through a shift only after a defined start-of-shift and changeover check, not by watching the digits. Clean the measuring faces and reference, let both reach the inspection temperature, verify zero, measure a suitable certified setting standard several times, and compare the result with your acceptance limits.
Use this re-zero rule:
- Re-zero only after cleaning, thermal stabilization, and a failed zero check.
- Record the reason, then repeat the setting-standard measurement.
- Never reset the instrument simply because a result looks inconvenient; quarantine the tool if the standard remains outside limits.
For a broader check, use calibrated setting standards across the working range. Record the tool ID, standard ID, temperature, operator, and result.
ISO 1 uses 20 °C as the reference temperature. A 100 mm steel dimension with an expansion coefficient of about 11.5 µm/(m·K) changes approximately 0.0115 mm across 10 °C. Record or control temperature when tolerances are tight; do not treat a hot shop-floor result as interchangeable with a 20 °C calibration value.
The benefits of a digital tube outside micrometer for production measurements in Ahmedabad do not remove this requirement.
Humidity can promote corrosion, while dust, coolant, and swarf on the ball or spindle create offsets. An IP rating describes performance in specified ingress tests, not every coolant, washdown, dust, or storage condition.
Calibration traceability and ISO/IEC 17025 laboratory competence establish measurement confidence in the laboratory, not proof that your tool meets the process tolerance.
| Evidence | Proves | Does not prove |
|---|---|---|
| Calibration certificate | Traceability and stated calibration results | Process-tolerance capability |
| Repeatability study on your standard | Observed operator and instrument variation | Hidden part variation |
| Process acceptance comparison | Suitability for your tolerance | Laboratory competence |
How to compare a tube micrometer supplier in Ahmedabad
Approve a tube micrometer supplier in Ahmedabad only after receiving written answers, not a catalogue display. A search for digital tube outside micrometer for benefits in ahmedabad should end with evidence about measurement risk, not marketing claims.
- State accuracy, resolution, measuring-force arrangement, contact diameter and projection, working range, calibration condition, and repeatability evidence.
- Confirm the ingress-protection rating, battery type and life, connector, output protocol, cable, software compatibility, and usable orientation during data capture.
- Ask whether spare contacts are stocked, how quickly repairs are handled, and where local calibration support is provided.
- Confirm that the internal contact enters the smallest tube ID and that accuracy applies across your wall-thickness range, temperature, and contact geometry.
Trial the instrument on the actual tube before approval. Repeat one location several times, then measure at 12, 3, 6, and 9 o’clock and at multiple axial positions.
| Test result | What it reveals | Decision use |
|---|---|---|
| Repeated readings at one location | Instrument and operator variation | Compare with process tolerance |
| Clock-position readings | Ovality, eccentricity, or placement error | Reject a single-point assumption |
| Axial readings | Taper, weld effects, or local wall change | Define sampling locations |
Yamayo Instruments can be relevant when an Ahmedabad buyer needs help matching contact geometry, calibration documents, data capture, and after-sales support to an acceptance plan. Treat price and display digits as secondary to uncertainty, repeatability, operator method, and serviceability.
Related products
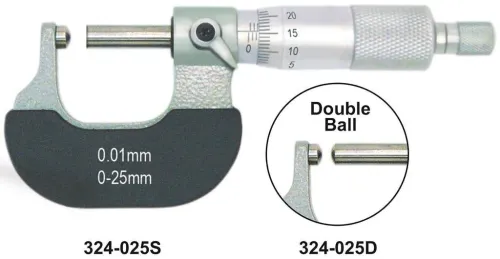
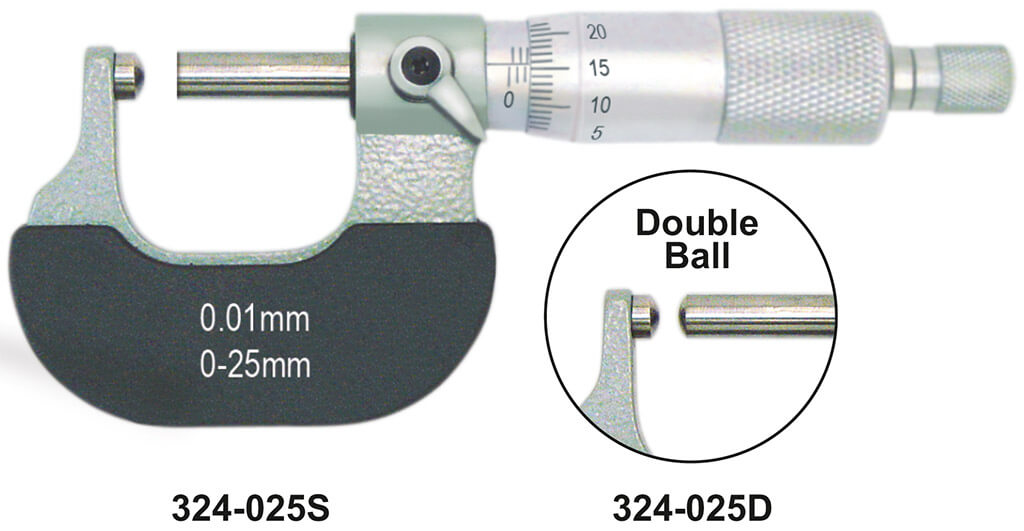 | Micrometers Tube Outside Micrometers The Tube Outside Micrometer is a precision measuring instrument specially designed for accurate measurement of tube wall... View product → |
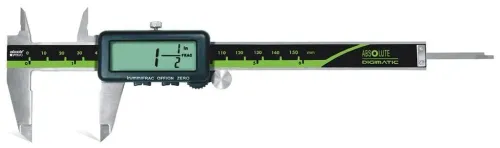
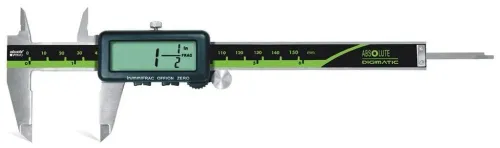
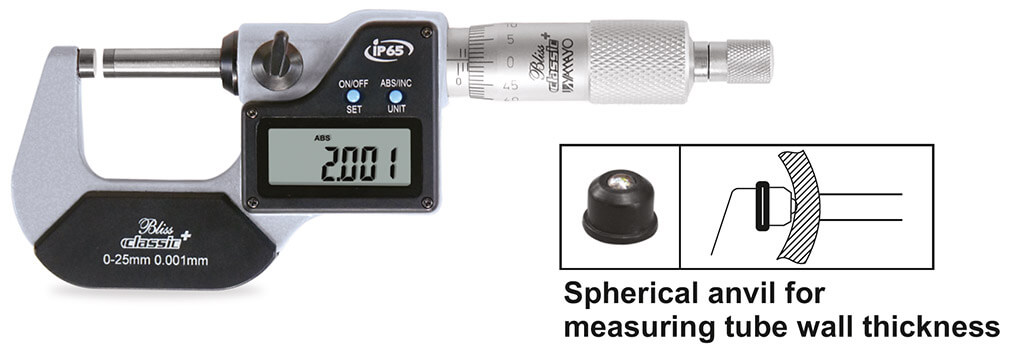 | Micrometers Digimatic Outside Micrometers The Digimatic Outside Micrometer is a high-precision digital measuring instrument designed for accurate external... View product → |
Frequently asked questions
What does a digital tube outside micrometer measure?
It measures tube wall thickness at a selected point, with an internal contact resting against one bore wall and an external spindle touching the outside surface.
When is a tube micrometer the wrong gauge?
Use another instrument when you need outside diameter, inside diameter, ovality, a full wall-thickness profile, or measurements through curved, rough, or inaccessible surfaces.
How do you position a tube micrometer correctly?
Keep the internal and external contacts aligned across one wall, hold the instrument square to the tube axis, and apply consistent ratchet force without tilting or crushing the tube.
Which specifications matter for production tube measurement?
Check measuring range, resolution, accuracy, repeatability, contact geometry, ratchet or friction-thimble control, digital output, ingress protection, and calibration documentation.
How should you control temperature and contamination during measurement?
Let the tube and instrument reach a stable temperature, set and verify zero, clean both contacts and the measurement area, and repeat readings at defined locations.