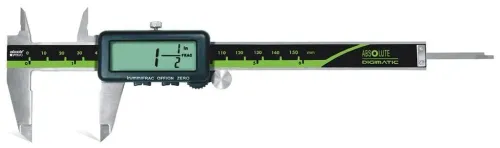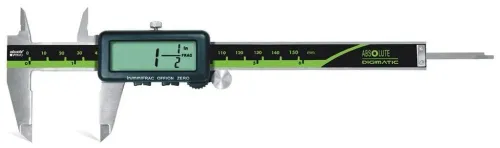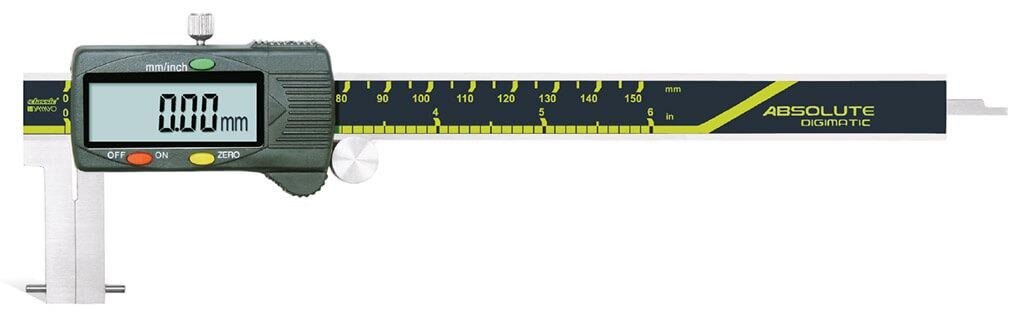
A digital inside point caliper can quickly check a counterbore, clearance opening, relief groove, or internal recess around a screw, but its reading does not automatically describe the thread. By the end, you will know which screw-related dimensions it can measure, how to position the points without damaging the feature, and when a thread gauge or other method is required.
Key takeaways
- Measure clearance holes, counterbores, slots, and internal reliefs.
- Choose contact points that reach the intended feature without touching threads.
- Measure threaded holes without forcing contacts against the thread flanks.
- Verify zero, range, repeatability, and reference dimensions before acceptance.
Which screw-related dimensions can an inside point caliper measure?
A digital inside point caliper measures the distance between its pointed contacts inside a defined feature. It suits a clearance-hole diameter, counterbore diameter, internal relief or undercut diameter, access opening, slot width, or broad recess when the contact locations and axial depth are specified.
| Feature | What the reading represents | What it does not establish |
|---|---|---|
| Clearance hole or counterbore | Contact-to-contact diameter at the selected depth | Thread size or functional fit |
| Relief, undercut, slot, or recess | Internal width or diameter between defined faces | Thread pitch, flank angle, or thread depth |
| Tapped hole | A position-dependent distance between points | Standard major, minor, effective, or pitch diameter |
| Thread inspection | Use a validated thread method | A casual caliper reading reported as pitch diameter |
In a tapped hole, the points can touch thread flanks, crests, roots, or the lead-in chamfer. Insertion depth and angular position therefore change the result; a mouth reading can describe the chamfer rather than the cylindrical bore. Do not report it as pitch diameter unless a validated method controls axial position and flank contact.
The phrase digimatic inside for point calipers screw measurements describes a dimensional-check application, not a special thread-measuring principle. Use a thread plug gauge, pitch gauge, thread micrometer, three-wire method, optical comparator, or CMM when you must verify thread size, geometry, or fit.
A functional go/no-go gauge is the better choice when the question is whether the screw will assemble.
How do you choose the point shape, range, and contact location?
Choose the point geometry from the feature, not the screw’s nominal diameter. Pointed contacts enter a narrow internal groove, relief, or undercut while avoiding adjacent shoulders; flat points spread contact across broad shoulders, slot faces, or flat-bottomed recesses. Knife-edge points suit recesses too narrow for a standard point.
| Point shape | Best contact | Main risk |
|---|---|---|
| Pointed | Narrow grooves, reliefs, undercuts | Tip rides on a shoulder or burr |
| Flat | Broad shoulders, slot faces, flat-bottomed recesses | Contact cannot reach a narrow bottom |
| Knife-edge | Very narrow recesses | Edge damage or unstable contact |
For repeatable Digimatic inside caliper applications, compare each tip’s width and thickness with the groove width. Confirm that both points reach the bottom or specified flanks, then check that the caliper body clears the bore, shoulder, and counterbore wall. A body that touches first can produce a convincing but false reading.
Select the measuring range around the actual feature size, not merely the fastener diameter. A screw with a 10 mm nominal diameter might require a tool suited to a 6 mm relief, 12 mm counterbore, or 8 mm clearance opening.
Define the axial depth in the work instruction. This keeps the operator on the cylindrical bore, relief, or counterbore instead of the entrance chamfer.
Before insertion, verify:
- Remove burrs and raised thread material; record plating condition.
- Check for dents that block one tip or change the contact flank.
- Confirm the target feature and specified depth.
- Verify that the selected tip can enter without forcing or scraping.
What is the correct method for measuring a threaded hole safely?
A repeatable inside caliper for screw work depends on controlling where the points touch, how deeply they enter, and how much force you apply.
1. Clean the hole, then inspect it under good light. Remove loose chips, burrs, raised plating, and displaced thread material; deburr only as the drawing or work instruction permits.
2. Identify the target feature and its axial depth: clearance opening, cylindrical bore, minor bore, counterbore, relief, or internal groove. Keep the tips away from sharp crests when the requirement concerns a relief, minor bore, or clearance opening.
3. Insert the digital inside point caliper without forcing it. Set its axis approximately perpendicular to the bore axis, and confirm that both points contact the intended cylindrical surface rather than the entry chamfer.
4. Apply only enough contact force to obtain repeatable contact. Never lever, scrape, wedge the points between thread flanks, squeeze the slide inconsistently, or force a narrow groove; these actions damage surfaces and create false readings.
5. Maintain the defined insertion depth while rocking or sweeping the caliper through the contact position. A static reading can be low because the points rest on a chord instead of spanning a diameter.
6. Wait for the display to settle, then record the maximum stable reading. Measuring at an angle, touching a chamfer, or allowing a burr to move the contact changes the result.
Repeat the measurement at several angular positions and depths when form error, taper, roundness error, or thread damage is suspected.
How should you verify the caliper before accepting screw-hole measurements?
A 0.01 mm or 0.0005 in display increment does not prove measurement accuracy or show that the caliper can verify a tolerance of that size. Before accepting a screw-hole result, check zero behavior, then compare the instrument with references close to the inspection size.
| Check | What it reveals | How to apply it |
|---|---|---|
| Zero behavior | Offset or unstable indication | Close the points correctly, zero them, and repeat the check |
| One calibrated reference | Agreement at one size | Use a calibrated ring, bore, or setting standard near the feature size |
| Several calibrated references | Scale error, jaw alignment error, and range performance | Check multiple standards across the working range |
| Validated comparator setup | Performance where a physical standard is impractical | Use the documented setup and its stated uncertainty and decision rule |
| Repeated readings | Repeatability and operator influence | Repeat the defined insertion and rocking procedure, then compare the spread |
Keep the caliper and steel workpiece near the 20 °C reference temperature. Steel changes by about 11.5 micrometres per metre per degree Celsius, so a 100 mm feature changes about 11.5 µm over a 10 °C shift.
For repeatable Digimatic inside caliper applications, the work instruction must define the following:
- Contact points, insertion depth, rocking motion, and contact force
- Number of readings and the rounding rule
- Burr and chamfer treatment before measurement
- The acceptance limit, calibration interval, documented calibration procedure, and decision rule
Use ISO 13385-1 as the relevant calliper standard family. A nominal display agreement is not a calibration result.
When is a Digimatic inside caliper the right inspection choice?
Choose it for fast dimensional checks, not as proof that a screw will assemble. Digimatic inside for point calipers screw measurements work well on internal reliefs, counterbores, clearance openings, and accessible recesses when you control the contact geometry and axial depth. Digimatic describes electronic indication and possible data output, not a special screw-measuring principle.
| Option | Best use | Limitation |
|---|---|---|
| Digimatic inside caliper | Relief, counterbore, opening, or recess size | Does not prove assembly fit |
| Go/no-go pin or clearance gauge | Functional screw or shank clearance | Gives a fit decision, not detailed dimensions |
| Thread plug gauge | Internal thread acceptance | Does not provide a full dimensional profile |
| Thread micrometer or three-wire method | Thread pitch-diameter characterization | Requires controlled thread access and technique |
| Optical comparator or CMM | Pitch, flank angle, form, position, and thread geometry | Slower setup and measurement |
A caliper reading cannot account for hole roundness, taper, burrs, positional error, or the screw’s actual geometry. Use a functional gauge when fit is the requirement; use thread equipment when thread characterization is the requirement.
Before selecting among digimatic inside caliper applications, confirm the exact model’s range, accuracy, resolution, output protocol, cable, and software compatibility. A 0.01 mm display increment does not establish 0.01 mm accuracy. Yamayo Instruments can help match point, flat-point, or knife-edge geometry and verification equipment to the feature and tolerance rather than the nominal screw size.
Related products
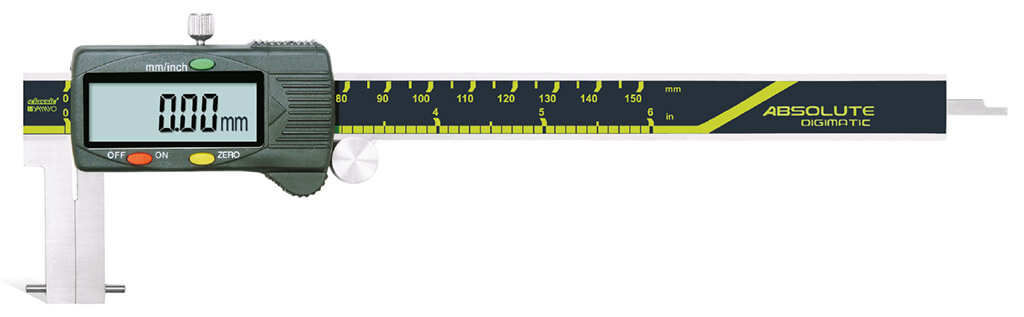 | Calipers Digimatic Inside Point Type Calipers Digimatic Inside Point Type Calipers The Digimatic Inside Point Type Caliper is a precision digital measuring instrument specially designed for... View product → |
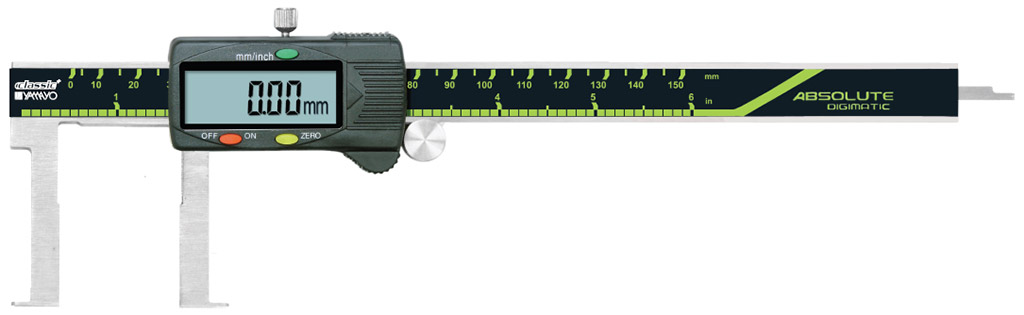 | Calipers Digimatic Inside Flat Point Type Calipers Digimatic Inside Flat Point Type Calipers The Digimatic Inside Flat Point Type Caliper is a precision digital measuring instrument specially designed... View product → |
Frequently asked questions
Which screw-related dimensions can a Digimatic inside point caliper measure?
It can measure clearance-hole diameter, counterbore diameter, internal relief or undercut diameter, access openings, slot widths, and broad recesses when the contact locations and axial depth are defined.
How do you choose the point shape, range, and contact location?
Choose points that reach the measurement surfaces without contacting threads, select a range covering the nominal dimension, and define the axial depth and contact locations before measuring.
What is the correct method for measuring a threaded hole safely?
Clean the hole, insert the points without force, avoid riding on thread flanks, find the measurement position by rocking gently, and record the depth and orientation.
How should you verify the caliper before accepting screw-hole measurements?
Check zero, inspect the points, confirm the measuring range, compare against a suitable certified setting standard or reference feature, and check repeatability.
When is a Digimatic inside caliper the right inspection choice?
Use it for accessible internal diameters, openings, slots, and recesses that tolerate point contact; use thread gauges, bore gauges, or coordinate measurement when thread form, pitch diameter, or tight bore accuracy matters.
Related product
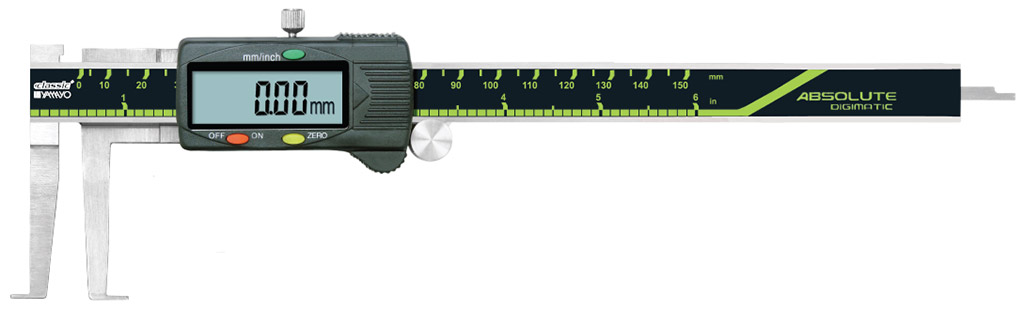 | Calipers Digimatic Inside Knife Edge Point Type Calipers Digimatic Inside Knife Edge Point Type Calipers The Digimatic Inside Knife Edge Point Type Caliper is a precision digital measuring instrument... View product → |