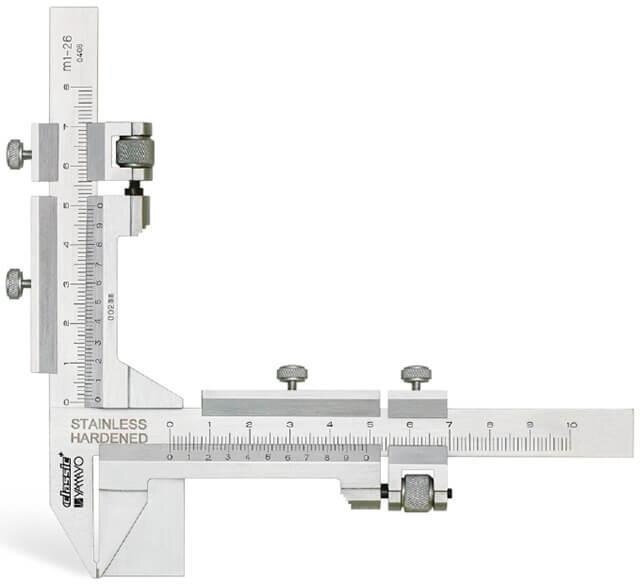
The right instrument depends on more than a 0.01 mm display. You need to match the caliper’s base, rod or blade, measuring range, permissible error and verification method to the feature and its datum, then control seating, temperature and contact pressure during every inspection.
Key takeaways
- Choose a bridge-style depth caliper for broad datums and tight tolerances.
- Match the base and rod to the opening, shoulder, groove, or bore.
- Keep the base square, use consistent force, and repeat readings.
- Record range, resolution, accuracy, calibration, and feature access before buying.
When is a dedicated digital depth caliper better than a standard caliper?
A dedicated digital depth caliper is the better choice when the feature has a broad reference surface, the tolerance is tight, or several operators must obtain repeatable readings. Its bridge spans the opening and holds the depth rod against a stable datum; a standard digital caliper’s narrow body can rock or tilt.
The question of which digital vernier calipers are best for depth measurement therefore starts with seating, not display resolution.
| Option | Best use | Main limitation |
|---|---|---|
| Dedicated digital vernier depth calipers | Blind holes, slots, steps and recesses measured from a broad, stable surface | The base still needs clean, full contact; a long rod can flex |
| General-purpose digital caliper with depth rod | Quick checks, wide-access features and looser tolerances | The small end of the caliper provides a less stable datum and can bridge openings |
| Depth micrometer, height gauge or CMM | Tight-tolerance acceptance decisions and controlled, repeatable inspection | Higher cost, slower setup or less convenient access |
Choose a dedicated instrument when:
- The base can span the feature without rocking, and the inspection tolerance is smaller than the practical repeatability of a standard caliper.
- You need consistent results across operators, orientations or repeated production checks.
- The feature is a narrow hole, slot or keyway that needs a blade or rod matched to its geometry; a broad base alone does not guarantee access.
- You are measuring small, irregular corrosion pits. A caliper can bridge the surrounding metal and miss the true bottom, so use a pit-depth gauge or another validated method instead.
- Your procurement document names the actual instrument: “digital depth caliper with supporting base,” rather than the technically imprecise phrase “digital vernier caliper.”
How should the base, rod and blade match the feature?
A wide flat base gives the most stable datum on a broad, clean machined surface. It reduces rocking, while a narrow or blade-style base reaches slots and recesses but concentrates load on a small area, making burrs, edge damage and waviness more influential.
| Base design | Surface or feature | Main limitation |
|---|---|---|
| Wide flat | Flat faces and large openings | Bridges grooves, steps and local pits |
| Narrow or knife-edge | Narrow slots, keyways and recessed shoulders | Rocks easily and catches burrs |
| Grooved | Ribs, rails and interrupted surfaces | Incorrect groove width can tilt the tool |
| V-shaped | Cylindrical or rounded surfaces | Poor seating on flat or irregular faces |
For vernier calipers for depth measurement, match the rod or blade to the opening, not only to the required range. A thin rod enters a small blind hole, but side contact can tilt it and produce a shallow or deep error.
A broad blade is better for a slot or shoulder, provided it clears both walls.
Check blade width, rod thickness and reach against the smallest opening and deepest point. Excessive reach increases bending; pressing harder increases deflection and changes the reading. For large recesses, choose a stiff, longer blade and a base that spans the opening without resting on an internal step.
A V-shaped base suits round workpieces; a grooved base can locate around a raised rib. For small, irregular corrosion pits, depth inspection calipers can bridge the surface instead of reaching the true bottom; use a pit-depth gauge or another validated method.
What is the correct way to measure difficult depths?
Use the same defined datum, contact point and technique for every reading. A sound digital vernier depth caliper procedure prevents chips, burrs, chamfers and rocking from becoming measurement results; it also makes vernier depth caliper selection easier to judge against the feature.
1. Clean the base, rod or blade, and the workpiece datum. Remove chips, paint flakes and weld spatter, then deburr the opening without changing its geometry.
2. Close the instrument or seat it on a known clean surface. Confirm zero, millimetre or inch mode, and battery status before measuring.
3. Seat the base fully on the specified datum. Use light, consistent pressure: enough to remove the gap, not enough to flex the rod or blade. A narrow base needs particular care near burrs and damaged edges.
4. Align the rod perpendicular to the datum and keep it clear of the side walls. In a blind hole, touch the bottom without forcing the contact; in a stepped bore, measure from the stated shoulder; for a recessed feature, keep the base on the surrounding reference surface.
5. Sweep or rock the caliper through a small controlled angle while maintaining contact. Record the lowest stable reading when the rod reaches the true bottom. Side contact can tilt the tool and show a false depth.
6. Repeat the reading at least three times, lifting and reseating the caliper each time. For grooves, slots and shoulders, measure at several suitable positions and record the range; investigate variation before accepting the result.
If readings change with position, check the datum, base shape, rod width and seating pressure before blaming resolution.
How do you verify a depth caliper and control measurement error?
Verify depth inspection calipers against a traceable standard, not only by closing the jaws and checking zero. Gauge blocks on a surface plate check indicated displacement, but they do not reproduce base seating, rod alignment, or perpendicularity. A certified step master or a known-depth feature provides a more realistic check across the working range.
- Bring the caliper, standard, and workpiece to the same temperature. Clean the surface plate, base, rod, and reference feature; remove chips, paint, weld spatter, burrs, and loose scale.
- Zero the instrument, then measure several gauge-block heights or step-master levels. Repeat each point in more than one position and orientation, recording the error and repeatability rather than the displayed resolution alone.
- Place the base fully on the surface plate or defined datum. Apply consistent light pressure, keep the rod perpendicular, and repeat the reading without rocking. Rocking can make the base bridge a waviness or burr; excessive pressure can flex a long rod or tilt the base.
- Compare results with the instrument’s permissible error for the range and feature. If readings drift, inspect for damaged edges, contamination, loose slider movement, and temperature change before accepting the caliper.
The question of which digital vernier calipers are best for depth measurement depends on this verification evidence, not a 0.01 mm display. Do not use a caliper to certify a small, irregular corrosion pit: the base can bridge the rim and the rod can miss the true bottom.
Use a pit-depth gauge, suitable depth micrometer, ultrasonic method, or validated replica method instead.
Which specifications belong on the purchase and inspection checklist?
A 0.01 mm display does not make a caliper accurate to 0.01 mm. For vernier caliper selection, record the feature, datum, maximum depth and inspection tolerance before comparing models. The answer to which digital vernier calipers are best for depth measurement depends on that complete specification, not display resolution alone.
| Specification | Purchase requirement | Inspection check |
|---|---|---|
| Tool type | Dedicated depth caliper or digital caliper with depth rod | Confirm the base seats on the actual datum |
| Range and reach | Depth range exceeding the feature by a usable margin; state rod or blade length | Check near the maximum intended extension |
| Base and contact | Wide, narrow, grooved or V-shaped base matched to flat, curved or interrupted surfaces | Look for rocking, burr contact and unstable seating |
| Resolution | 0.01 mm or 0.0005 in where suitable | Record it separately from accuracy |
| Accuracy and permissible error | Manufacturer’s error across the required range, orientation and temperature | Compare readings with a traceable step, height or depth standard |
| Repeatability | Specify the maximum spread from repeated readings | Take repeated readings after reseating |
| IP protection | Rating matched to coolant, dust and washdown exposure | Verify the marked rating and battery-cover seal |
| Data output | USB, Digimatic or wireless output if records need transfer | Test export, units and serial identification |
| Battery behaviour | Auto-off, low-battery warning and replacement access | Confirm readings remain stable before shutdown |
| Calibration and support | Interval, certificate, spares, repair and technical response | Ask Yamayo Instruments for calibration and service documentation |
Reject a quote that lists resolution but omits permissible error, calibration method or supplier support.
Related products
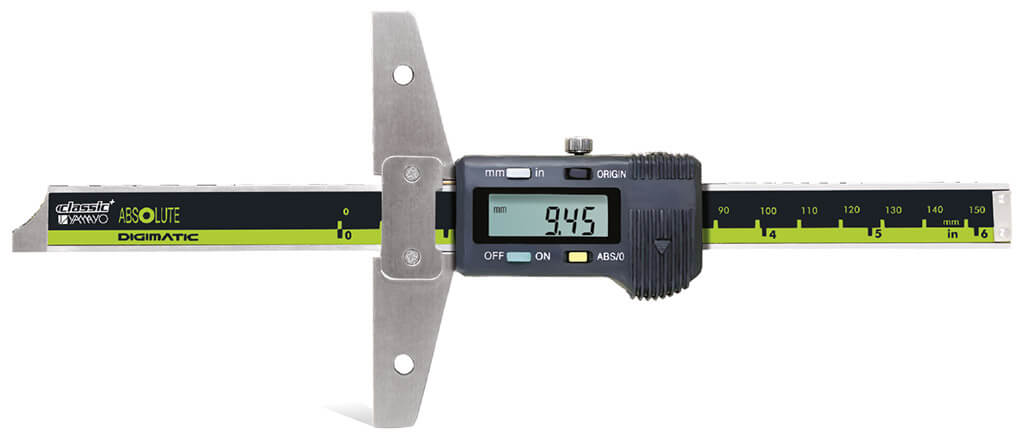 | Calipers Digimatic Depth CalipersCalipers Digimatic Depth Calipers The Digimatic Depth Caliper is a precision digital measuring instrument designed for accurate depth measurement of holes,... View product → |
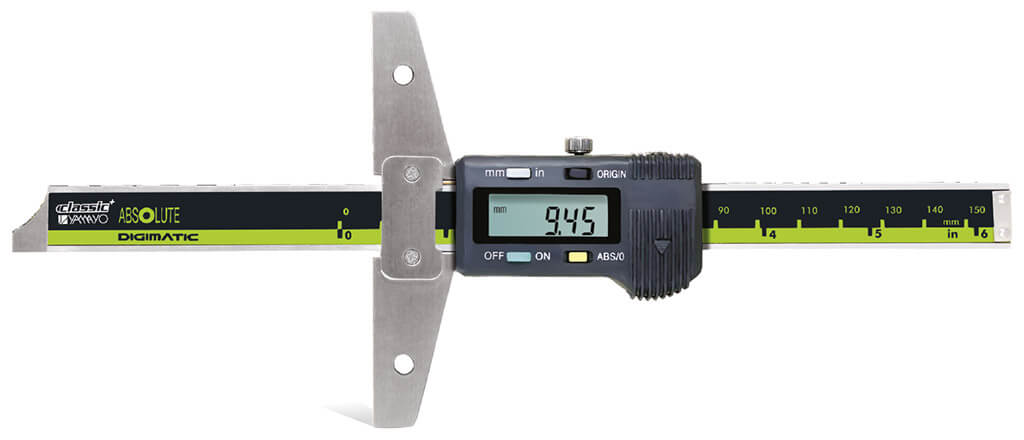 | Depth Measurements Digimatic Depth Calipers The Digimatic Depth Caliper is a precision digital measuring instrument designed for accurate depth measurement of slots,... View product → |
Frequently asked questions
When is a dedicated digital depth caliper better than a standard caliper?
Choose a dedicated depth caliper when the feature has a broad reference surface, a tight tolerance, or multiple operators need repeatable readings. Its bridge provides a wider, more stable datum than the body of a standard caliper.
How should the base, rod and blade match the feature?
Select a base that fully spans the reference surface without rocking, then choose a rod or blade that reaches the lowest point without contacting a sidewall. Narrow blades suit slots and grooves, while wider bases suit flat steps and recesses.
What is the correct way to measure difficult depths?
Clean the datum and feature, zero the instrument, seat the base squarely, and lower the rod gently until it contacts the bottom. For bores, grooves, and angled surfaces, take readings from multiple orientations and use the smallest stable depth when side contact could create a false reading.
How do you verify a depth caliper and control measurement error?
Check zero, inspect the base and rod for damage, and compare the caliper with traceable gauge blocks or a calibrated depth standard across its working range. Control rocking, tilt, dirt, excessive force, temperature differences, and parallax-free display reading.
Which specifications belong on the purchase and inspection checklist?
Record measuring range, resolution, stated accuracy, base dimensions, rod or blade shape, reach, jaw or contact geometry, display units, zero function, battery type, protection rating, calibration certificate, and the feature dimensions the tool must access.
Related product
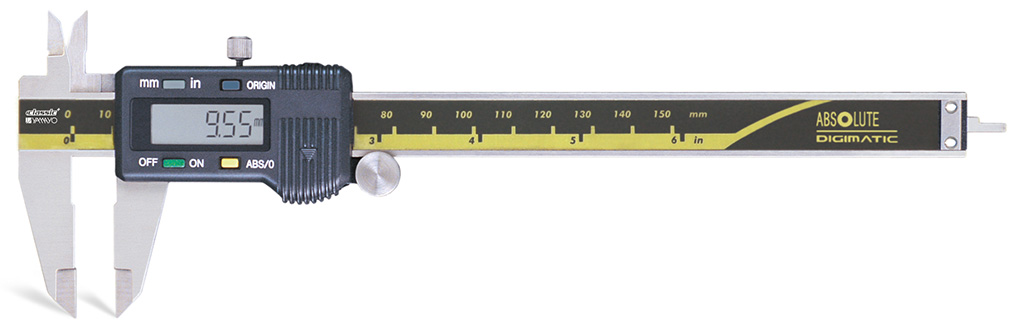 | Calipers Digimatic Calipers The Digimatic Caliper is a precision digital measuring instrument designed for accurate external, internal, depth, and step... View product → |